Do You Need A UV Light For Resin?
If you’re new to working with resin, you might wonder, “Do I need a UV light for this?” The answer depends on the type of resin you’re using and the kind of project you have in mind.
Since I use resin all the time, I have some helpful tips for you.
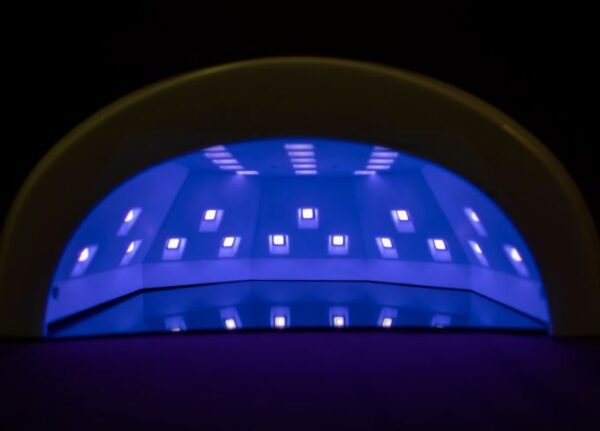
Some resins need UV light to harden, while others cure on their own without it.
In this post, I’ll break down which resins need UV light and what kind of UV light works best. By the end, you’ll know exactly when and why you might need one. Let’s dive in!
do you need a uV light for resin?
1. Types of Resin and Their Curing Needs
UV Resin:
UV resin requires exposure to UV light to cure (harden). This type of resin is designed to be cured quickly, which makes it good to use for smaller projects like jewelry pieces, keychains, or charms.
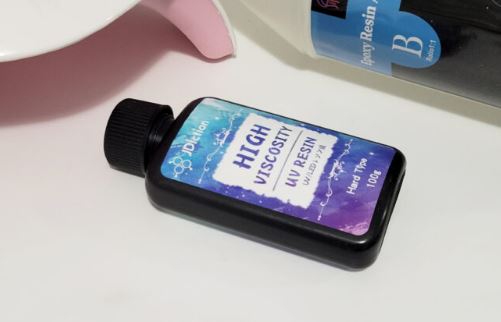
UV resin is also popular because it doesn’t need any mixing, and projects can be completed within minutes once exposed to UV light. One brand I like to work with is JDiction.
Epoxy Resin:
Epoxy resin cures through a chemical reaction between two parts: the resin and the hardener.
Unlike UV resin, epoxy resin doesn’t need UV light and instead cures over a period of time at room temperature, typically within 24–48 hours.
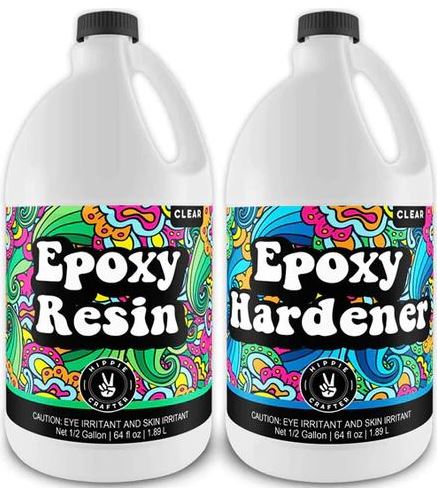
Epoxy is more versatile for larger pieces and projects that don’t require the immediate cure time that UV resin provides. A good example of this type is Hippie Crafter epoxy.
Polyester and Casting Resins:
Polyester and casting resins are designed for larger projects and are commonly used in industrial applications.
They cure with added hardeners or catalysts instead of UV light. Because they are generally more durable and suited for larger pours, they’re often used in high-volume projects but aren’t ideal for small, detailed items.
See our full guide on resin cure times.
2. When a UV Light is Required
A UV light is what you need for working with UV resin since it won’t cure otherwise. This is especially useful when you need a quick project turnaround or for small, intricate designs.
UV light can cure resin in as little as 1-2 minutes, making it a great option for last-minute gifts or for adding small details to larger epoxy projects that are already cured.
Check out our tutorial on how to make a UVv resin charm.
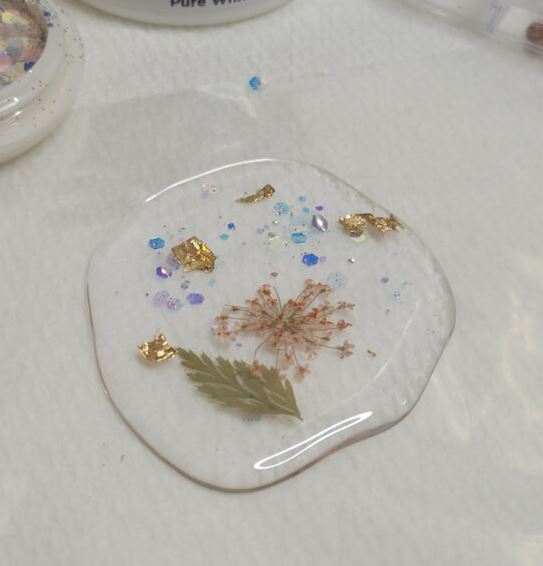
For things like miniature crafts, or covering a mini painting with resin, UV resin with a UV light is highly efficient.
It’s also great when you need precision because you can cure sections at a time rather than waiting for the entire piece to dry as you would with epoxy.
See our article about the best cure lights for UV resin.
3. Alternative Curing Methods
Epoxy resin and other non-UV resins cure without UV light. Here’s how:
- Room Temperature Curing: Epoxy resin cures naturally at room temperature through a chemical reaction, although it’s recommended to keep the room warm for a faster, more consistent cure. Temperatures around 70°F (21°C) are usually ideal.
- Ventilation: Because epoxy releases fumes as it cures, proper ventilation is important for safe and effective curing. See our resin safety section before working with any type of resin.
4. Pros and Cons of Using UV Resin
Pros:
- Quick Curing Time: UV resin cures in minutes under UV light, so you don’t have to wait hours or days.
- No Mixing Required: Unlike epoxy, which requires careful measurement and mixing, UV resin is ready to go out of the bottle.
- Precise Control: You can cure small sections at a time, allowing you to make adjustments as you go.
Cons:
- Limited to Small Projects: UV resin works best for small items. Large or thick pours can be challenging since the light may not penetrate deeply enough to cure.
- Higher Cost: UV resin tends to be more expensive than epoxy, and you’ll need to invest in a UV light source.
- Possible Stickiness: UV resin can remain sticky if it isn’t cured under a strong enough UV light, especially in deeper or thicker areas. See our resin troubleshooting guides.
5. UV Light Options for Resin Projects
There are a few different UV light options available, depending on the size and scale of your project:
- Handheld UV Lights: Small and portable, these are great for quick fixes or curing small, detailed pieces. However, they might not be ideal for larger items or for curing an entire project at once.
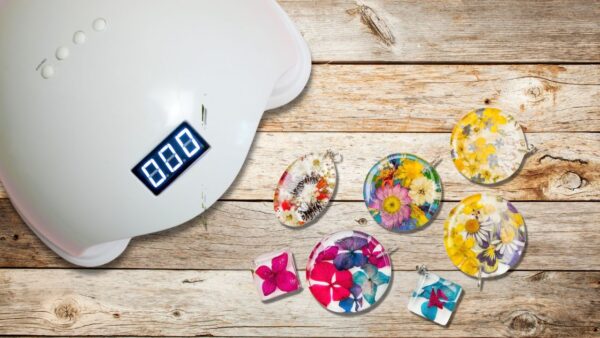
- UV Lamps: UV nail lamps are often used for resin and provide more even coverage. Look for lamps with at least 36 watts of power to ensure the resin cures properly.
- Portable UV Flashlights: Compact and easy to use for small projects or on-the-go curing, though they might take longer to achieve a full cure.
When choosing a UV light, aim for at least 36 watts and a 365-405 nm wavelength for the best results.
6. Tips for Beginners Working with UV Resin
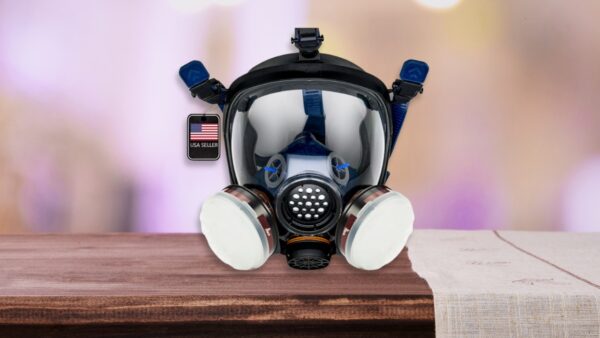
- Safety First: Always work in a well-ventilated area and wear protective gear, like gloves and eye protection and a proper resin respirator.
- Prep the Surface: Ensure your mold or surface is clean and dry, as moisture or dust can affect the curing process and final appearance.
- Avoid Thick Layers: For the best results, apply UV resin in thin layers, curing each layer separately. This will prevent the top from curing while the underside remains sticky.
- Curing Check: After curing, check for any sticky or tacky spots. If you notice areas that didn’t fully cure, you can go over them again with the UV light to achieve a smooth, hard finish.
Thanks for reading! Hopefully, this helped you decide if a UV light is right for your resin projects.
Whether you go with UV resin for quick cures or stick with epoxy for larger pieces, there’s so much you can create. Happy crafting, and feel free to come back anytime for more resin tips!

