How To Make A Small Epoxy Resin Table
If you want to make a cute epoxy resin table for your home, this little side table project is a fun place to start. You get to play with color, shine, and a smooth resin top that looks so pretty in any room. This epoxy resin table idea is easy to follow, even if this is your first time trying a small furniture project. I’ll walk you through the resin mix, the pour, and the simple steps to get a clean look. By the end, you’ll have a small resin side table that feels handmade and special.
I’ve made this tutorial super easy for beginners, so you follow step by step for your first resin table. I’ll show you simple ways to use the resin and get the look you want using some add ins. By the end, you’ll have a DIY resin table you’ll love showing off in your home or to sell in at your craft shows.
DIY Small Epoxy Resin Table
Let’s get into the steps to make your own resin table. I’m excited to be collaborating with Let’s Resin to show you exactly how to pour, mix, and create a beautiful epoxy resin on table top. These instructions are easy to follow, even if it’s your first DIY epoxy tabletop project, so grab your supplies and let’s get started!
Supplies For A Small Epoxy Table
Here are some of the supplies you will need to make this small resin table.
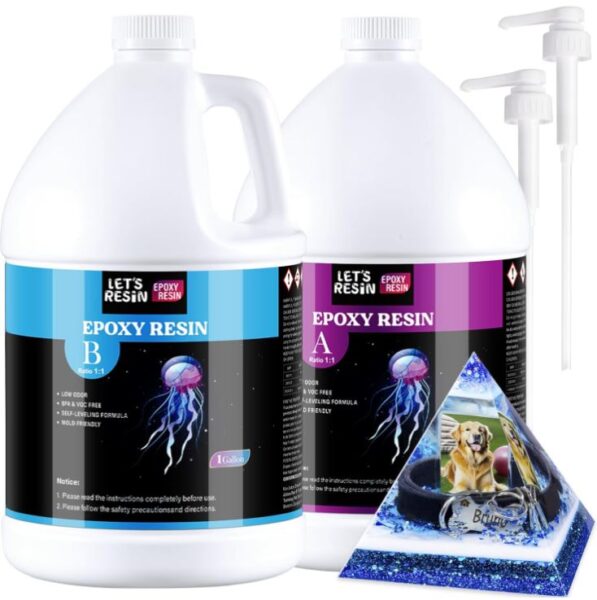
- Let’s Resin Epoxy
- Wood slab: Check your local supplies or you can purchase wood slabs on Amazon and cut out the parts you want.
- Heavy plastic sheet for the bottom of the slab
- Strong tape to hold the plastic to the bottom of the wood slab. You need to make sure it’s totally secure so that the epoxy does not leak.
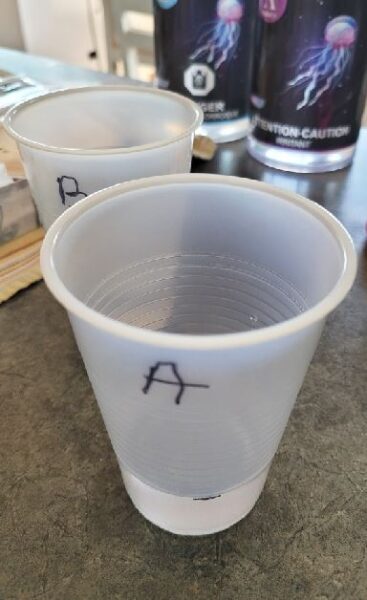
- Mixing cups and stir sticks
- Heat Gun for popping bubbles
- Rocks and embeds: I have a helpful article about ideas to put into epoxy resin.
- Colorants for resin
- Epoxy resin safety equipment
Instructions For A Small Epoxy Table
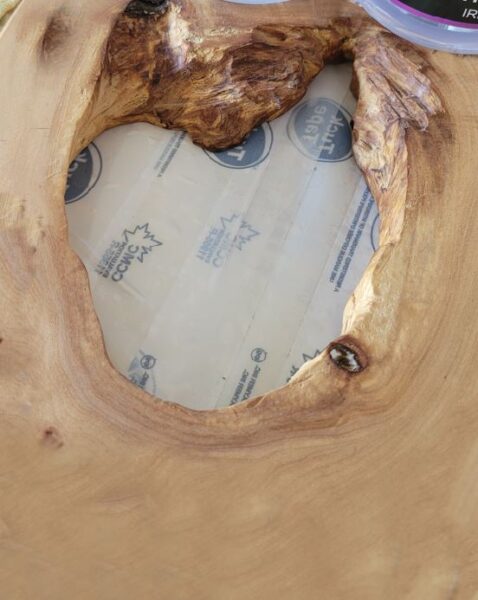
Step 1: Choose The Wood
Start by picking a piece of wood for your table top. I like to use one that already has a hole in the middle, because that’s where we’ll be pouring the epoxy resin on table top. The hole is where you are going to be putting your embeds. Make sure the wood is clean and dry, and you’re ready to move on to the next part. I get my wood from a local company and they already have the hole in them.
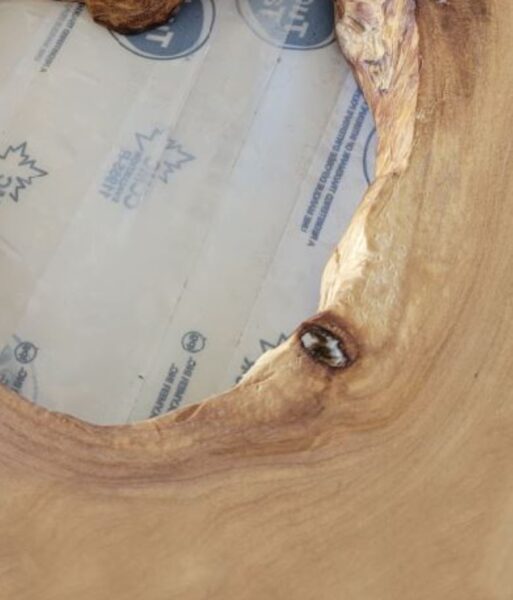
Step 2: Tape The Plastic To The Back
Next, take the plastic sheet and tape it securely to the bottom of your wood. You absolutely need to make sure there aren’t any gaps where the epoxy resin could leak out. Once it’s sealed turn it over and lay your wood flat on your work surface. If you have a level, use it to make sure the table top is completely even.
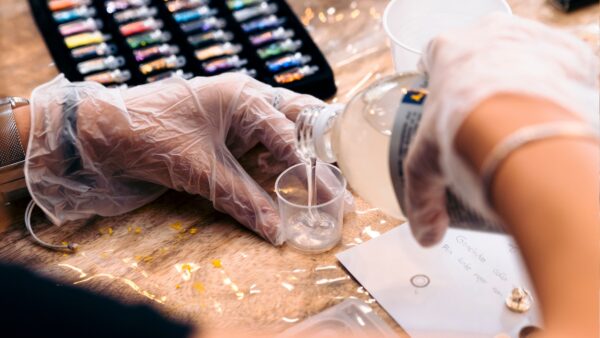
Step 3: Mix a Base Coat
Now it’s time to mix a small amount of epoxy resin and hardener to create a base layer. This base will hold any rocks or inclusions you want to add to your resin table. The exact amount depends on the size of your piece. Here’s a resin calculator to help. Mixing a base first makes it easier to place your decorations and keeps everything in place before the full pour. You can add in your colorant to this layer if you like.
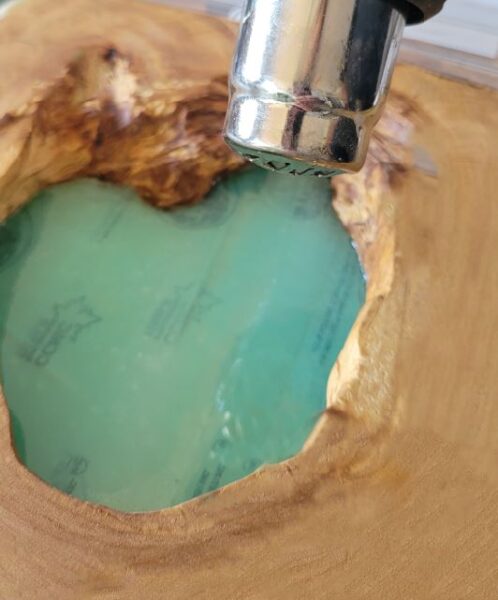
Step 4: Pour The Base & Pop Bubbles
Pour your mixed resin base carefully into the hole in your wood. As the resin spreads, you’ll see little bubbles start to rise to the surface, this is totally normal. Use a heat gun to gently pop the bubbles as they appear. Keep an eye on it and go slowly so your epoxy tabletop stays smooth and clear.

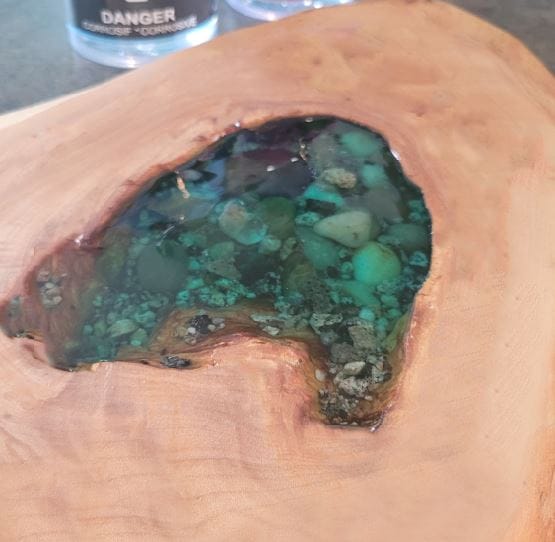
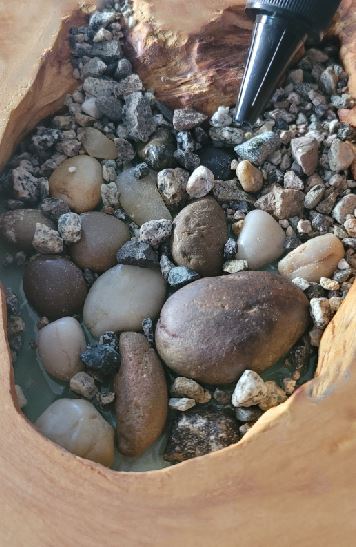
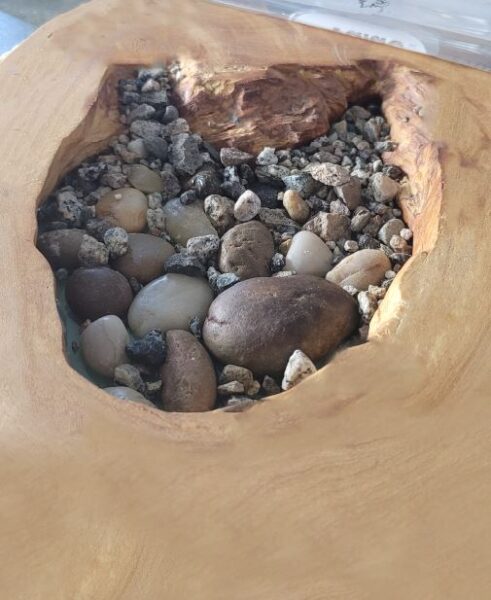
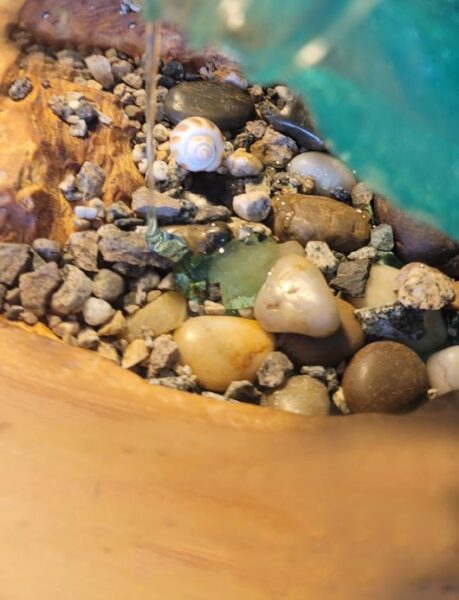
Step 5: Add Your Inclusions
Once the base resin has cured enough to hold its shape, it’s time to start adding your rocks, shells, or other inclusions. You want the resin to be strong enough so your pieces don’t sink or shift. If you’re working with lighter items that might float, you can use a little UV resin to hold them in place. This is a fun part of making your resin table, because you get to play with placement and create a look that’s all your own.
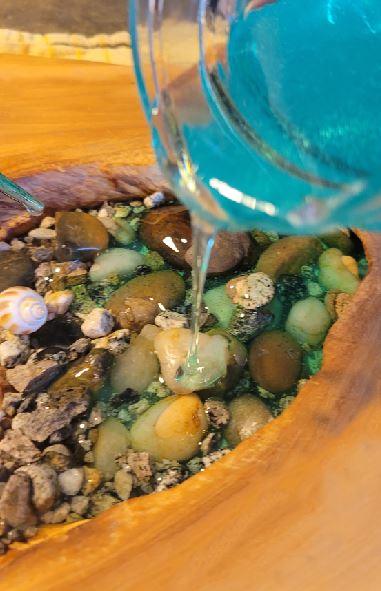
Step 6: Mix and Pour the Resin
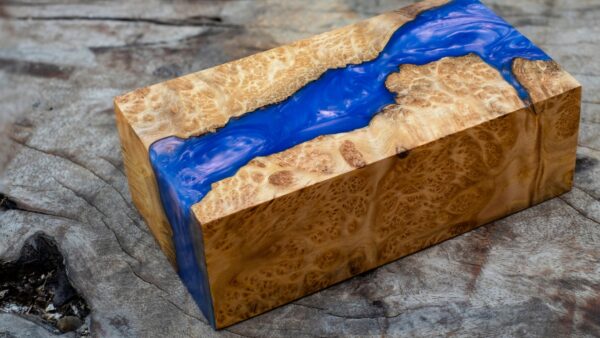
Now it’s time for the main pour! Mix your epoxy resin and hardener according to the instructions, and add any colorants, mica powders, or glitters you want to use. Pour the resin slowly over your wood and inclusions, letting it flow into all the nooks and around your decorations. This is where your table really starts to shine and come to life with color and depth.
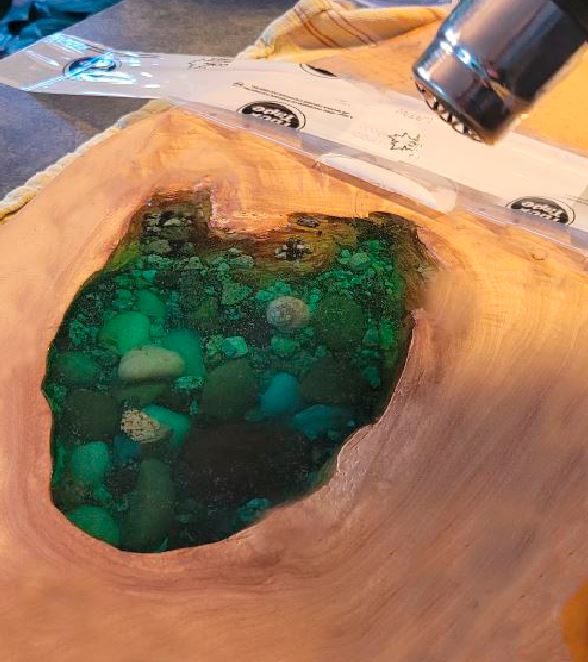
Step 7: Pop the Bubbles
As you pour the resin, you’ll notice bubbles rising to the surface again. Keep a heat gun handy and gently pop the bubbles as they appear. Watching carefully while the resin spreads helps your table top stay smooth and glossy. This little step makes a big difference in getting a clear finish.
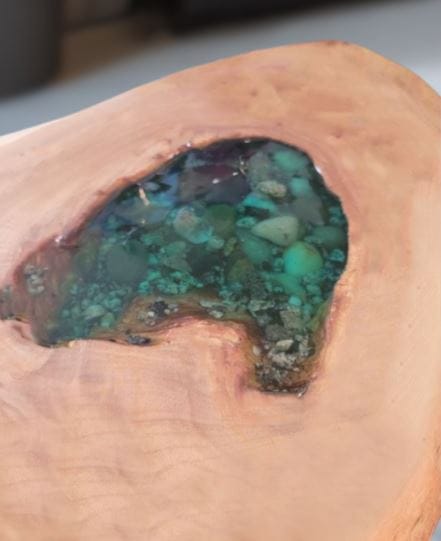
Step 8: Let It Cure And Add Table Legs
Once your resin is poured and smooth, let it fully cure for about 72 hours. This gives your diy epoxy tabletop time to harden completely and hold all your inclusions in place. After it’s set, you can attach the legs to your table, making it ready to use. Now you get to enjoy your handmade piece and show off your shiny, custom epoxy resin on table top!
I hope this tutorial helped you making a resin table. From mixing and pouring to adding colors, glitters, and inclusions, creating an epoxy resin on table top is such a fun project. If you loved this guide on how to make a resin top table, save it, pin it, and share it with friends who want to try a DIY epoxy tabletop too. The more we share these resin table ideas, the more inspiration everyone gets for their own handmade pieces!