How to make epoxy resin coasters
In this article, I’m sharing how to make resin coasters from start to finish. Resin coasters are a fun project that lets you play with different molds, colorants, and even things like dried flowers or glitters. It’s a great way to use up leftover resin and create something useful at the same time.
I work with resin all of the time and coasters are one of those really popular things to make with resin. There’s something so satisfying about popping them out of the mold and seeing how the colors or inclusions turned out. Plus, they make beautiful handmade gifts.
How to Make DIY Resin Coasters
1. Getting Started making Coasters
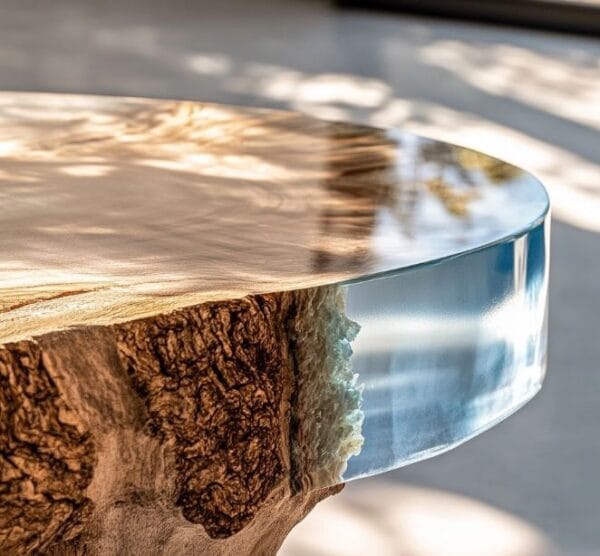
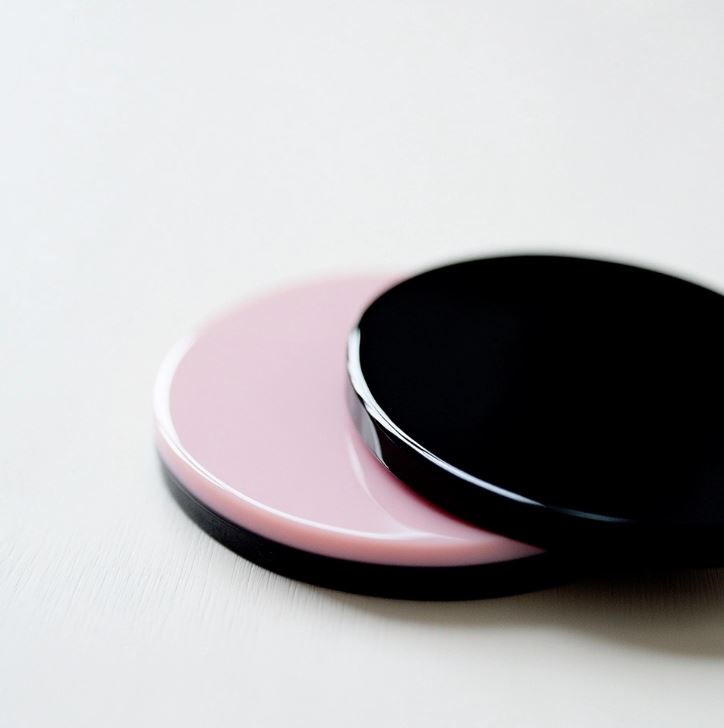
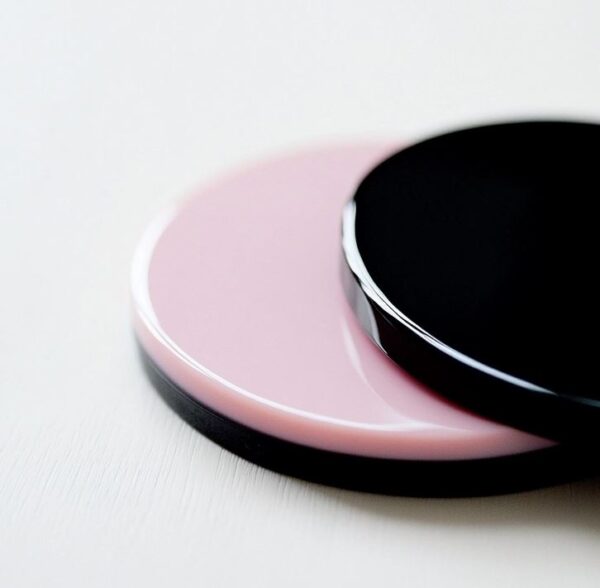
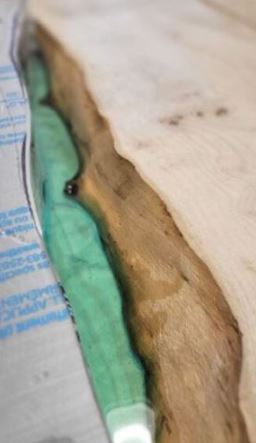
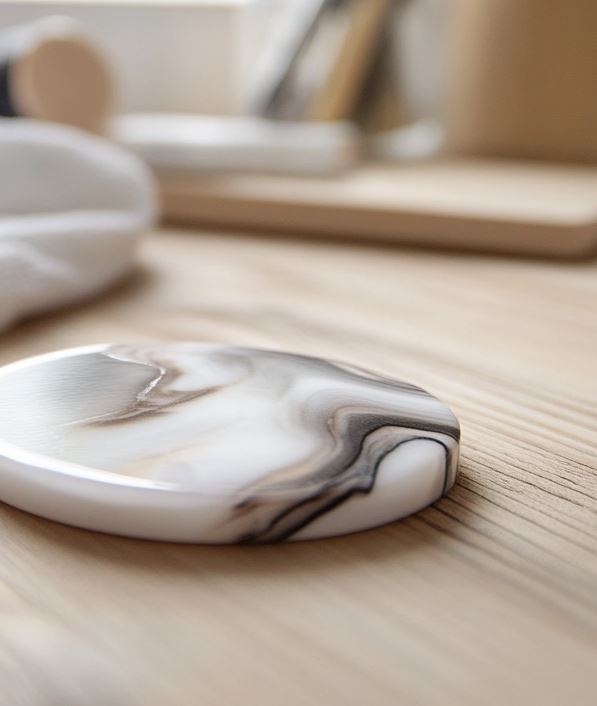
Resin coasters are simply round or square coasters made by pouring a special type of clear, liquid resin into a mold. This resin, when cured, creates a hard, shiny, and durable surface that protects your tabletops from heat, moisture, and spills.
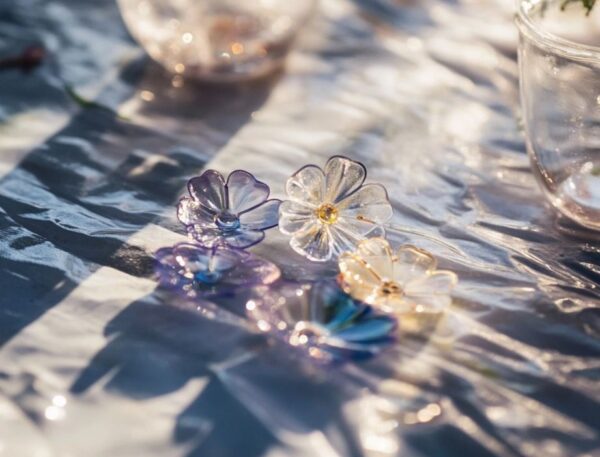
The exciting part is that you can customize them to your heart’s content. You can add colors, glitters, and even tiny decorations like dried flowers or glittery flakes to make them unique and stylish. Once you’ve poured the resin into the mold and let it cure, you’ve got yourself a set of personalized coasters.
Epoxy resin is used for this craft. Some of you might be wondering if you can use UV resin for this, but it’s not the best. I would save the UV resin for smaller things like jewelry or trinkets.
2. Best Resin for Coasters
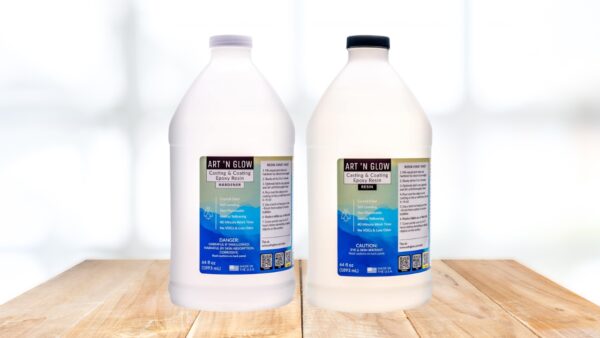
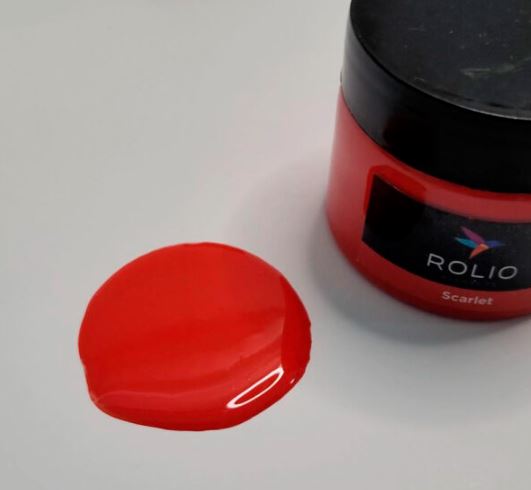
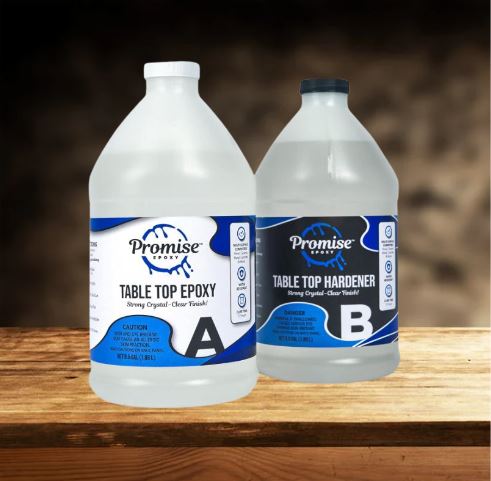
There are many different kinds of resin like UV resin, epoxy resin and polyester resin. This DIY coaster guide will be using two part epoxy resin. Some popular brands are Art ‘N Glow and ArtResin. These are a two part resin ratio so they are really easy to use.
Thicker resins like these are good for embedding glitter, leafing and flowers. These two resins are some of the easiest to work with when making coasters.
Another key element to consider is the clarity of the resin. Some resins may have a slight yellowing or may not be entirely crystal clear. Clarity is a must, especially when working with translucent or transparent elements in your crafts, as it affects the final appearance of your pieces.
3. steps for making Coasters
Gather Your Supplies
Collect the necessary materials, including epoxy resin, molds, inclusions such as dried flowers or glitter for resin flower designs. You will also need pigment or dyes, mixing cups & stirring sticks. A heat gun or torch will help remove bubbles.
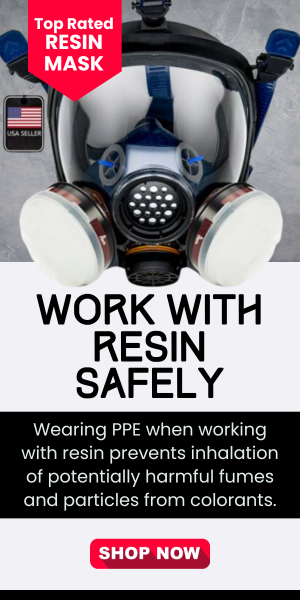
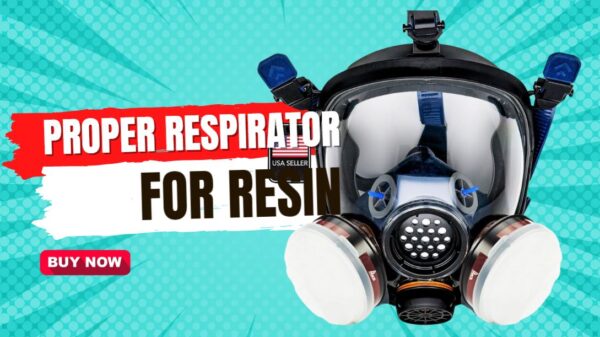
Use personal protective equipment which include gloves, safety goggles, and a proper resin mask.
Prepare Your Workspace
Set up a clean, organized, workspace with a flat surface. Cover your work area with a disposable tablecloth or plastic sheet to catch any drips or spills. Resin can be very messy, especially if this is your first time using it.
Measure and Mix the Resin
Follow the manufacturer’s instructions to measure and mix the resin and hardener components in the designated mixing cups. Typically, this involves using a 1:1 ratio by volume or weight.
Add Pigments or Inclusions
If you want to color or inclusions to your resin, add pigment or dye in small amounts. Mix well until you get your desired color. Just be sure not to oversaturate the resin as it can cause it to seize. You can also sprinkle glitter or inclusions onto the piece after you have poured the resin in to the mold. Totally up to you.
Popular inclusions to add to coasters
Alcohol Inks: These vibrant inks come in a wide range of colors and can create stunning, translucent effects within your resin.
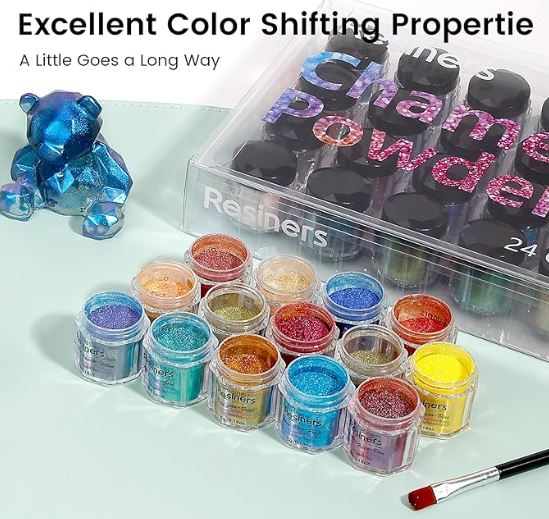
Mica Powders: Mica powders provide a shimmering, metallic appearance to your coasters and are available in various metallic shades.
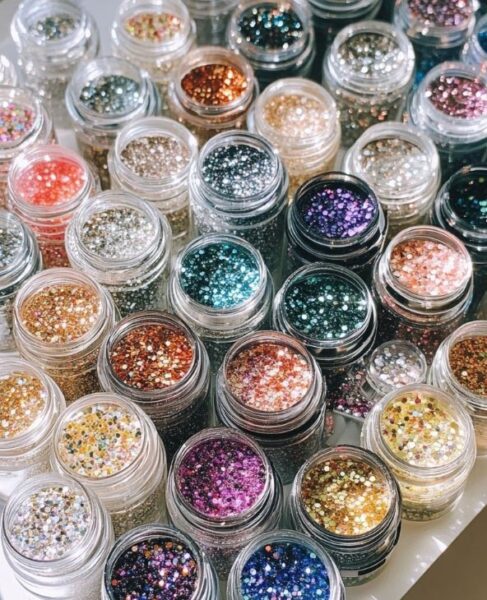
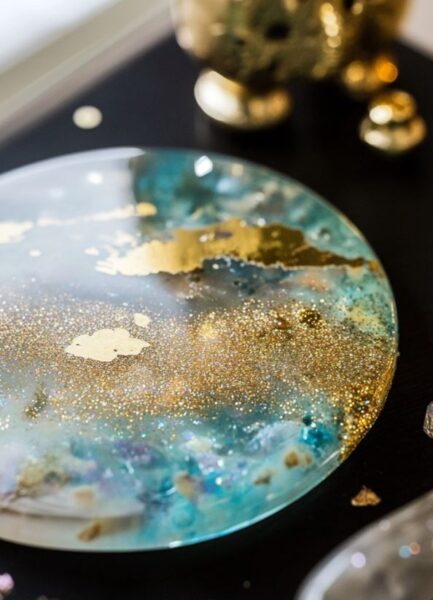
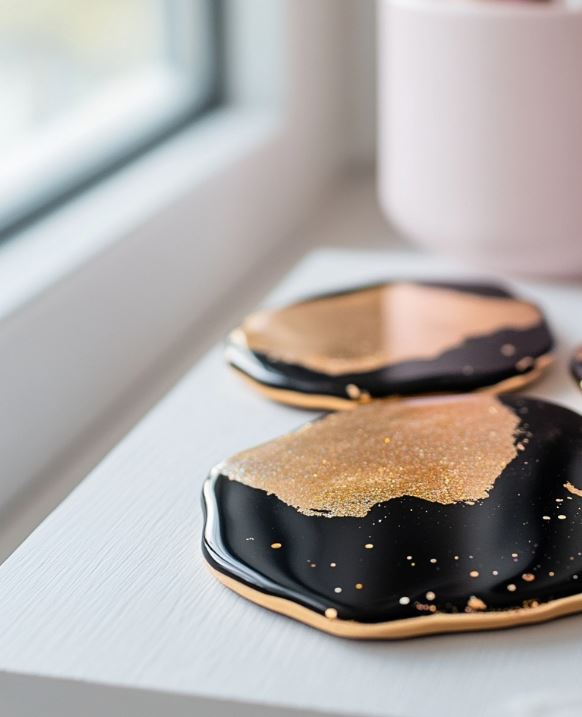
Glitter & Gold Leafing: Add a touch of sparkle to your coasters with fine or chunky glitters and gold leafing elements. For more ideas, check out our article: Gold ideas to use in resin.
Dried Flowers: Pressed or dried flowers can bring a touch of nature to your coasters, creating a beautiful, organic look. One way I love to dry flowers is to use a Microfleur Flower Dryer.
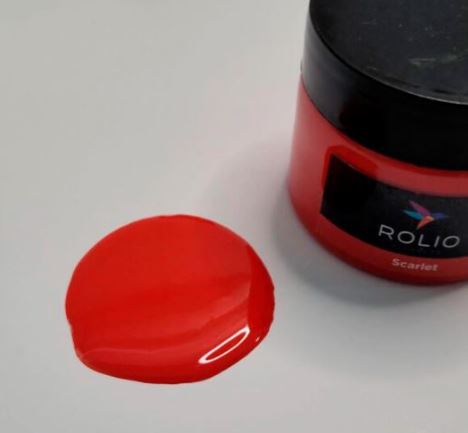
Acrylic Paint: Mix a small amount of acrylic paint to get vibrant and opaque colors. The last time I used Golden Fluid acrylic paint to make this resin table. Just a tiny bit was used.
Pour Resin into Molds
Carefully pour the mixed resin into your chosen molds. Fill the molds to the desired depth, taking care not to overfill.
Add Inclusions
If you’re embedding objects or inclusions, use tweezers or a toothpick to arrange them within the resin. Adjust their position until you’re satisfied with the design.
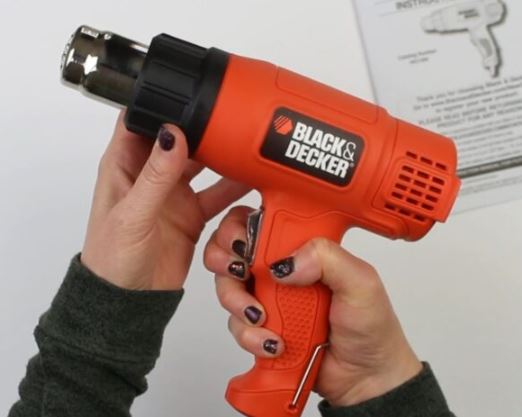
Remove Air Bubbles
Use a heat gun or torch to pass over the resin’s surface to release any air bubbles. Be gentle and don’t get too close or you can burn and overheat the resin. I like to use the Black and Decker heat gun because it has a low setting.
Cure Time
Allow the resin to cure as per the manufacturer’s recommendations. Let it sit undisturbed for several hours or overnight. Here is a super helpful article all about resin cure times.
Demold and Finish
Once the resin is fully cured and hardened, gently demold your pieces. You may need to flex the silicone molds a bit to release the items. After demolding, you can sand, polish, remove any sharp edges, and add finishing touches.

4. Supplies for Coaster Making
Here are some supplies you will need to get started.
Epoxy Resin: The brands mentioned above are perfect for this type of craft.
Safety Gear: Safety should be your top priority when working with resin. Always wear gloves, a proper mask, and protective eyewear to avoid skin contact and inhaling fumes.
Silicone Coaster Molds: Molds come in various shapes and sizes and made for creating specific designs like the popular epoxy resin flowers. Silicone molds are popular because it releases the resin easily.
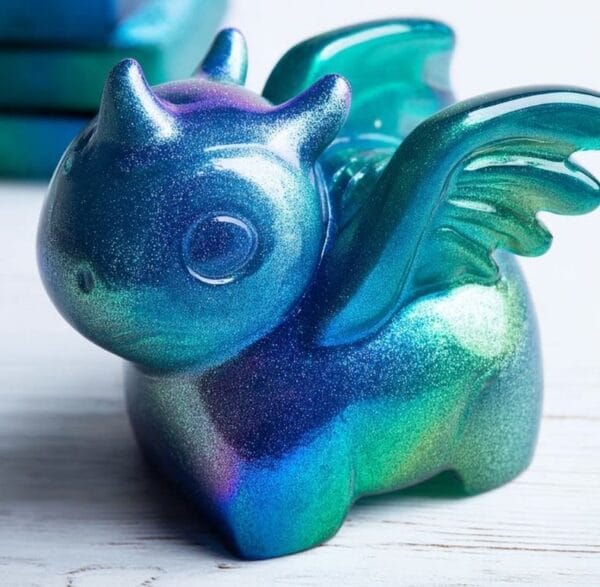
Inclusions & Embeds: Collect and prepare the inclusions, which can be dried flowers, tiny charms, glitter, or other decorative elements. If you are making resin coasters with flowers, sometimes you might want to add some extra glitter or polymer clay embeds to go with it. Here’s a helpful list of things to add to resin.
Silicone Mixing Containers: You’ll need containers for measuring and mixing the resin. The best mixing containers are silicone as they can be reused many times so that you don’t waste money.
Pigments and Dyes: If you want to add color to your resin, various pigments, and dyes are available. One way to get a really good color is to use resin pastes. Best resin pastes for epoxy.
Stirring Sticks: Long silicone stirring sticks are for mixing the resin and any added pigments or dyes.
Heat Gun, Torch Or Bubble Removal Tools: Removing air bubbles will give you a smooth finish. A heat gun or torch helps to eliminate bubbles that form during the mixing process. Also, a bubble remover will remove the bubbles from the mixing cup before pouring.
See this guide on how to get rid of bubbles in resin coasters.

Having these resin supplies on hand is helpful so you’re well prepared to create resin art. While there may be additional tools and materials specific to certain projects, this list gives you the basics.
5. Safety Precautions When Working with Resin
When working with resin, prioritize safety and work in a well ventilated area and wear a respirator to avoid inhaling fumes, use gloves and safety goggles to protect your skin and eyes. There’s a big section on this blog all about resin safety precautions.
Have a dedicated workspace, avoid direct contact with resin on your skin, and handle chemicals with care.
Read and follow the manufacturer’s instructions for the specific resin you’re using for safe handling, proper disposal of waste, and compliance with safety guidelines. Also, resin is an adult craft and I don’t ever recommend children using resin.
6. Adding Color to Epoxy Coasters
When it comes to adding color to your resin, you have several options, including dyes, pigments, and inks, each with its unique properties and techniques.
Colorant Ideas For Resin Coasters
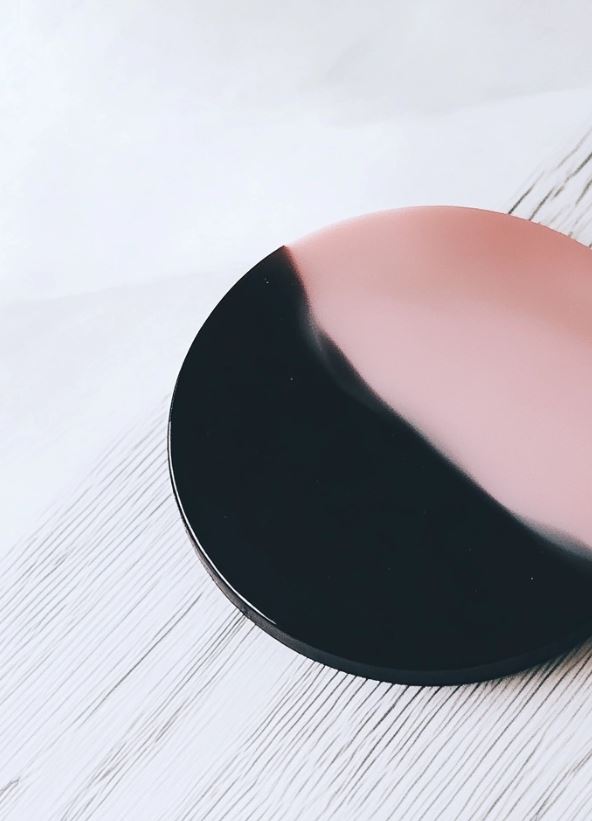
Resin Dyes: Resin dyes are ultra-concentrated liquid colorants that are simple to blend and manage. Just put a few drops into your resin mixture and stir until it’s incorporated. Dyes are good for getting a translucent, stained glass-like effects.
Check out this helpful guide about the best colorants to use for resin.
Powdered Pigments: When working with powdered pigments add them to your mixed resin gradually so that you don’t over do it. Mica powders are some of the most popular pigments to use. Read up on the best mica for epoxy and also this mica colorant guide on how to use it.
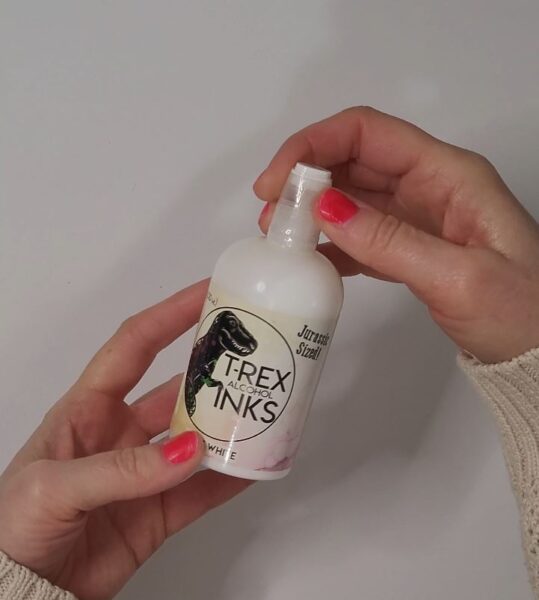
Alcohol Inks: Alcohol inks are another option when it comes to incorporating intricate patterns and designs into resin. I love using the gold ones from T-Rex Alcohol Inks. You can shape and customize the inks using tools such as toothpicks or straws to craft one-of-a-kind patterns. Keep in mind that alcohol inks can fade over time, especially colors like pink.
Glitter: Adding glitter to resin is such a fun way to make your coasters sparkle. Just sprinkle a little into the mixed resin and stir gently so it stays evenly spread. You can go for chunky glitter, fine glitter, or even mix both for extra shine.
Remember that less is often more when adding color to resin; starting with a small amount and gradually adding more if needed.
7. Best Coaster Molds
The first step in working with molds is choosing the right one for your project. Silicone molds are popular for their flexibility, ease of use, and ability to produce intricate details.
They are the most popular for resin coaster flower designs. A brand that I have used before is Let’s Resin. I have not used the coaster molds yet, but I have used lots of their supplies and know it’s a good brand.
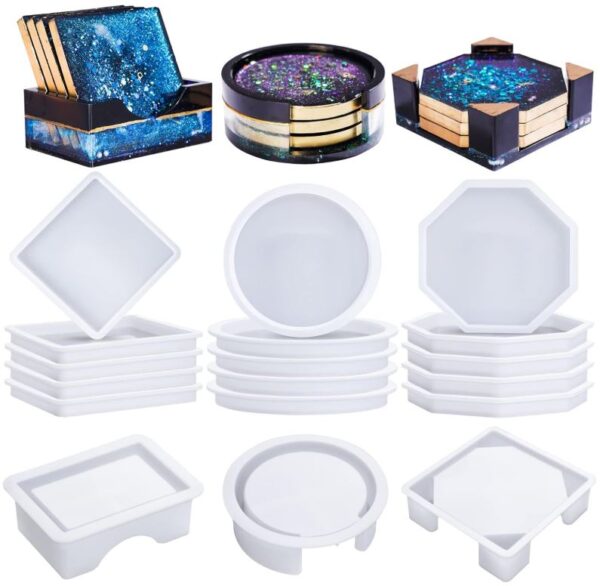
When using silicone molds, the resin will normally just pop out without having to do any prep.
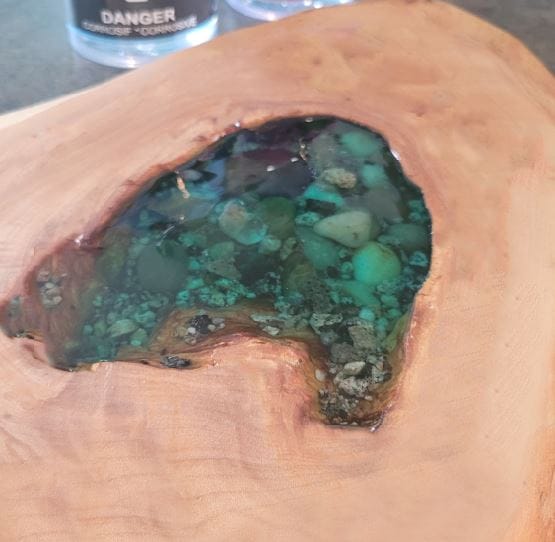
8. Embedding Objects in Resin Coasters
Embedding objects in resin can make your memories last. You can also use scrapbooking papers or photos as long as you seal the paper for resin first.
You can use dried flowers, leaves, feathers, or tiny gemstones to meaningful keepsakes like locks of hair, miniature photographs, fragments of jewelry, or even a sprinkle of glitter or gold leafing.
Properly preparing the items you want to embed in your coasters is important. If you’re using organic materials like flowers or leaves, they must be fully dried and free from any moisture to prevent decay within the resin.
Plan your design by deciding how you want to arrange and layer your inclusions within the mold. I like to use a toothpick to move things around.
9. The Most Popular Types Of Coasters To Make
Resin Coaster Questions
Will my coaster turn yellow?
Resin coasters have the potential to develop a yellowish hue over time depending on what resin you are using and what’s going into them. Unfortunately almost all resins will eventually start to turn yellow. I have a geode that I made years ago that was pure white, and now has a slight yellow tinge.
More more information and questions about yellowing is right here: Why Does Epoxy Resin Turn Yellow
Do you have to seal resin?
No, typically, you do not need to seal resin coasters once they have fully cured. Resin, particularly epoxy resin, is designed to create a protective and glossy finish on its own, eliminating the need for additional sealing in most instances.
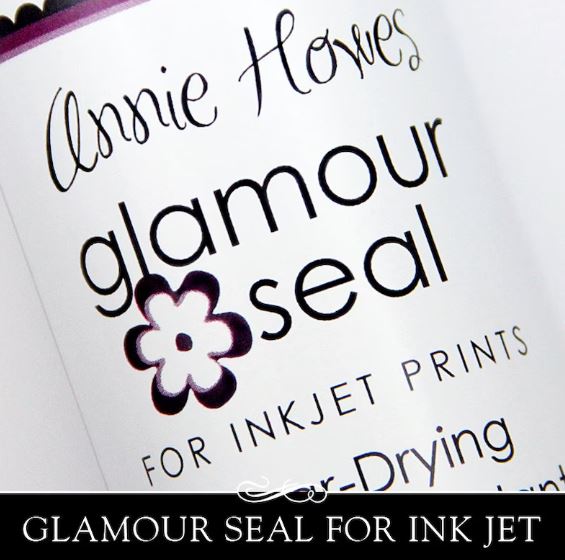
If your coasters include delicate inclusions such as paper, it will need to be protected by applying a sealant before casting them in resin so that the ink does not run.
One recommended paper sealer is Annie Howes, which I have used to help stop bleeding. Always do a test to make sure it’s going to work first.
Thanks so much for reading about how to make resin coasters. I hope this inspires you to try making your own. Feel free to share this with fellow crafters and come back anytime for more resin ideas and tutorials.
Next, read our guide on how to make handmade resin magnets.