17 Top Reasons Why Epoxy Resin Is Not Curing
You might be here because you have a problem, your resin is not curing or hardening. If your resin isn’t curing like it should, there are a few common reasons why. Mixing ratios, temperature, humidity, and even expired resin can all affect how your project turns out. In this article, I’ll go over some things to check if your resin is sticky, soft, or just won’t harden like it’s supposed to.
Or you might be wondering why resin is not curing in a silicone mold. Or how to fix resin that didn’t cure. Learning how to use resin properly is a must, especially for beginners who are just starting out. This issue can be both perplexing and costly, causing projects to come to a standstill and leaving many wondering what went wrong, like creating dimples in resin and a ton of money wasted, I understand the frustration. I’ve had projects that have not turned out too.
Why Epoxy Resin Is Not Curing Properly
I work with resin all the time so here is some valuable advice for working with resin. Let’s go through these resin curing problems and solutions together!
1. Incorrect Mixing Ratios
Mixing epoxy resin and hardener in incorrect proportions can lead to poor curing. Epoxy resins typically require a precise ratio of resin to hardener, often specified by the manufacturer. Deviating from this ratio can disrupt the chemical reaction needed for curing and leave you with tacky resin. Have accurate measuring tools, follow mixing ratios, and mix thoroughly.
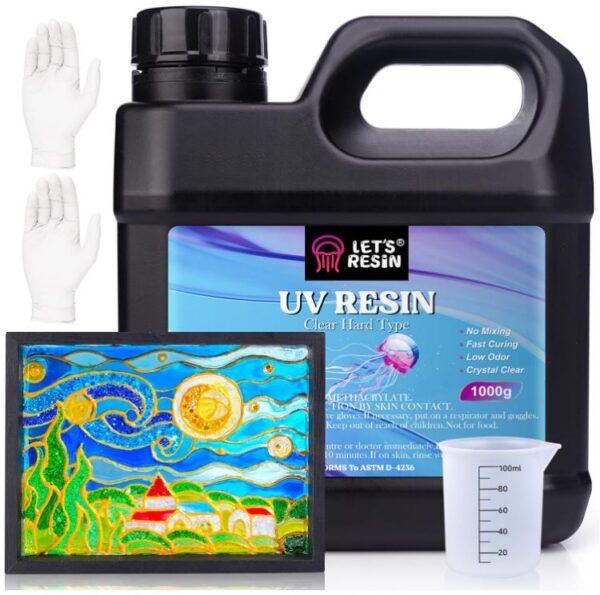
This is a common mistake for beginners who are working with resin. The best epoxy resins for beginners are ones that have a 1:1 mixing ratio like Craft Resin epoxy. If you feel that mixing resin is too difficult, you might want to switch for a UV resin which can be used for small pieces like jewelry.

2. Temperature Extremes
Temperature plays a role in epoxy resin curing. When it’s too cold, the curing process can slow down significantly or, in extreme cases, not happen at all. How to fix resin that doesn’t cure may simply be the temperature of the room that you are working in.
Also, high temperatures can accelerate the curing process, potentially leading to exothermic reactions and a “hot cure.” To stop this, make sure your workspace temperature is within the recommended temperature range specified by the manufacturer. In cases of extreme temperatures, you might have to use heat lamps or cooling systems to control the curing time and get a smooth finish. Having the right temperature can also help prevent the resin from yellowing.
3. Moisture and Humidity
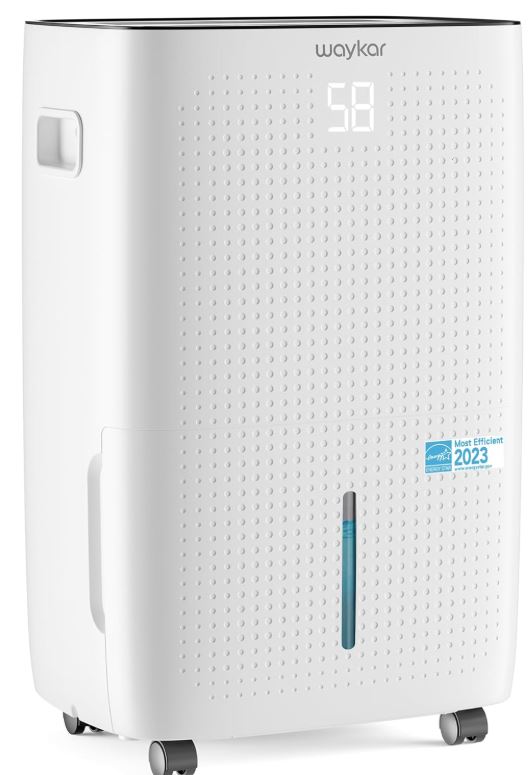
Epoxy resins are highly sensitive to moisture and humidity. High humidity levels or exposure to moisture can disrupt the chemical reactions required for proper curing. To counter this, work in a dry environment and have good ventilation to stop moisture buildup. Using a dehumidifier can help in particularly humid conditions. It should only take about 24 hours for epoxy resin to fully harden.
4. Contaminated Materials
Why is my resin not hardening is a common question, and may be due to contaminants. Contaminants such as dust, dirt, or foreign particles in the resin mixture can prevent proper curing and result in an uneven or blemished surface. Or if you are using colorants including acrylic paints for epoxy resin, they could be expired.
Before you begin, make sure your mixing containers, stirring tools, and the application surface are pristine. Regularly clean and inspect your workspace to prevent the introduction of foreign particles during the epoxy application.
5. Old or Expired Resin
Epoxy resin can have a limited shelf life. Using outdated or expired resin can lead to curing issues because the components may have deteriorated over time. Prevent this by regularly checking the expiration date on your resin containers and always opt for fresh materials to guarantee optimal curing results. Here is a helpful guide to check out later about how to tell if resin has expired.
Also make sure you are using a trusted brand of resin for your projects. Here are three companies that have excellent formulas.
6. Incomplete Mixing
Epoxy resin must be mixed properly to start the chemical reaction. Inadequate mixing is a common cause of epoxy resin not curing as expected. Thoroughly mixing the epoxy resin and hardener makes sure that the chemical reactions between the components are uniform and complete.
Stir the components slowly and deliberately, scraping the sides and bottom of the mixing container to get at any unmixed portions. A consistent, bubble free mixture is needed for proper curing. See this complete guide on How To Mix Resin.
7. Not mixing Long Enough
In addition to incomplete mixing, you also need to mix the epoxy long enough. Epoxy resin and hardener need to be thoroughly combined to activate the chemical reaction that leads to curing. When I have a cup of epoxy and hardener, I mix for at least 3 minutes. If not mixed for the proper time, uncured spots can develop within the resin giving you a sticky mess. If your epoxy is still tacking after a week, I’m sorry but you will either need to start over or apply a coating over the tacky resin.
Use a slow, methodical stirring technique, and pay close attention to scraping the sides and bottom of the mixing container. Set a timer on your phone so you know exactly how long to mix.
8. Surface Preparation
Proper surface preparation is also an important thing for epoxy curing. An unclean, rough, or improperly prepared surface can give poor bonding and curing issues. To address this, follow the recommended surface preparation steps for your specific project, which may include sanding the substrate, cleaning it thoroughly, and applying any necessary primers or bonding agents.
9. Not Thick Enough
Some epoxy resins require a minimum thickness to cure properly. To resolve this issue, review the product instructions for the recommended thickness, and adjust your application method accordingly. You might be using the wrong epoxy brand if you are only making small things like necklaces or rings. Use this resin calculator to see how much epoxy you need for a flood coat.
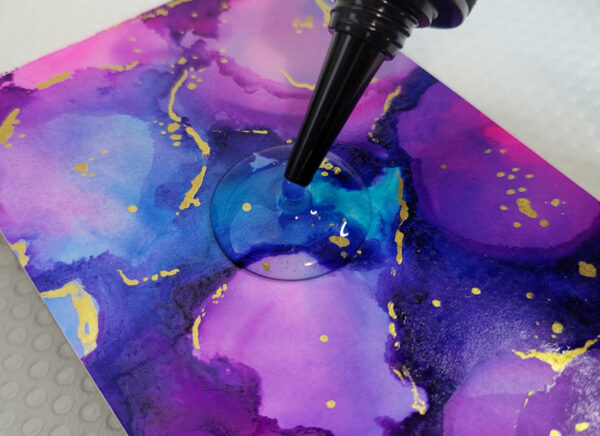
10. Incompatible Additives
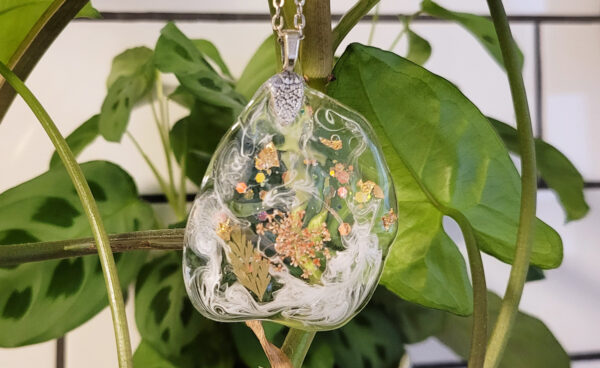
Introducing incompatible additives or pigments to epoxy resin can interfere with the curing process. This can lead to resin not curing correctly and may result in soft or tacky spots. I have a helpful article about the best colorants to use for resin. To prevent this, always check the compatibility of additives with the epoxy resin you plan to use. Many manufacturers offer recommended additives that are known to work well with their products. Also, if you are using flowers for incorporating into resin, always make sure they are dried properly. Never use fresh flowers in resin.
11. Rushing The Curing Time
Rushing the curing process or not letting time for the epoxy to set can lead to incomplete curing. The recommended curing time specified by the manufacturer is designed to so the epoxy has ample time to cure thoroughly. How long it takes for resin to dry will depend on the formula that you are buying. If you are having problems with your resin and need to get it out of the mold. Here’s a helpful guide on how to get uncured resin out of molds and cups.
Do you know how long it takes epoxy resin, UV resin or polyester resin to cure? Here’s a complete guide to resin curing with typical cure times.
12. Overworking the Resin
Vigorous stirring, excessive agitation, or repeated manipulation of the epoxy resin can introduce air bubbles into the mixture. These bubbles can hinder the curing process and result in an uneven or blemished surface.
Minimize the risk by mixing the epoxy gently but thoroughly for proper blending without incorporating excess air. Additionally, allow the mixed epoxy to rest for a few minutes after mixing to allow bubbles to rise to the surface before application. Keep checking on it at least 20 minutes or so to pop any bubbles.
13. Improperly Sealed Containers
Exposure to air can cause epoxy resin to thicken or harden prematurely in its container. Reseal opened containers tightly and store them in a cool, dry place. Here is how to store epoxy.
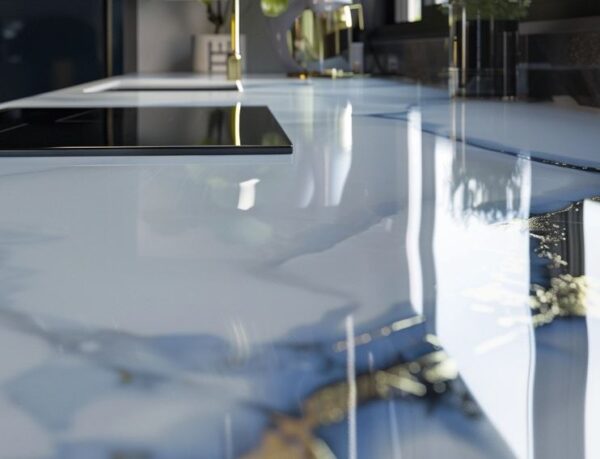
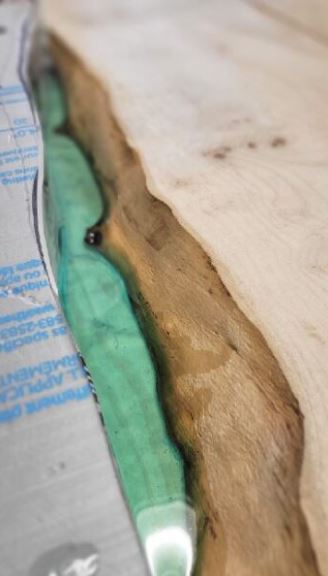
14. Resin Thickness Variation
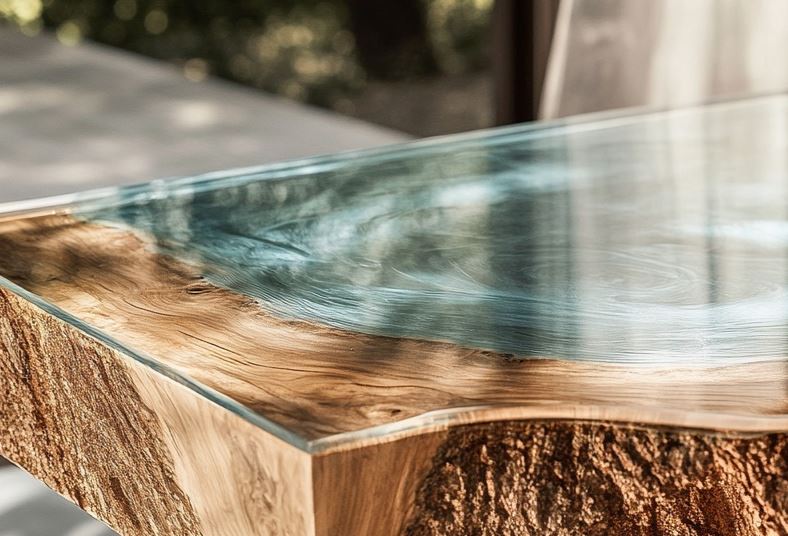
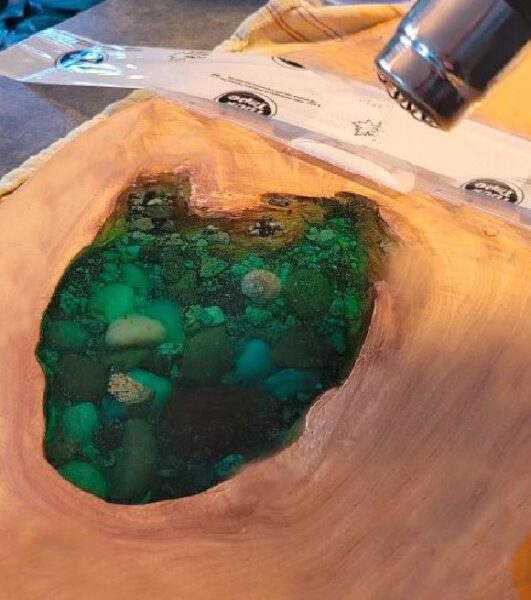
Applying epoxy resin unevenly can lead to curing issues because thicker sections may not cure properly. To address this, pour an even and consistent thickness when pouring or spreading the resin. For this table I poured it in layers. The first layer had a darker color and then the top layer was almost clear.
Use tools like notched trowels, squeegees, or spreaders to help control the resin’s thickness. Especially when pouring over large surfaces. The absolute best thing to do is prepare the surface before pouring to make sure there are no large pockets.
15. UV Exposure
Some epoxy resins require exposure to ultraviolet (UV) light to cure. This curing is known as UV resin. Make sure that you are using epoxy resin specifically designed for UV curing. I was talking with someone the other day and they told me they used resin and it didn’t harden. I found out that they were using UV resin and did not cure it with the light!
Be mindful of the required curing time under UV light for a complete cure. Check out our article for the best resins for jewelry and our DIY resin jewelry guide, we have some brands in there that have a great formula for quick curing.
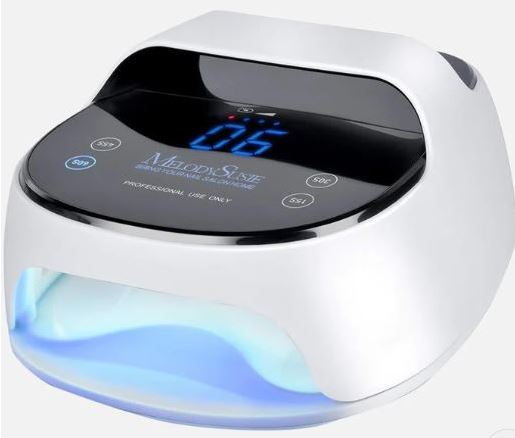
Also, make sure the lamp you are using is strong enough to cure the resin, like the ones from Melody Suzie.
16. Incompatible Substrates
There’s many things that resin will not stick to. Certain substrates may not bond well with epoxy resin, causing curing problems. Before starting your project, test that the substrate you are working with is compatible with the specific epoxy resin you’ve chosen.
In some cases, you may need to apply a suitable primer or bonding agent to improve adhesion. If no compatible primer is available, consider choosing a different epoxy formulation that is known to adhere well to your chosen substrate. Resin will not stick to silicone, wax or freezer paper. Here is a list of things epoxy resin will not stick to.
17. Too Many Bubbles
Failing to remove air bubbles from the epoxy resin mixture can lead to blemishes and weak spots in the cured epoxy. Air bubbles can become trapped in the resin during mixing or application. To address this issue, you can do a few things.
Vacuum Chamber
Place the mixed epoxy in a vacuum chamber to remove air bubbles. The reduced air pressure causes the bubbles to expand and rise to the surface, allowing for their removal. We have a guide on some of the best vacuum chambers for resin.

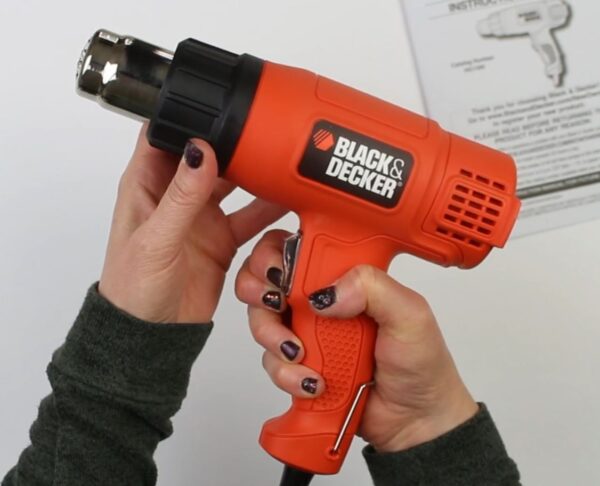
Heat Gun or Torch
After pouring the epoxy onto the surface, use a heat gun or a butane torch to gently pass over the epoxy surface. The heat will help to pop and dissipate surface bubbles. I like to use the Black & Decker because it has a low setting that I use for most things.
Longer Rest Period
Let the mixed epoxy to sit for a few minutes after stirring. This resting time allows small air bubbles to rise to the surface before you pour the resin onto your project.
Always consult the manufacturer’s guidelines and instructions for your specific epoxy resin product to optimize your outcomes. If you need to get rid of the resin, see this guide about how to dispose of resin.
Thanks so much for reading. I hope this helps you save a project that’s just not setting up like it should. If you know someone working with resin, send this along as it might save them some time and supplies too. And if you’re just getting started, make sure to bookmark this article so you can come back to it if resin trouble pops up later.