How To Mix Epoxy Resin For The First Time
This is how to mix epoxy resin the correct way. Mixing epoxy resin is one of the most important steps in any resin art project. The way you combine resin and hardener affects how your piece cures, how clear it looks, and how smooth the finish turns out. Even small changes in how epoxy resin is mixed can show up in the final result. When you understand the basics of mixing epoxy resin, your projects start to look cleaner and more polished from the start.
If you have ever ended up with sticky spots or cloudy resin, you are not alone. It can feel frustrating when a project does not turn out how you pictured, especially after putting in the time to create something beautiful. The good news is that once you get a feel for mixing, everything starts to come together much easier. With these mixing tips, you will feel more confident every time you pour, and your projects will start to look just how you imagined.
Why Mixing Resin And Hardener Is Important
Properly mixing resin and hardener is important because it directly affects how your epoxy resin cures and how your final piece looks and feels. When the two parts are fully blended, the resin can harden as it should, giving you a smooth, clear, and durable finish. If the mix is off or not fully combined, you can end up with soft spots, a sticky surface, or a cloudy look. Taking the time to mix it well helps your project turn out clean, strong, and ready to use or display.
How To Mix Epoxy Resin Properly
1. Measure Resin and Hardener
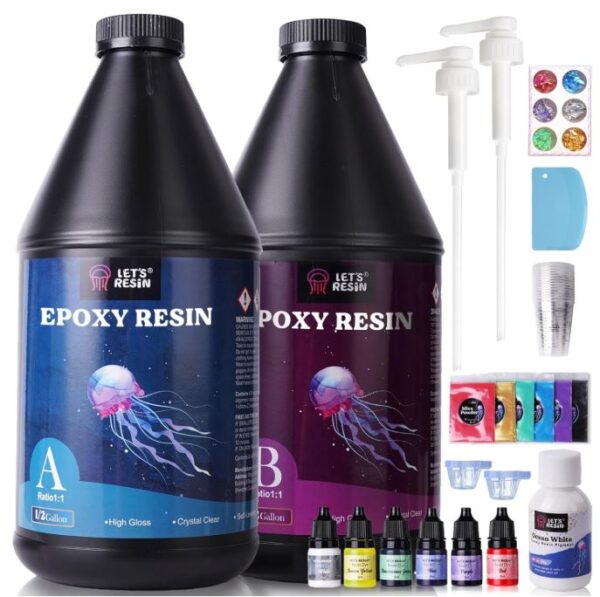
Getting your measurements right is what everything else depends on. If your resin and hardener are not in the right ratio, your project will not cure the way it should. Every brand is a little different, so take a quick look at the label before you start since not all epoxy resin is a 1 to 1 mix.
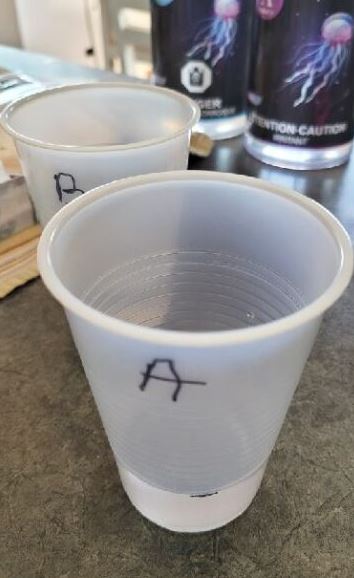
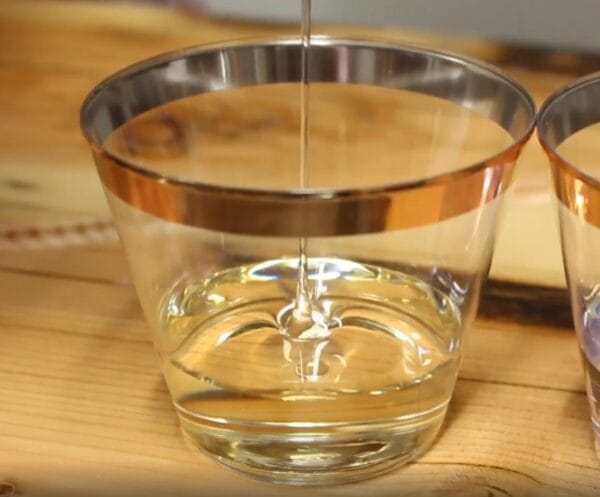
Once you know your ratio, pour each part into separate measuring cups first. Then add them into a larger clear cup so you have enough room to mix everything together. Clear silicone or plastic cups make it much easier to see your lines and keep your measurements accurate. It might feel tempting to just eyeball it, but taking a minute to measure properly makes a big difference in how your resin turns out.
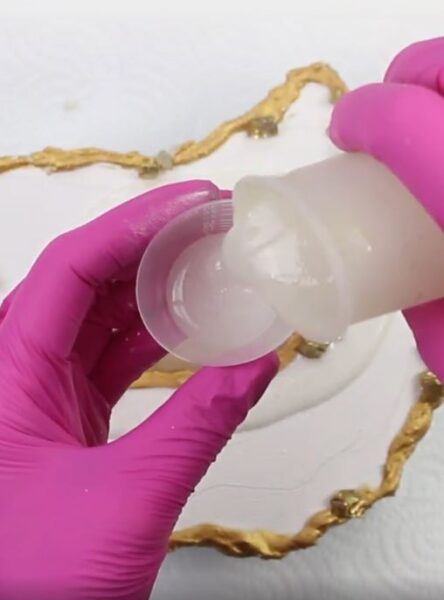
One simple trick that makes this step easier is using syrup pumps. Some brands like Let’s Resin have pumps that give you the same amount each time, which helps keep your measurements consistent and a lot less messy.
2. Combine Resin and Hardener
Once your resin and hardener are measured, it is time to bring them together. Pour the hardener into the larger cup that already has your resin in it so everything is in one place and ready to mix. Having enough space in your cup makes this step much easier and keeps things from spilling over.
At this point, everything might still look separate or slightly streaky, and that is totally normal. This step is just about getting both parts into the same container so you are ready for mixing. Taking a moment to combine them properly sets you up for a smoother mixing process in the next step.
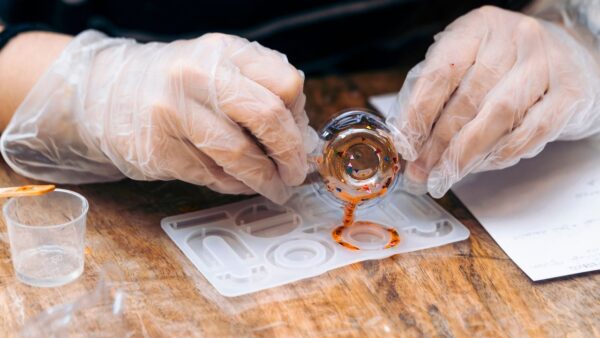
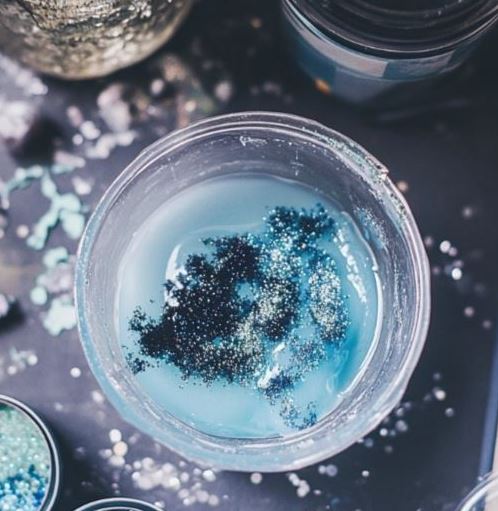
3. Add Colorants
After your resin and hardener are combined, you can add your colorants. This can be mica powder, liquid pigment, or resin dye, depending on the look you want. Start with a small amount and add more as needed so you can control how strong the color gets. Stir the color in slowly and take your time so it blends evenly throughout the resin. You want the color to look smooth and fully mixed, with no streaks or clumps left behind.
How To Mix Resin FAQ’s
What is the ratio of resin to hardener?
The ratio of resin to hardener depends on the specific epoxy resin you are using, since different brands are made with different formulas. The most common ratio is 1 to 1, which means equal parts resin and hardener, but some products use ratios like 2 to 1 or even 3 to 1. You will always find the exact ratio on the label or instructions that come with your resin, and it is important to follow that number closely so the resin cures the way it should.
How can I stop air bubbles in my resin mixture?
Air bubbles in resin usually come from how it is mixed and how air gets trapped in the liquid. The easiest way to keep them low is to stir slowly and steadily instead of whipping the resin, since fast mixing pulls in more air. Using a wider cup helps too, because the resin has more space and traps less air as you mix.
After mixing, let the resin sit for a minute so some of the bubbles can rise to the surface on their own. You can also gently pass a heat gun or torch over the top to release bubbles before pouring or right after. Keeping your resin and workspace at a comfortable room temperature also helps the bubbles move out more easily, giving you a smoother and clearer finish.
What causes resin to remain tacky after curing?
Resin usually stays tacky when the resin and hardener are not mixed in the correct ratio or are not fully blended together. If there is too much of one part, or if the mixture is not stirred well enough, parts of the resin will not cure all the way. Temperature can also play a role, since resin needs a warm space to cure properly, and cooler rooms can slow things down or leave the surface sticky.
Can I mix different brands of resin and hardener?
It is not recommended to mix different brands of resin and hardener. Each brand is made to work as a specific system, which means the resin and hardener are designed to react together in a certain ratio and formula. When you mix products from different brands, there is no guarantee they will cure properly, and you could end up with sticky resin, soft spots, or a finish that never fully hardens.
More tips for mixing epoxy resin
Mix at room temperature
Working at room temperature helps your resin mix more smoothly and makes the whole process easier. When resin is too cold, it gets thicker and harder to stir, which can trap more air and make bubbles harder to release. A comfortable room temperature helps the resin stay fluid so everything blends together more evenly.
2. Stir Slowly to Minimize Bubbles
Stirring slowly makes a big difference when you are mixing resin. Fast or aggressive stirring pulls in air, which leads to more bubbles in your mixture. A slow and steady motion keeps the resin smooth and helps everything blend together without adding extra air. Taking your time also helps the resin and hardener combine more evenly. As you stir, scrape the sides and bottom of the cup so nothing gets left behind.
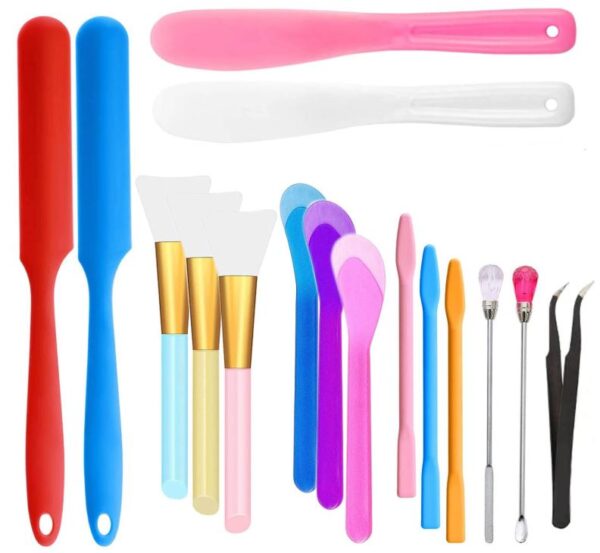
3. Use a Clean Mixing Stick for Each Stage
Using clean mixing sticks is important because any leftover resin or dust can affect how your new batch cures. Silicone sticks are the best choice because resin doesn’t stick to them like it does with wooden or plastic sticks. That means you get a smoother mix, and cleanup is much easier, just wipe or peel off any leftover resin instead of scrubbing.
One time I was working on a white geode resin and accidentally got some glitter into my mix because I wasn’t paying attention. It was just a little bit that was on my stir stick, but it was very hard to get it out of the white.
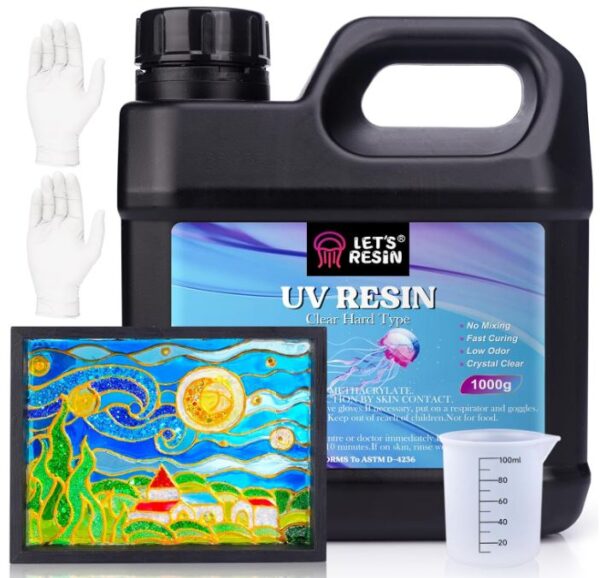
4. Try UV resin for quick projects
UV resin is a great option when you want a fast project or a small piece. It cures in minutes under a UV light instead of hours or days like regular epoxy resin. This makes it perfect for charms, jewelry, or tiny decorations when you want to see results quickly. Because it cures so fast, you can layer colors or add details without waiting for a long cure time. Just remember to work in thin layers and use a UV light to harden each layer so your piece comes out smooth and clear every time.
Here’s a guide about the best UV resin brands
Mixing Resin Troubleshooting
Uneven curing
Uneven curing happens when parts of your resin harden faster than others, leaving some areas soft or sticky. This can happen if the resin and hardener were not fully mixed or if the mixture was poured in a space that is too cold or drafty.
To fix this, make sure your resin is at room temperature before mixing and stir thoroughly so the hardener is evenly distributed. Pour in layers if your piece is thick, giving each layer time to settle before adding the next. This helps your resin cure consistently across the whole project.
Cloudy cured epoxy
Epoxy can turn cloudy when air gets trapped during mixing or pouring, or if the resin is too cold when you start. Stirring too fast or using a cold workspace can make tiny bubbles that stay in the resin and create a cloudy look once it cures.
To fix this, mix slowly and steadily, and keep your resin at room temperature before you start. After pouring, let the resin sit for a few minutes so bubbles can rise to the surface, or gently pass a heat gun or torch over the top to clear them out. This helps your resin stay clear and smooth.
Too many air bubbles
Air bubbles show up when too much air gets trapped while mixing or pouring resin. Stirring too quickly, pouring from a high distance, or working with cold resin can all create extra bubbles that stick around.
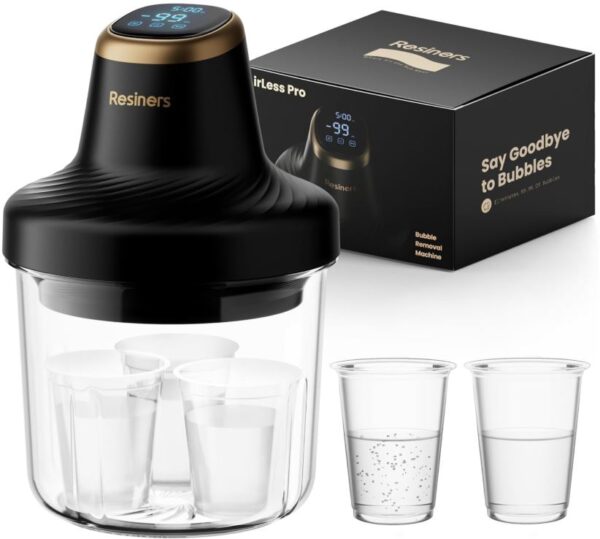
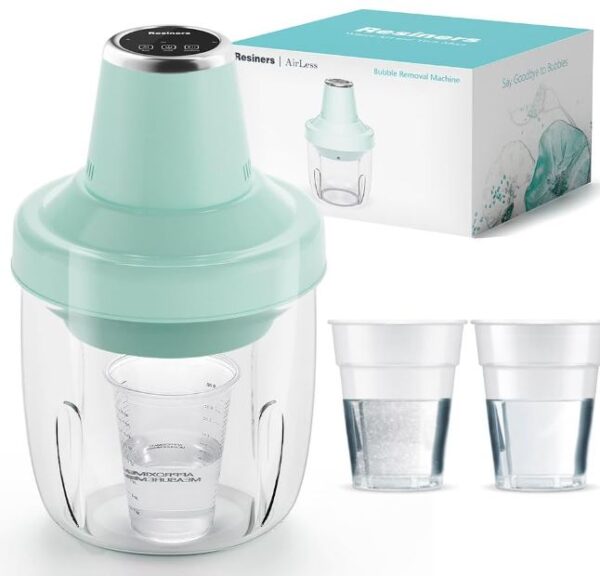
To reduce bubbles, mix slowly and scrape the sides and bottom of your cup as you stir. After pouring, let the resin sit for a minute so bubbles can rise naturally. You can also use a bubble remover machine or a resin pressure pot for larger projects. These machines gently remove trapped air, giving you a smooth, clear finish without the frustration of tiny bubbles everywhere.
Epoxy is tacky after curing
Tacky epoxy usually means the resin and hardener were not mixed in the right ratio or were not stirred long enough for a complete reaction. Cooler temperatures or pouring in thick layers can also slow the curing process, leaving a sticky surface.
To fix this, make sure you measure carefully and stir the mixture thoroughly so the hardener is fully blended in. Keep your workspace at room temperature while the resin cures, and for thicker pieces, consider pouring in layers so each layer has time to harden fully. This helps your epoxy cure all the way and feel firm to the touch.
Epoxy not curing at all
If your epoxy does not cure, it usually means the resin and hardener were mixed in the wrong ratio or not mixed thoroughly. Using old resin, working in a very cold space, or pouring too thick of a layer can also stop it from hardening.
To fix this, double check the ratio on your resin’s instructions and stir slowly but completely so everything is blended. Make sure your workspace is at a comfortable room temperature and, for thick pours, consider doing thinner layers. Following these steps gives the resin what it needs to fully cure and turn solid.
Read this guide: Why Resin Is Not Curing
Thanks so much for reading! I hope these tips help you feel more confident the next time you mix resin and create something beautiful. With a little practice and the right techniques, your projects can turn out smooth, clear, and exactly how you imagined. Happy resin crafting!
More epoxy resin articles
- How to work with resin
- Beginner guide for using UV resin
- How to remove epoxy bubbles
- Common resin problems