11 Tips For Using Resin On Polymer Clay
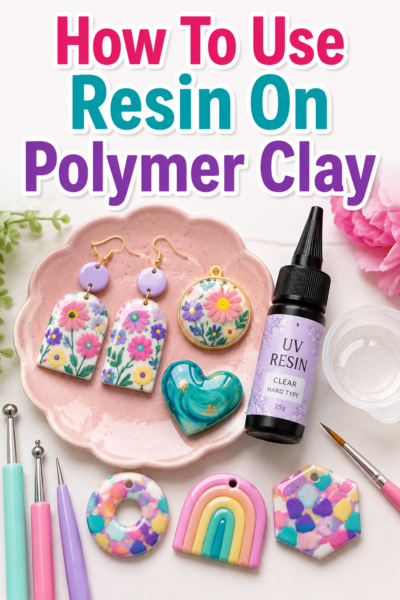
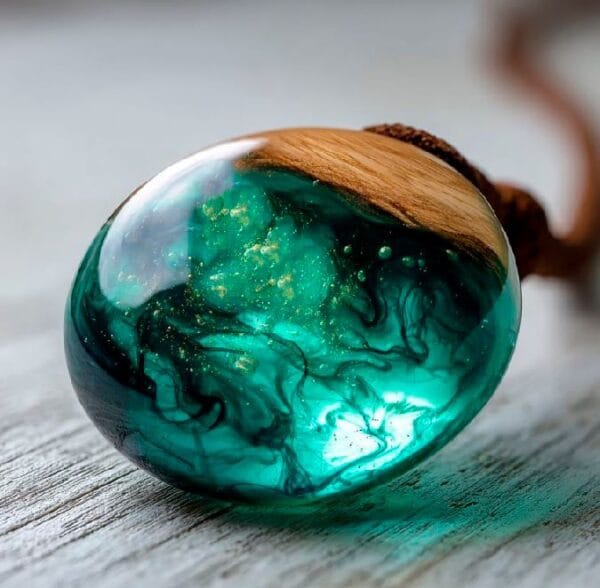
Here are some tips for using resin on polymer clay. Using resin on polymer clay is a great way to add shine, strength, and a professional finish to handmade projects. Resin can seal designs, protect surface details, and create a glossy coat that makes colors stand out. Many crafters use epoxy resin or UV resin for polymer clay jewelry, charms, and small crafts because it gives a durable layer that looks polished and smooth.
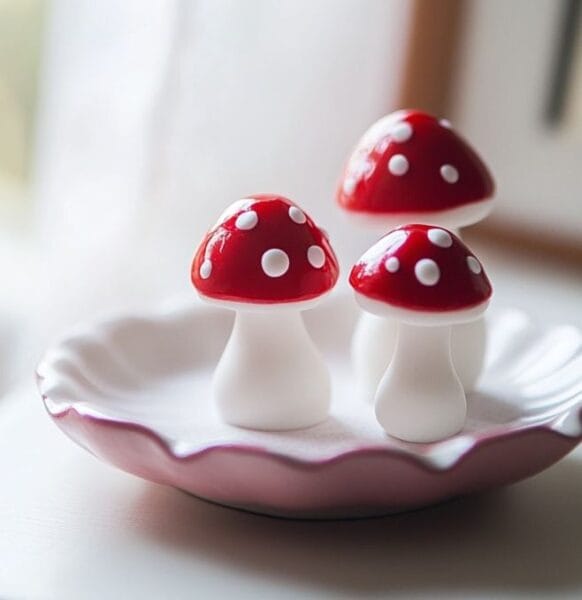
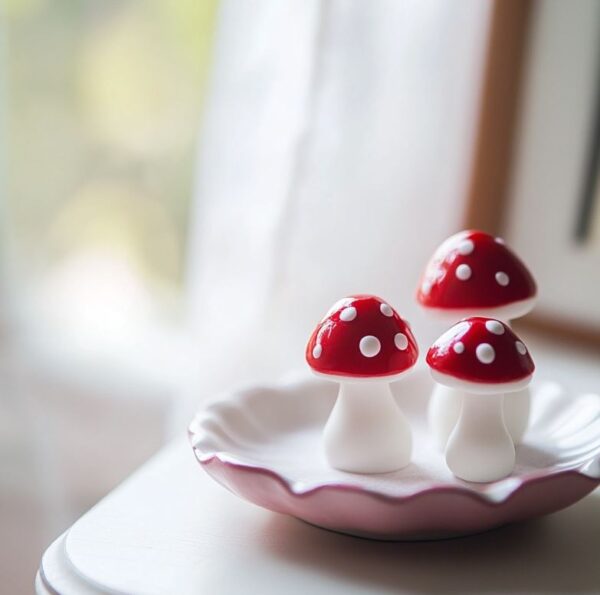
I love how resin can take a simple polymer clay piece and make it look finished and extra special. It’s such a fun way to give your projects a shiny topcoat, or even add glitter and color for more creativity. Once you try resin with polymer clay, it quickly becomes a favorite step in the process because it makes every piece look like something you’d find in a shop.
Tips For Using Resin On Polymer Clay
1. Start with clean clay pieces
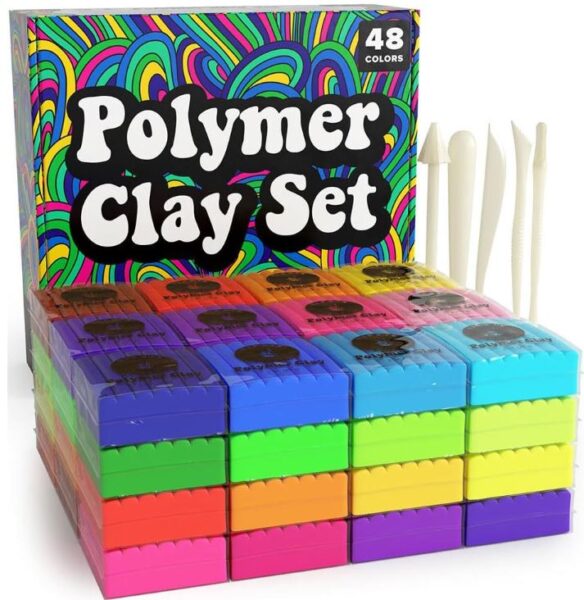
Before applying resin, make sure your polymer clay is fully baked, cooled, and free of dust or fingerprints. Wiping pieces with a lint free cloth helps remove oils and tiny particles. This makes sure that the resin adheres properly and keeps the surface smooth. The right type is important as well, use brands like Sculpey or Hippie Crafter. I’ve used Sculpey’s oven baked clay a ton and love how their clays turn out after baking.
2. Choose the right resin
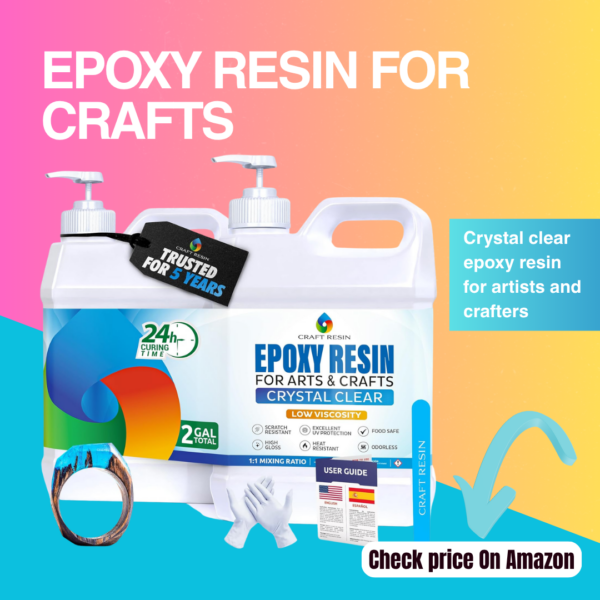
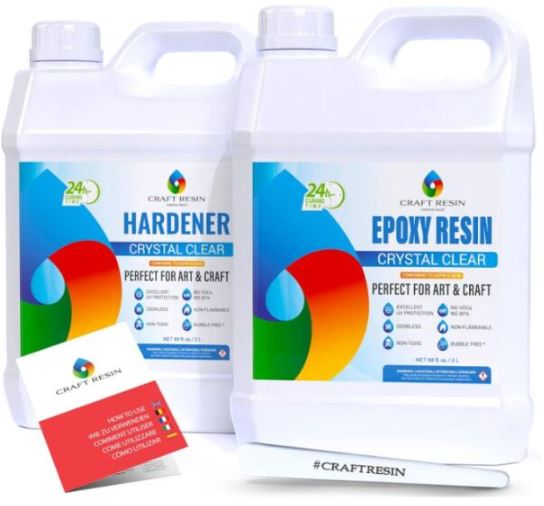
Selecting the right resin depends on your project size and timeline. UV resin cures very quickly under a UV lamp, which is perfect for small charms or jewelry. Epoxy resin takes longer, usually 24 – 48 hours, but works well for thicker coatings or larger pieces. A personal tip: for small keychains, UV resin saves so much time, especially when testing different colors or layers! Here is a list of some of the best resins for crafts.
3. Work in thin layers
Apply resin in thin layers rather than pouring one thick coat. Thin layers spread more evenly and reduce the risk of drips along the edges. If a thicker or domed effect is needed, let each layer cure fully before adding the next. Using a silicone craft spatula can help control the amount of resin applied. You can also use a brush, but keep in mind that you will not be able to wash it if you are using epoxy and the resin will eventually harden up. You can use a brush with UV resin but just make sure it’s away from any type of light when you are storing it so that it doesn’t go hard. That way you can keep using it.
4. Use a brush or toothpick for spreading
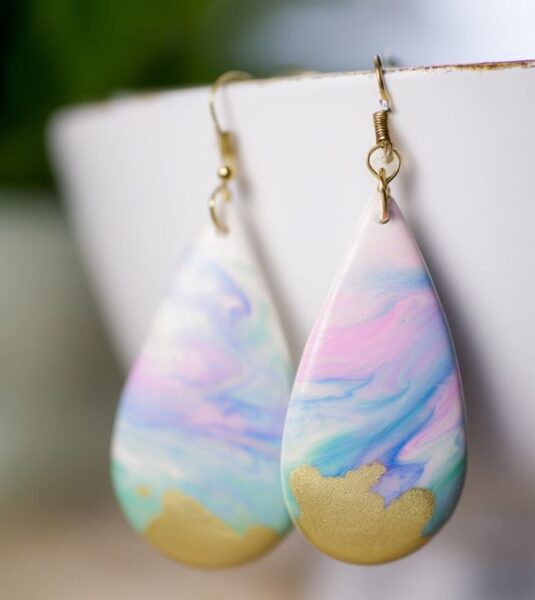
A small silicone brush, paintbrush, or toothpick is great for guiding resin into corners or smoothing it over details. For small designs with texture, a toothpick can help push resin into crevices without creating bubbles.
5. Seal surface designs first
If the polymer clay piece has mica powders, pastels, or painted details, seal it with a thin layer of varnish before applying resin. This helps stop colors from smudging or bleeding when resin is added. The best thing to do is practice with something you don’t care about first. That way you don’t ruin the thing you are working on.
6. Cure completely
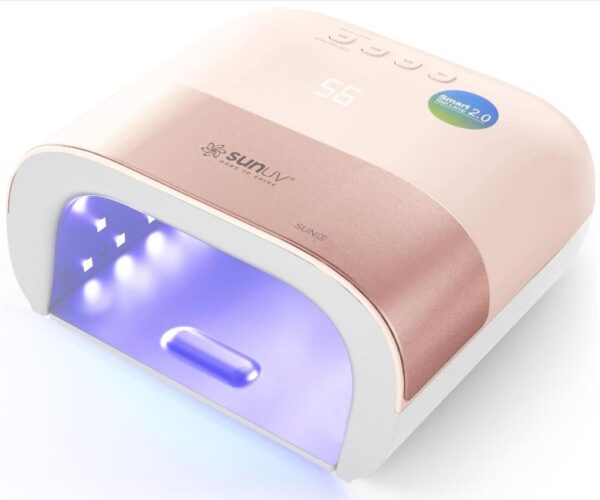
UV resin needs a strong UV lamp, and epoxy resin needs a flat, level space to set. Moving a piece too early can leave sticky areas. So do make sure your piece is completely cured or you can get fingerprints and all kinds of dust and lint on it. I find that nail art lamps work great for curing lots of little pieces at a time.

7. Protect your workspace
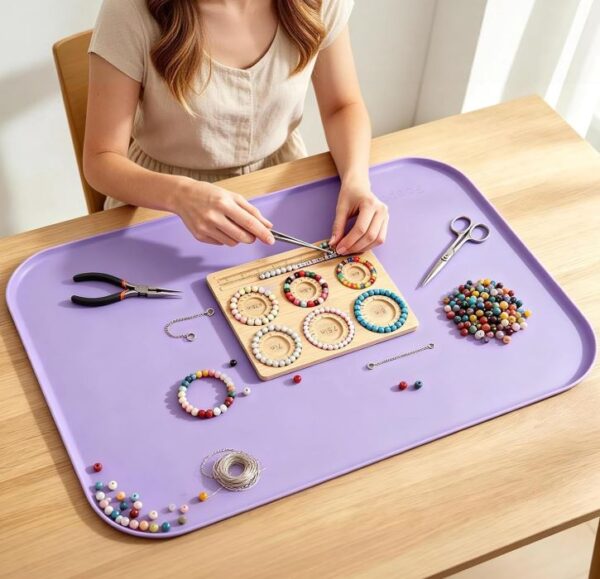
Cover your table with parchment paper, freezer paper, or a silicone mat to catch any spills. This makes cleanup much easier and keeps resin from sticking to surfaces. Small silicone trays are handy if you need to move multiple pieces at once. I also found this larger silicone craft mat that holds everything in one place so your resin and clay embeds don’t fall off of the crafting table.
8. Remove bubbles before curing
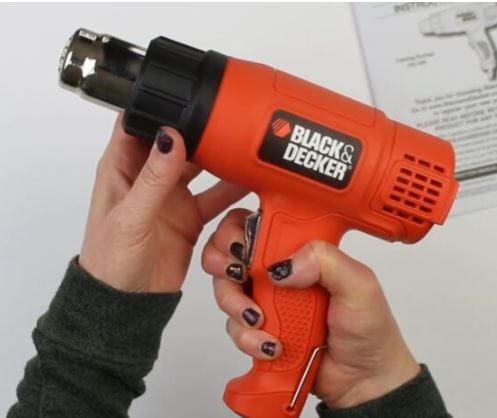
Bubbles often appear after mixing or applying resin. A heat gun, small torch, or even a toothpick can help pop bubbles before curing. In one project, carefully running a heat gun over a thin UV resin layer removed nearly all tiny air pockets, giving the piece a completely smooth surface. You can also use a resin bubble remover chamber too. Right now I’m using the black and decker heat gun. It works really well and then I can also use it on larger resin tables too.
9. Add glitter or inclusions
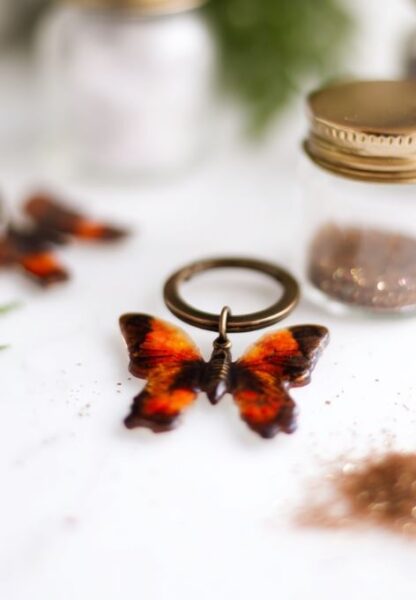
Resin is perfect for mixing in glitter, foil flakes, tiny charms, or beads. Stir small amounts into the resin or sprinkle on top after applying a thin layer. Tools like silicone spatulas or toothpicks make it easy to place these inclusions exactly where you want them.
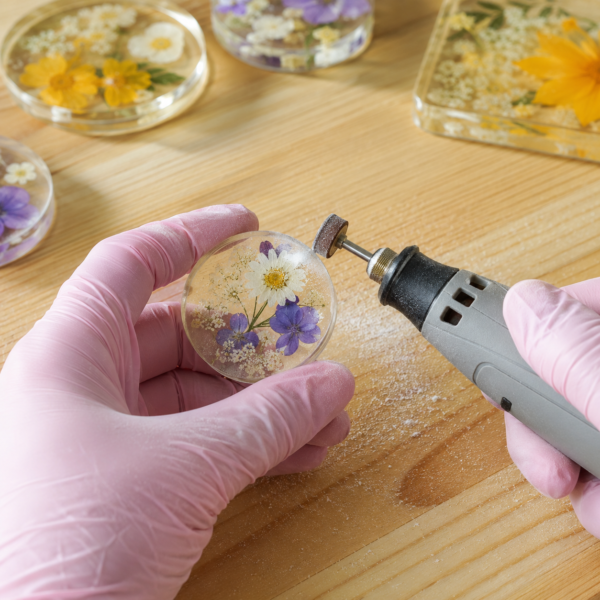
10. Sand edges after curing
Once the resin has hardened, check the edges for drips or uneven areas. Fine grit sandpaper or a nail file can smooth these spots. After sanding, wipe the piece with a soft cloth or microfiber towel to remove dust before using or gifting.
11. Cover while curing
Dust, hair, and tiny particles can ruin a shiny resin finish. Place a clean container, box, or even a large plastic cup over each piece while curing. This keeps your resin surface clear and smooth, especially for delicate charms and jewelry. Epoxy resin and UV resin is really sticky and will just attract pretty much anything in the air. So I would cover your thing that you are making even if you are working in a clean space. There is nothing worse than working on your jewelry or coasters all day and then coming back to find little pieces of lint that have landed on it. It’s really hard to get those out.
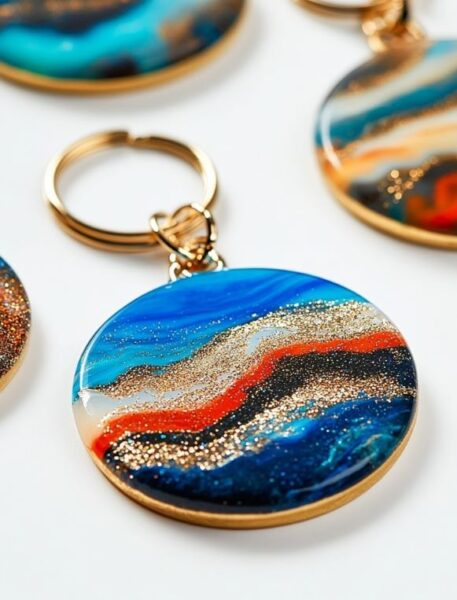
Adding resin to polymer clay is such a fun way to bring out the colors, add a gorgeous shine, and give your handmade pieces a lovely finished look. Take your time, apply the resin in thin layers, and let each piece cure fully before handling it. Like many craft techniques, it may take a little practice, but you will soon find a method that works well for you.
Thanks so much for reading! I hope these tips helped you feel more confident about using resin on polymer clay. Have fun creating, trying new ideas, and adding that beautiful glossy finish to your clay projects. I cannot wait for you to see how pretty your finished pieces turn out!
More resin ideas
- How to cover a painting with resin
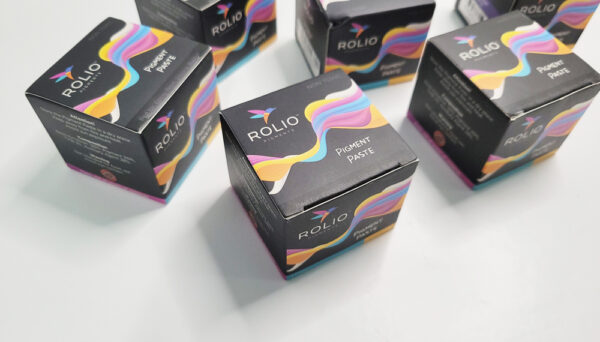
- How to use resin pigment paste
- What is resin that is pre mixed?
- Best silicone jewelry molds to try