
Casting With Epoxy Resin Tips
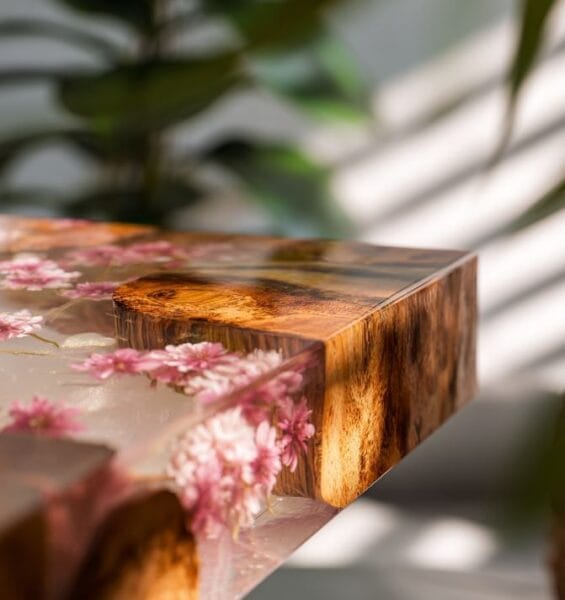
Here are some things to know about casting with epoxy resin. Casting with epoxy can be so fun once you get the hang of it. From making jewelry to small home décor pieces, knowing a few simple tips makes your resin projects smoother and more enjoyable. Things like mixing carefully, working in layers, and keeping your workspace the right temp can make a big difference in your results. Even small details like choosing the right mold or adding color at the right time can really bring your creations to life. These tips help you get beautiful results with less stress and more confidence.
I remember the first time I tried casting with epoxy. I was excited but a little unsure about the process, and I ended up learning so much from tiny mistakes. I love sharing tips like these because they save you time and let you enjoy the creative part without worrying. It feels amazing when a simple piece turns out just how you imagined, and I know you will love seeing your resin shine.
Casting With Epoxy Tips
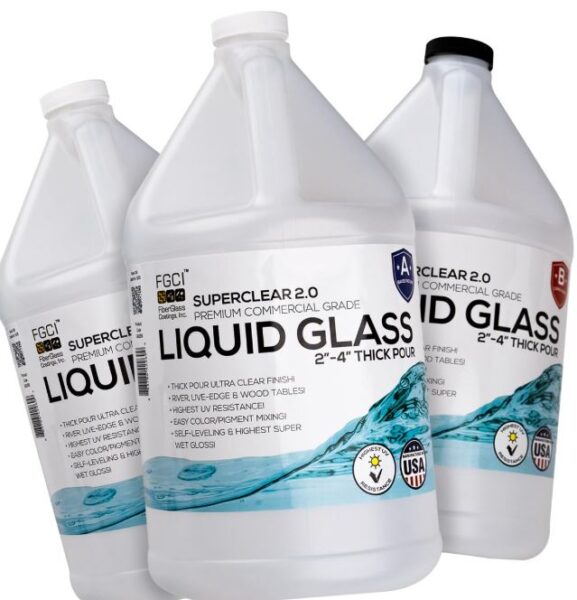
1. Choose the right epoxy resin for casting
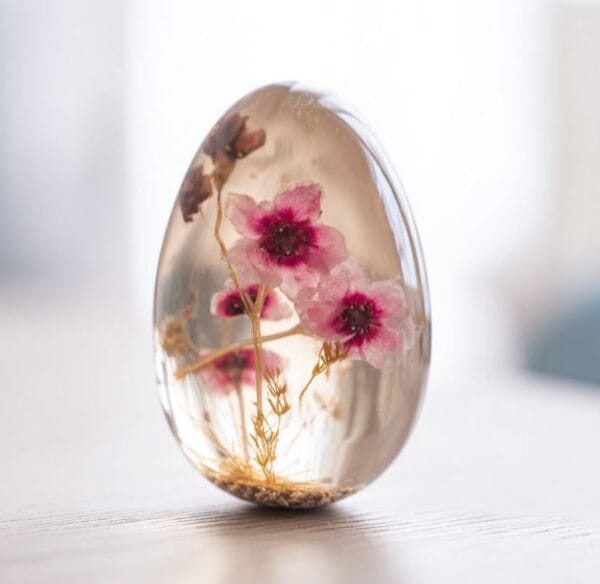
Not all resins are the same. For clear casting resin, pick one labeled “clear casting” or “deep pour” because it stays workable longer and cures slowly, which helps reduce bubbles. If you’re embedding flowers, glitter, or charms, check that the epoxy stays clear over time and doesn’t yellow quickly. Look at the pot life so you know how long you can pour before it starts thickening. Matching the resin to your project size and depth makes your pieces come out smooth and even.
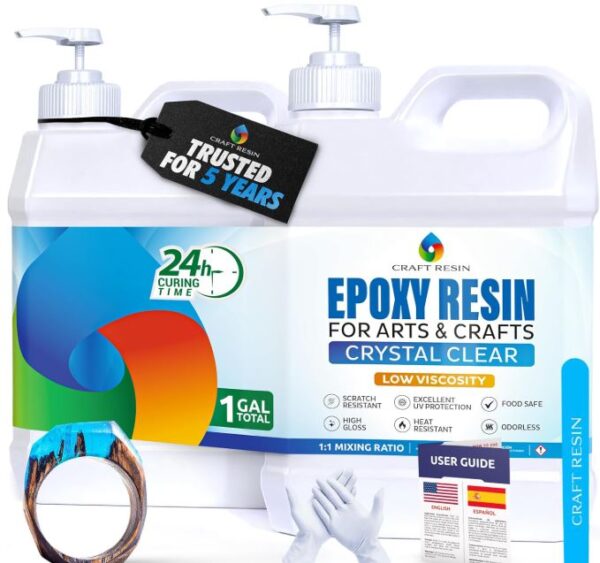
So for deep pours go with something like Promise Deep Pour Epoxy and for small jewelry an epoxy like CraftResin will work fantastic.
2. Work in a clean dry space
A tidy workspace makes a huge difference in your resin casting. Wipe down your table with a damp cloth first, then dry it completely so no dust or water droplets get into your resin. Lay down a silicone mat, parchment paper, or an old tray to catch drips and make cleanup easier. Keep a small brush or compressed air handy to remove tiny dust particles from your mold before pouring. Make sure your room isn’t too humid, because moisture can create bubbles or cloudiness in clear casting resin. Resin is sticky and literally everything will get into it or land on it, especially hair!
3. Don’t work in a cold garage
Temperature really affects how your resin cures. If it’s too cold, your epoxy casting can stay sticky, cure unevenly, or develop cloudy spots. Try to work in a room that stays at least 70 degrees Fahrenheit or follow your resin’s recommended range. If you don’t have a warm space, use a small space heater to gently warm your area before you pour. Warming your molds slightly can also help the resin flow better and help stop bubbles.
4. Measure carefully
Measurements are very important. Use separate, clearly marked cups for resin and hardener, and always place them on a flat surface to level the liquid. Pour slowly to the exact line or weight recommended by the instructions, and double check amounts before mixing. Once measured, stir each part gently before combining so nothing sticks to the cup, and scrape the sides and bottom to get every drop. Some resins have a 1:1 ratio and other brand use 2:1 so know this before you use it.
5. Mix slowly
Mixing your resin and hardener slowly is one of the most important steps for a smooth, clear epoxy casting. Start by pouring the resin and hardener into a clean cup and use a sturdy stirring stick. Stir gently in a steady, circular motion for at least two to three minutes. Scrape the sides and bottom of the cup several times to make sure no unmixed resin is left behind, since even a little can cause sticky spots or uneven curing. Do not whip or shake the resin, because that traps tiny air bubbles that can show up later in your clear casting resin. If bubbles appear while mixing, let the resin sit for a minute or gently tap the cup on the table to help them rise.

6. Know your curing times
Every epoxy resin has a recommended curing time, and following it makes a big difference in how your casting turns out. Check the instructions for both the working time (how long you can pour and manipulate the resin) and the total cure time (when it’s fully hardened). Keep your piece in a level, dust-free area while it cures and don’t touch it too soon, even if it looks firm on top. Remember what I talked about with the temperature affecting the curing, so a cooler room can slow it down and a warmer room can speed it up. For layered resin casting, wait until each layer reaches a tacky finish before adding the next one.
7. Layer your resin
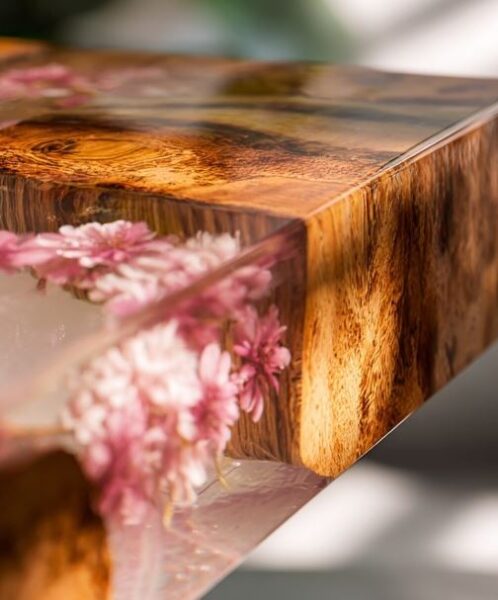
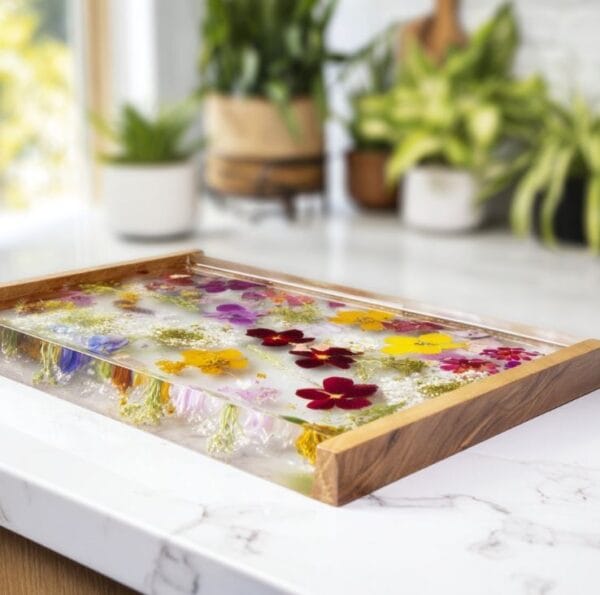
Pouring all your resin at once can cause heat to build up. That is going to give you lots of bubbles or uneven curing, especially in thicker pieces. It is also one of the main causes for dimples in your finished thing. Instead, pour your resin in thin layers. Let each one to set until it’s tacky before adding the next. This gives you more control over your design, especially if you’re embedding items like flowers, charms, or glitter. When layering, gently tap or shake the mold to help any trapped bubbles rise to the surface. You can also lightly heat each layer with a torch or heat gun to keep it smooth before pouring the next one.
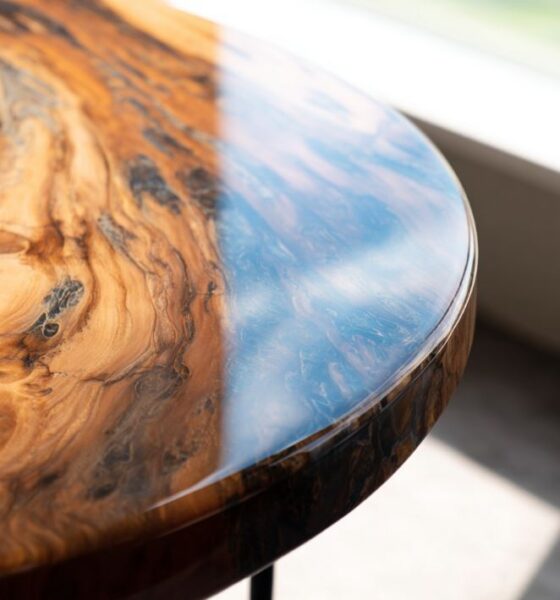
8. Adding color to the epoxy
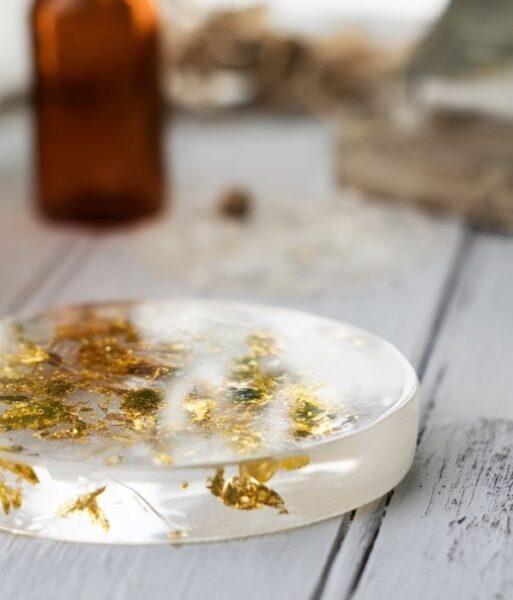
Adding pigments, dyes, or glitter to your resin can make your pieces really pop, but timing and technique matter. Always mix your resin and hardener fully first, then add your color so it blends evenly without trapping bubbles. Stir gently with a stick in slow circles, scraping the sides and bottom to make sure the pigment spreads completely. Start with a small amount of color. You can always add more if you want it darker, but too much at once can change the curing process or make your resin cloudy. If you’re layering or embedding items, mix your color right before you pour each layer so it doesn’t settle unevenly.
- Best pigments for resin waves
- Pearl pigments for epoxy
- Liquid dyes to use for epoxy pours
- Top epoxy resin pigment pastes

9. Keep an eye on curing time
Know how long your resin needs to cure. Check your resin’s instructions for both working time which is the time you have to pour and manipulate it, and total cure time, when it will be fully hardened. Don’t touch or move your piece before it’s fully set, even if the top feels firm. For layered resin casting, wait until each layer becomes tacky before pouring the next one so the layers stick together properly.

Epoxy resin continues to cure and become harder long after it feels solid. Even when a piece looks fully set, the chemical process inside keeps strengthening the material for days or even weeks. Over this time, your resin slowly gains durability and firmness, which is why a freshly cured piece may still be slightly flexible at first.
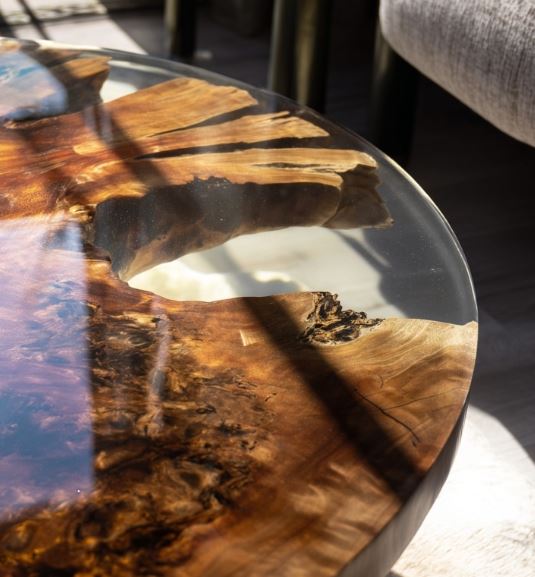
10. Plan Your Design
Thinking through your resin project before you pour makes a huge difference in the final result. Decide where you want colors, glitter, or embedded items to sit in your piece so everything looks balanced and intentional. If you’re layering resin, plan the order of colors or objects to create depth and dimension. Laying out your items outside the mold first can help you see exactly how they will appear. A little planning upfront saves time, keeps your resin casting clear, and makes your finished piece look polished and well thought out.
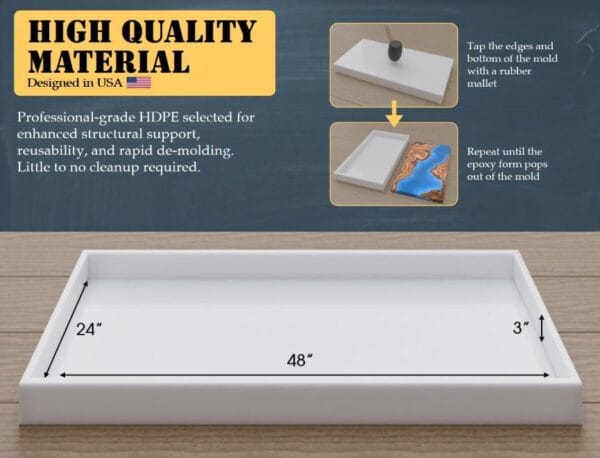
11. Large Molds for Casting
When you want to make bigger resin pieces, you have a couple of options. You can make your own large molds using wood forms and silicone, which lets you customize the size and shape exactly how you want. If you don’t want to make your own, you can also find large silicone table molds that are ready to use.
Thanks so much for reading! I hope these tips help you get the most out of your resin casting projects and make creating your pieces easier and more fun.


![12 Things To Know About Lac Resin [GUIDE]](https://craftydiyartistry.com/wp-content/uploads/2023/11/lac-resin-guide-cover-a-600x338.jpg)
https://shorturl.fm/tV3dX