13 Reasons Why Epoxy Resin Is Cloudy [And Fixes]
Hey there! This article will help you with the main reasons why your epoxy resin is cloudy. Ever been super excited about creating something with epoxy resin, only to find that it turns out kind of cloudy or hazier than expected? You take it out of the mold and wonder why it isn’t shiny.
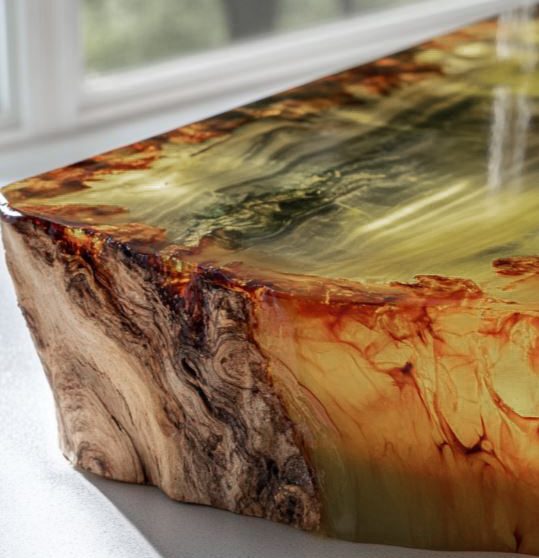
Ugh, I’ve been there. Cloudy resin is up there on the list of top of resin problems you might have. Epoxy resin should be shiny and free of bubbles and cloudiness unless you are going for a matte look to the resin.

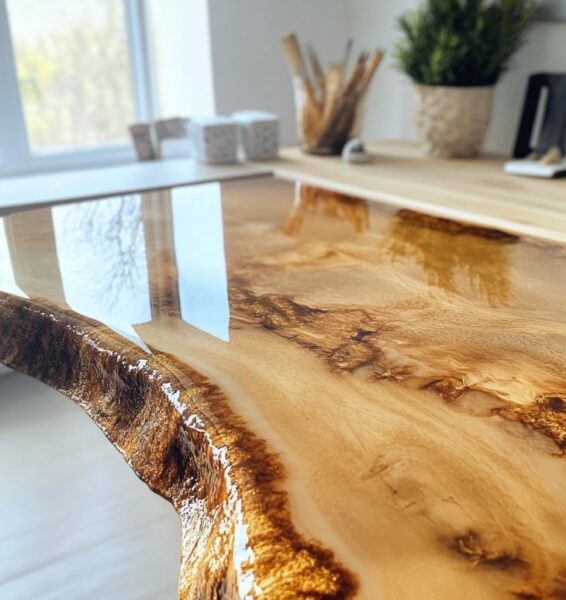
I once made a resin table, and while most of it turned out crystal clear, there was a section that looked a bit cloudy. It wasn’t terrible, but it was enough to catch my eye. I learned the hard way that my garage was colder than it should have been for resin work. That small drop in temperature was all it took to change the look of that part.
Why Epoxy Resin Is Cloudy
Epoxy resin can turn cloudy for a few different reasons. One of the main causes is moisture. Even a small amount of water can make resin look hazy or milky. Temperature can also play a big part. If the resin is poured when it’s too cold, it can trap tiny bubbles and create a dull finish. Over-mixing or introducing too much air while stirring can cause the same issue. Dust and tiny particles in the air can also land in the resin while it’s curing, making it look less clear.
1. Wrong Resin To Hardener Proportions
Using the wrong resin-to-hardener proportions can cause your epoxy to turn cloudy. When the ratio is off, the resin can’t cure properly, leaving it with a milky or tacky finish. This happens because the chemical reaction between resin and hardener needs the right balance to form a clear, solid surface.
To fix this, always measure each part accurately using the manufacturer’s instructions. Don’t eyeball it. Use measuring cups made for resin, and make sure they’re clean and dry before starting. Double check your measurements before mixing to avoid wasting materials and ending up with a cloudy project.
2. Under Mixing
Under mixing can leave streaks or cloudiness in your resin. When the resin and hardener aren’t fully blended, some parts cure faster than others, creating uneven spots and a hazy look. You might also notice sticky patches that never seem to set.
To fix this, mix slowly but thoroughly for the time recommended by the brand you’re using. Scrape the sides and bottom of your mixing cup as you go so no unmixed material is left behind. Once it looks blended, keep mixing for another minute to make sure it’s fully combined. If you are unsure on how to mix the epoxy, then you might want to check out epoxy resin mixing machines.
Here’s a complete guide on how to properly mix resin.
3. Moisture Contamination
Moisture contamination can cause epoxy resin to turn cloudy or even form small bubbles. Water reacts with the hardener, which can leave you with a milky or frothy look instead of a clear finish. This can happen if your tools, molds, or work area aren’t fully dry.
To fix this, always make sure your resin workspace, tools, and molds are completely dry before you start.
4. Temperature Fluctuations
Temperature fluctuations can make epoxy resin look cloudy or hazy. If the temperature drops too low while curing, the resin can thicken unevenly and trap tiny bubbles. Sudden heat changes can also cause condensation, which adds moisture to the mix.

Work in a space with a steady, warm temperature which is around between 70°F and 75°F (21°C to 24°C). Keep the resin in the same room for several hours before mixing so it can adjust to the room’s temperature, and avoid moving your project to a cooler or hotter spot while it cures.
5. Resin Has Expired
Using resin that has expired can lead to cloudiness, uneven curing, or a soft, tacky surface. Over time, the chemicals in resin and hardener break down, which affects how well they mix and set. Even if it looks fine in the bottle, old resin may not give you a clear, strong finish.

Always check the expiration date before starting a project. Store your resin in a cool, dry place with the lids tightly closed to extend its shelf life. If it’s been sitting for a long time or has thickened, it’s safer to replace it. Here’s how to tell if your epoxy has expired.
6. Dirty Tools and Containers
Dirty tools and containers can easily cause cloudy resin. Dust, leftover cured resin, or tiny bits of other materials can mix in and ruin that crystal-clear finish. Even small amounts of leftover pigment or glitter from a past project can change your color or make the resin look dull.
To fix this, always start with clean, dry tools and containers. Wipe them down before mixing, and avoid using anything with scratches or cracks that can trap debris. Keeping your workspace clean will help your resin stay smooth and clear.
See this guide: How to get resin out of mixing cups.
7. Not Enough Ventilation
Not having the proper ventilation can affect your resin projects more than you might think. Poor airflow can trap heat and slow curing, sometimes causing a cloudy or uneven finish. It can also let fumes build up, which isn’t safe, especially in smaller spaces.
Work in a well ventilated area, open windows, or use a fan to keep the air moving. I like to have my window open with my fan pointing outside. Proper airflow helps the resin cure evenly and keeps your workspace safer. Just be sure that when you are using a fan that you are not blowing stuff into the curing resin.
8. Pouring Too Thick Layers
Pouring resin too thick at once can give you a cloudy or uneven finish, and in some cases, the heat from curing can create bubbles or even cause the resin to overheat.
To fix this, pour in thinner layers and let each layer partially or fully cure before adding the next. This approach keeps your resin clear, smooth, and avoids problems with heat and trapped air.

9. Check Humidity Levels
High humidity can interfere with resin curing, leading to cloudiness or a tacky finish.

Monitor and control the humidity in your workspace, especially if you live in a humid environment. Consider using a dehumidifier to create a more resin-friendly setting for your projects. If you’re working in a humid area, try using a dehumidifier or work in an air-conditioned space to reduce moisture in the air.
10. Contaminated Pigments or Additives
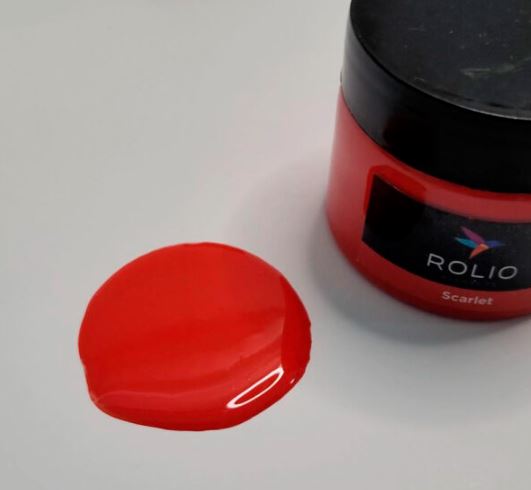
Using pigments or additives that aren’t fully compatible with your resin can cause cloudiness or uneven coloring. Make sure to test new pigments or powders on a small amount of resin first, and always use materials recommended for your specific resin type. This keeps your final piece smooth, clear, and vibrant.
Here are the best colorants for resin & how to color resin properly.
11. Too Many Bubbles
Air bubbles trapped in your resin can make it look cloudy or uneven. When there are too many bubbles trapped in the resin during the mixing and pouring stages, they can create microvoids or inconsistencies in the cured surface, giving it a cloudy appearance. Check out this article about bubbles in resin.
To fix this, pour slowly and carefully, stir gently, and use a craft heat gun or torch to pop any bubbles that rise to the surface. For thicker pours, working in layers will help reduce bubble buildup.
12. Poor Quality Resin
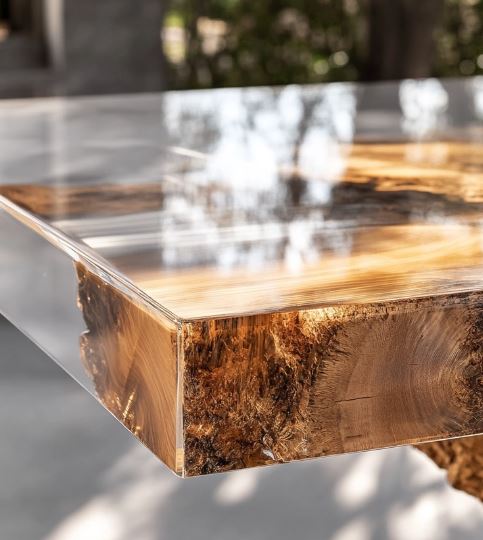
Using low quality resin can lead to a cloudy, uneven, or brittle finish, even if you follow all the right steps. Cheap resins often have inconsistent formulas, which can affect clarity, curing time, and how well they hold pigments or additives.
Choosing a trusted brand helps ensure your resin cures clear and smooth, giving your projects a professional look. Sometimes spending a little more upfront saves a lot of frustration and wasted material down the line. While it might be tempting to go for more budget friendly options, they might not be formulated the right way.
Here are three brands that I use quite a bit:

13. Mixing Brands
Mixing epoxy resin from different brands can cause cloudiness and curing issues. Each brand uses its own formula, and even if the ratios seem the same, the chemicals may not react well together. This can leave you with a cloudy finish, sticky spots, or resin that never fully cures.

To avoid this, always use resin and hardener from the same brand and product line. If you run out in the middle of a project, it’s better to wait and order more of the same kind rather than risk mixing formulas.
FAQ’s About Cloudy Resin
Cloudy resin during curing can result from factors like incorrect mixing ratios, under mixing, moisture contamination, or temperature fluctuations.
If you notice cloudiness during curing, remix a fresh batch following proper ratios and mix thoroughly. Pour in thin layers, letting each to cure before adding the next. This helps manage heat and promotes clearer results.
Sometimes. Post-curing UV exposure, sanding, and polishing can sometimes improve clarity. Applying a clear resin coat on top might fix cloudiness. Do note that depending on why it became cloudy, you might not be able to fix it.
Over time, resin components can degrade, impacting their ability to cure properly. Check expiration dates, and use fresh resin to ensure optimal performance and clarity.
High humidity can interfere with resin curing, leading to cloudiness or a tacky finish. Control humidity in your workspace, and consider using a dehumidifier for a more resin-friendly environment.
Yes, low quality or incompatible pigments and additives can contribute to cloudiness. Choose high quality, resin specific colorants, and conduct small-scale tests before using them in larger projects.

Tips For Fixing Cloudy Resin
Remix and Pour in Thin Layers
If you notice cloudiness while the resin is still curing, try remixing a fresh batch following proper ratios and mixing thoroughly. Pour the new mixture in thin layers, letting each layer to cure properly before adding the next.
Post-Curing UV Exposure
If your cured resin appears cloudy, expose it to additional UV light. Place your project in direct sunlight or use a UV lamp for an extended period. This extra UV exposure can sometimes improve clarity.
Sand and Polish
For slight cloudiness or surface imperfections, try sanding and polishing the cured resin. Use a fine grit sandpaper to smooth the surface, followed by a polishing compound to restore clarity.
Use a Resin Clear Coat
If your resin project is cloudy after curing, consider applying a clear resin coat on top. This additional layer can help to mask cloudiness and provide a glossy, clear finish. Ensure proper mixing and application to avoid introducing new issues.
Check the Additives
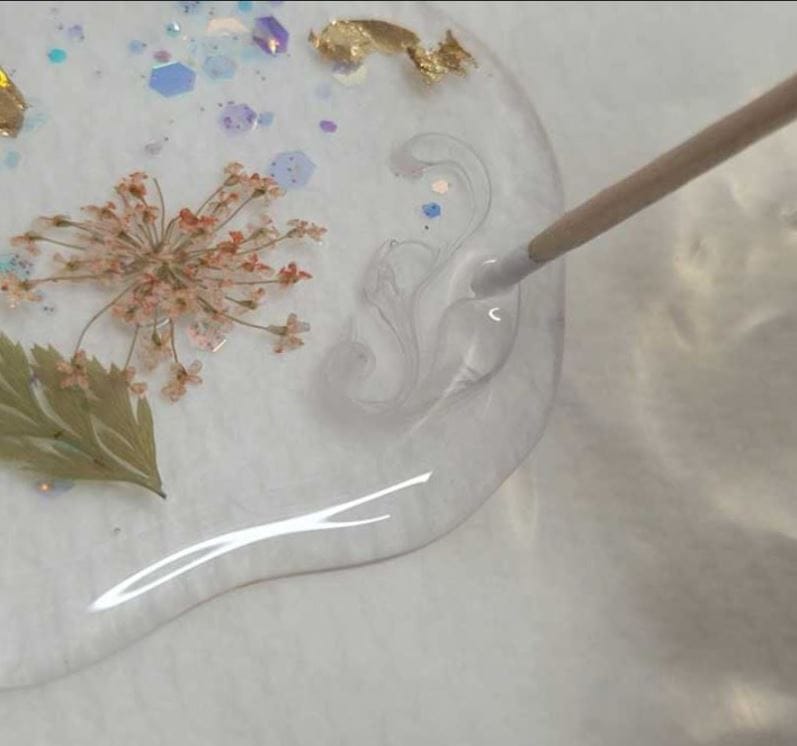
Double check any additives or inclusions you’re using. Some colorants or additives may contribute to cloudiness. For those of you who are using dried flowers, if they are not completely dry, that can also cause resin to be cloudy.
Experiment with different brands or types, and do some small scale tests before pouring larger projects. Make sure that the additives are compatible with the resin you’re using.
Thanks for reading! Cloudy epoxy resin can be frustrating, but understanding the causes makes it much easier to prevent. From temperature and moisture to stirring techniques, there are simple steps you can take to keep your resin clear and shiny.
Even small projects, like coasters or jewelry, can benefit from these tips. Remember, a little patience and attention to detail go a long way in getting the perfect finish for your resin creations.