How To Sand Epoxy Resin
Here is how to sand epoxy resin. If you’ve been looking into how to sand epoxy and UV resin, this guide might help. Sanding resin can smooth out edges, fix uneven spots, and get your piece ready for a beautiful glossy finish or top coat. I’ll walk you through what grits to use, when to wet sand, and some tips for keeping your projects looking their best.
So you might be wondering, can you sand epoxy resin? The answer is yes. To have a flawless, glossy surface, you might find yourself needing to sand it down. Sanded resin will give you a crystal clear finish, free of imperfections if done correctly.
How To Sand Epoxy Resin
1. Why Epoxy Resin Would Need Sanding
Smooth Out Imperfections
Sometimes, when you’re pouring resin into a mold or coating a surface, tiny air bubbles or dust particles can sneak in. This leaves you with a less than perfect finish. Sanding epoxy resin helps smooth out air bubbles in resin, creating a sleek and glossy surface that makes your project look like a pro did it. Having a smooth surface will also help you paint the resin if needed.
Remove Excess Epoxy Resin
Epoxy resin has a mind of its own and can sometimes be a little overenthusiastic, causing drips, uneven layers, or excess buildup in your project. Sanding lets you to gently trim away the excess, making your resin work look neat and polished.
Fix Uneven Surfaces
If you’ve poured resin over an uneven or bumpy surface, sanding comes to the rescue. It helps you level out the highs and lows so that your final piece is flat and even. No more wobbles or uneven tabletops. Sanding resin is one of the ways you can also fix pits in resin.
Prep for Additional Layers
Adding more layers or additional materials to your resin creation? Sanding is needed to create a good bonding surface. It roughs up the existing resin layer, giving the new layer something to grip onto. When you are working on things like epoxy tables that have layers, you can sand it and that will help prep for the next layer.

Get a Matte or Satin Finish
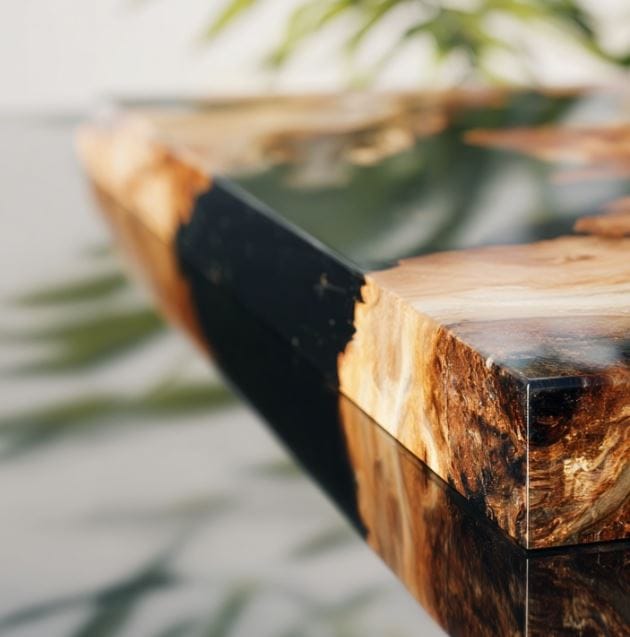
Sometimes that ultra glossy look isn’t what you’re going for. Sanding can be your ticket to a matte or satin finish. By scuffing up the surface, you tone down the shine, giving a more subdued and elegant appearance. I absolutely love the look of a matte resin and wood. I absolutely love this look on countertops and resin tables.

Remove Scratches and Blemishes
After your resin project has cured and you see accidental scratches, nicks, or imperfections, sanding might be needed. With the right sandpaper and a gentle touch, you can get rid of these flaws and restore the shine on your creation.
Create a Frosted Effect
If you’re trying for a frosted or translucent effect in your resin art, sanding is your secret weapon. By sanding the surface, you can get a semi opaque or frosted appearance, which adds a touch of mystery and intrigue to your work.
Customize the Texture
Sanding lets you customize the texture of your resin projects. You can get a textured, smooth or gloss look with different sanding techniques and grits. This helps you customize your creations to match your vision.
2. Basic Sanding Instructions For Resin
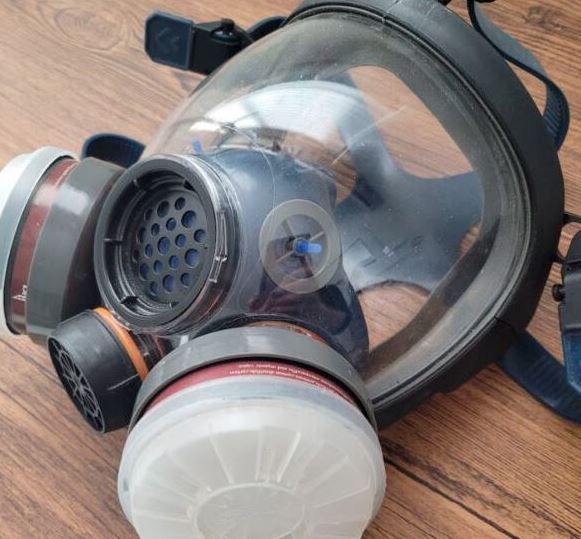
Use a Respirator
Whenever sanding or using epoxy always use a respirator to protect your lungs. I can’t believe how many times I’ve watched Youtube videos and the people have absolutely no protection on. It’s just not good practice and those particles of epoxy and dust can get into the tiniest of places, so imagine what it’s doing to your lungs. Right now I’m have a full faced respirator from Parcil. It fits my head perfectly.
Start with the Right Grit
Are you wondering what grit of sandpaper to use for resin? Begin sanding with a coarser grit sandpaper and gradually progress to finer grits. Coarser grits remove more material, while finer grits create a smoother finish. This step by step approach helps you get the desired level of smoothness. Start out with an 80–120 grit for making it even, then move up through 180 – 400 for smoothing. For a high gloss finish, continue sanding up to 1,000–3,000 grit. Then you are ready for polishing.

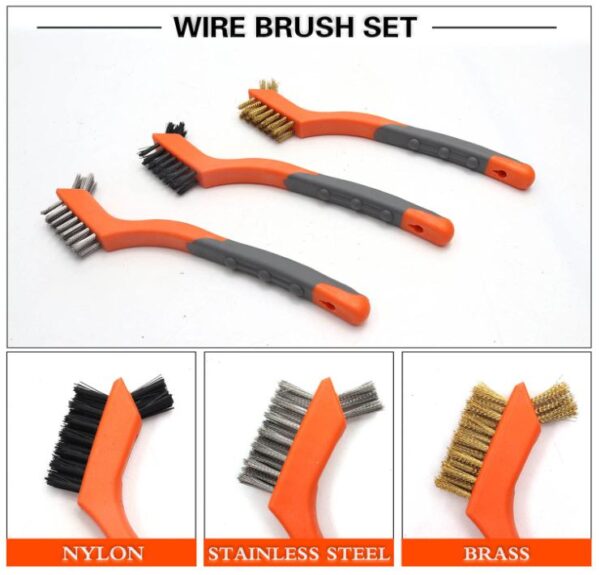
Prevent Buildup On Sandpaper
Regularly clean your sandpaper to stop resin buildup. To clean and maintain sandpaper during resin sanding, use a wire brush or an old toothbrush to gently remove resin buildup and debris from the sandpaper’s surface. If the sandpaper is heavily clogged or worn then start with a new sheet. You will find that if you are sanding large pieces like a table, you are going to go through sandpaper like crazy!
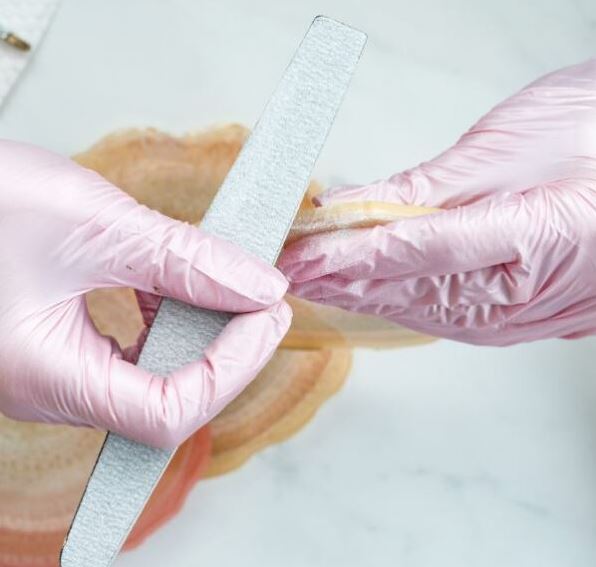
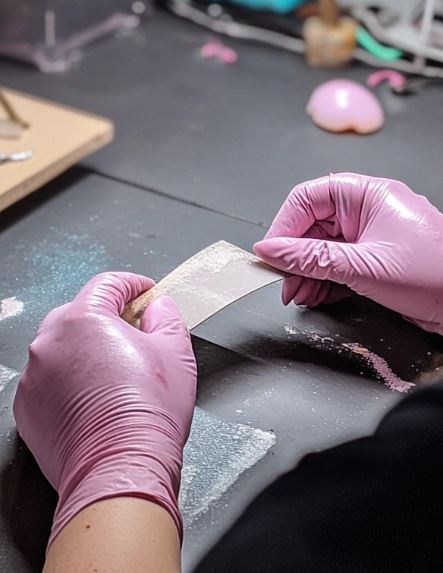
Use Even Pressure
This is how to sand epoxy resin by hand. Apply even pressure while sanding so that you don’t sand uneven spots on your resin surface. Keep the sandpaper flat against the workpiece. It’s super easy to get nicks in the resin so do be careful.
Check Your Progress
Once in a while, stop and inspect your work. Look for areas that need more attention and give them another sand. I like to take a few steps back so I can take a look at what’s going on.
Clean Up Properly
After sanding, clean your workspace to remove resin dust and debris. A dust collection system or vacuum can be useful. You will always want to clean up in between projects so that everything is nice and clean and ready. There’s nothing worse than pouring a new project and having dust and epoxy particles getting onto and into everything.
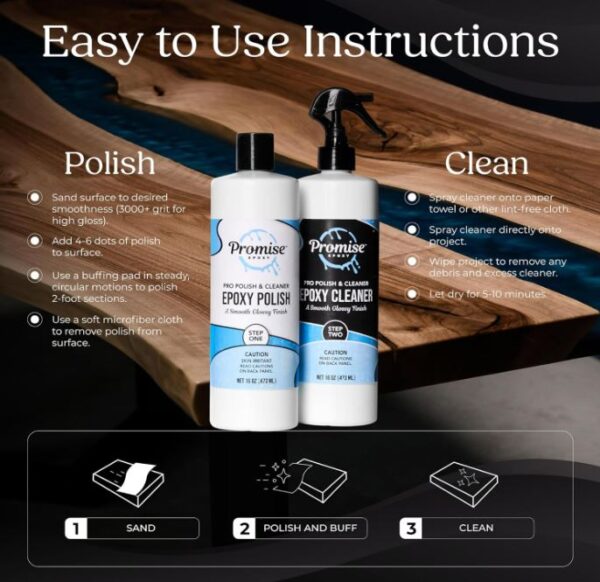
Final Polishing
If a high gloss finish is wanted you might want to use an epoxy polishing kit for the final step. These really make the epoxy things shine up. They are fantastic for small things like coasters and then large epoxy tables too. Here’s a complete guide on how to polish resin.
3. The Main Types Of Resin Sanding
Wet Sanding
Wet sanding involves using water as a lubricant while sanding the resin. It helps prevent the resin from overheating and melting, which can be a concern when dry sanding. The water not only cools the surface but also clears away debris, allowing for smoother and more controlled sanding.
Dry Sanding
Dry sanding is the way to sand resin without the use of water or any other liquid. It’s for initial shaping or rough sanding, but it can generate a fair amount of heat due to friction. This is great to do for coasters before adding the gold leaf to the outside because it roughs it up for the glue to stick.
Micro Mesh Sanding
Micro mesh sanding is a specialized set of abrasive pads known as Micro mesh pads. These pads have a very fine grit and are made to be gentle on the resin surface. Micro mesh sanding gradually refines the resin to a polished state without causing overheating or aggressive removal of material.
4. grits of sandpaper & Sequence For Resin

Coarse Grits (80-120)
Coarse grits are used for the first sanding to remove imperfections, level the surface, or reshape the resin. These grits are can quickly remove material but leave visible scratches so do be very careful not to leave pits.
Medium Grits (120-220)
Medium grits are the next step in the sequence and help smooth the surface and refine it after coarse grits. They begin to reduce the visible scratches and prepare the surface for finer sanding.
Fine Grits (320-400)
Fine grits are used to get a smoother surface, eliminating the visible scratches left by coarser grits. They prepare the resin for finishing or polishing and provide a good balance between material removal and surface refinement.
Very Fine Grits (600-1000+)
Very fine grits are used for finishing and polishing resin. They create a smooth surface and minimize visible scratches.
The specific sequence you follow may vary based on the condition of your resin surface and the type of surface you want in the end. Some people don’t go past 250 grit, it just depends on what you want it to look like. So just start with a coarser grit and then move on to finer grits for smoothing and finishing. Remember to transition between grits gradually.
5. Types of Sanders For Epoxy Resin
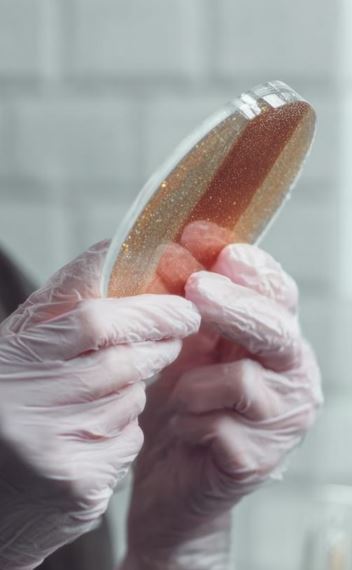
Hand Sanding
Hand sanding is used for smaller items like resin jewelry, coasters, and figurines. As you move down in grits, it will make the resin smooth. You can also do this with small epoxy tables. The table I made below was hand sanded and it turned out great. I only had a small section so I didn’t need a sanding machine.
Orbital Sander
Orbital sanders are great for larger resin projects such as tabletops, countertops, and resin art pieces. They give quicker sanding for broader surfaces while preventing swirl marks and ensuring a consistent finish.

Belt Sander
Belt sanders are powerhouses for removing material and leveling resin surfaces. They’re often used for big epoxy projects like large tabletops, countertops, or resin river tables. Disc sanders, in both stationary machines and handheld tools, are perfect for precision work. They are used to get flat and even surfaces on resin sculptures, art panels, and larger décor items.
Spindle Sander
Spindle sanders are for curved and contoured surfaces, making them a must have tool for shaping and smoothing outer edges.

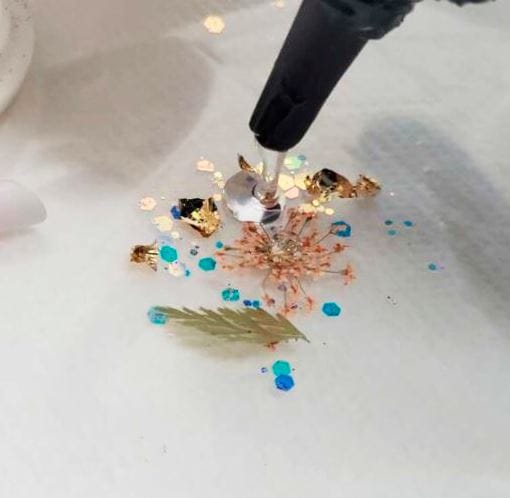
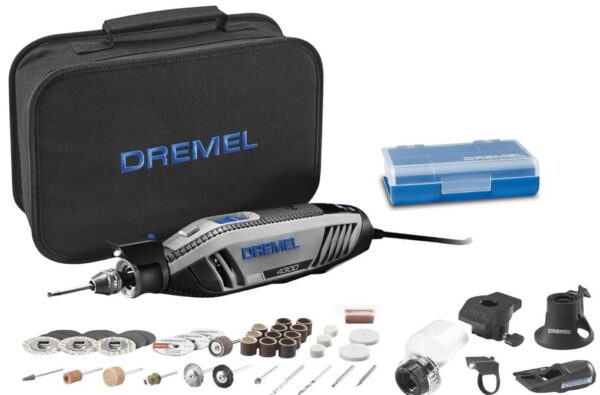
Mini Rotary Tools (Dremel)
Mini rotary tools, like Dremels, are excellent for intricate detailing and fine sanding on resin jewelry, miniature figurines, and any project where you need just a small area sanded down. If you have a small business or selling your epoxy things on Etsy, then these are just a life saver. You can use them for sanding and also making holes in your resin for hangers or for inserting gems and sequins.
Benchtop Drum Sander
Benchtop drum sanders are what you need for creating consistent thickness in resin slabs and sheets used in various applications like tabletops, inlay work, or large-scale resin art pieces.
6. Keeping The Sandpaper Clean
When sandpaper accumulates resin due to friction, you will need to clean it regularly. You can use a wire brush or an old toothbrush to gently remove the clogged resin particles from the sandpaper’s surface. If the resin buildup is quite a bit, you will need to replace the sandpaper. It’s crazy how much sandpaper you can go through for just a small table.
7. Recoating With A New Layer Of Resin
Recoating with a new layer of epoxy top coat will add depth and luster. Applying a fresh layer of epoxy resin on top of an existing resin surface that has already cured really brings colors out. Before recoating, thoroughly clean and lightly sand the cured resin for good adhesion. The new layer bonds with the old layer, creating a seamless finish that can hide imperfections and enhance the overall look of your piece.

8. Resin Sanding Safety Precautions
Wear Protective Gear
Before you start sanding, make sure to wear appropriate safety gear. This includes safety glasses or goggles to protect your eyes from flying particles, a dust mask or respirator to shield your lungs from resin dust, and nitrile gloves to keep your skin safe from resin particles and sanding debris. Check out how to work with resin safely.
Always follow safety precautions when working with resin from smaller crafting creations like jewelry to large jobs like tables and countertops.

Work in a Well Ventilated Area
Always sand resin in a well ventilated space, preferably with a good airflow. This helps to disperse any resin dust or fumes and reduces the risk of inhaling harmful particles. If you’re working indoors, use an exhaust fan that can be installed in your window.
Use a Dust Collection System
Use a dust collection system or a vacuum with a HEPA filter to capture resin dust at its source. This not only keeps your workspace cleaner but also minimizes the inhalation of potentially harmful particles.
Prevent Contact with Skin
Wear appropriate clothing and use nitrile gloves to avoid direct skin contact with resin and sanding residue. This helps protect your hands and minimizes the risk of skin irritation or allergies. The very first time I worked with epoxy, I got it everywhere! It’s so sticky and hard to get off. Here’s an article about how to get epoxy off of your skin.
Work with Proper Lighting
Good lighting makes a huge difference when working with epoxy resin. It helps you spot dust, bubbles, and uneven spots before the resin cures. You’ll also be able to see your colors and layers clearly so your piece turns out just like you imagined. A bright, even light can save you from surprises later on.
Dispose of Waste Safely
Properly dispose of sanding debris, used sandpaper, and any materials contaminated with resin in accordance with local regulations. Do not flush or pour resin down the sink or disposing of it in a way that could harm the environment. Here’s an article about how to dispose of resin properly.
Store Resin Materials Safely
Store epoxy resin and associated materials in a cool, dry place, away from direct sunlight and open flames. Follow manufacturer guidelines for storage to prevent accidental spills or hazards. See this article about how to properly store epoxy.
Have a first aid kit
Having a first aid kit close by when you’re working with epoxy is just common sense. Accidents can happen, like small cuts from tools or skin irritation from resin. It’s better to clean and cover anything right away rather than stop your project halfway through. Keeping a kit nearby just keeps you safer and lets you focus on creating.

Read Product Labels and Instructions
Always read and follow the instructions provided by the manufacturer of the resin and any sanding tools you’re using. Familiarize yourself with the specific hazards and safety precautions related to the products you’re working with. By following these safety tips, you can enjoy your resin crafting projects with confidence, knowing that you’re taking the necessary precautions to protect yourself and your workspace.
Resin Sanding FAQs
Is Epoxy Resin Hard To sand?
Epoxy can be a bit tricky to sand, especially if it’s fully cured and poured thick. It helps to start with a coarse grit and work your way up to a finer one for a smooth finish. Just take your time and don’t rush it, and remember to wear a mask so you’re not breathing in the dust.
Can you sand resin that is sticky To Fix it?
Sanding sticky resin to make it hard is not going to work. When resin remains sticky or tacky after it’s supposed to cure, the curing process was not completed correctly or that the resin was improperly mixed. Wait until the resin is fully cured before sanding. Trying to sand uncured or partially cured resin can lead to gumming up the sandpaper, creating a messy surface, or damaging the piece. So make sure that the epoxy has reached its recommended curing time or hardness before beginning the sanding process for the best results.
Sanding sticky resin is unlikely to resolve the issue. Here are some tips when dealing with sticky resin.
Identify the Cause
Determine why the resin remains sticky. It could be due to wrong mixing ratios, not letting it cure for the proper amount of time, or other factors like temperature or humidity. Adding too much colorants can also effect resin curing times. If you are making small crafting things, you might want to switch to a UV resin that cures under a light. With this type of resin, there is no mixing at all.

Proper Mixing And Curing
For future resin projects, follow the manufacturer’s instructions for accurate mixing ratios and thoroughly mix the components. Properly mixed resin should cure correctly. Pay attention to the environmental conditions during curing, including temperature and humidity. Some resins may require specific conditions for successful curing. A cold garage is not the best place to be pouring epoxy.
Consult the Manufacturer
If you continue to have issues with sticky resin, contact the manufacturer and see what they have to say.
Why is my sanded Epoxy resin still cloudy or hazy?
Your sanded resin can look cloudy or hazy because sanding leaves tiny scratches on the surface that scatter light. This is completely normal and happens to almost every resin project during the finishing stage. If the sanding grit is too rough, or if a few grit steps were skipped, those scratches stay visible and make the resin look dull instead of clear. Resin also looks hazy right after sanding because it has not been polished yet. Once you move through finer grits like 1000 to 2000 and then buff the surface with a resin or plastic polish, the shine usually comes back.
How can I fix visible scratches
Visible scratches in resin usually mean the surface needs a little more sanding with finer grits. Start by lightly sanding the area again, moving gradually from a medium grit to finer grits like 800, 1000, 1500, and up to 2000 so each step smooths the scratches from the previous one. Wet sanding works well because the water helps rinse away dust and keeps the scratches finer.
What should I do if I accidentally over sanded?
If you’ve over sanded your resin project and removed too much material you might have to patch it with more epoxy. Apply a thin layer of fresh resin and level it with the surrounding surface. Once cured, sand it carefully and gradually to get a uniform finish. Make sure to match the resin type and color.
how long to let epoxy cure before sanding?
Most of the time, you’ll want to let your epoxy cure for at least 24 to 72 hours before sanding. It really depends on the brand and the thickness of your pour. Just make sure it feels fully hard and isn’t tacky before you start. Patience here keeps you from gumming up your sandpaper or scratching the surface.
Can I sand Off Resin That Is Yellowing?
No, you can’t really sand off resin that’s turning yellow. The yellowing usually goes all the way through the layer, not just on the surface. If it bothers you, you might try pouring a fresh clear coat over it instead. I have a helpful article you will want to read up on, it’s all about yellowing resin and how to avoid it.
can you put epoxy over epoxy without sanding?
You really shouldn’t pour epoxy over epoxy without sanding first. Sanding helps the new layer stick so it doesn’t peel or separate later. It might feel like an extra step, but it makes a huge difference in how smooth and strong your finished piece will be.
Can I use power tools to sand epoxy?
Yes, power tools like a rotary tool (e.g., Dremel) equipped with sanding attachments can be used for detailed resin sanding. They are excellent for intricate work and reaching tight spaces. Power tools with polishing attachments can make your resin very smooth. Be careful when using power tools so that you don’t get rid of material too quickly. Always practice on a sample piece before working on your main project.
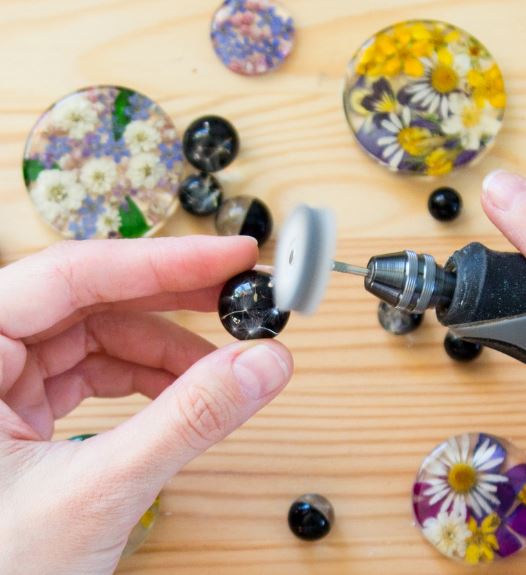
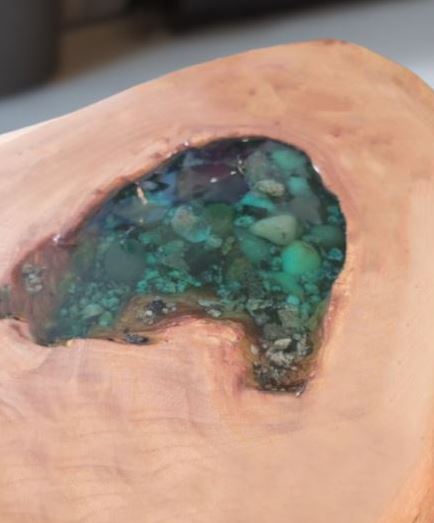
Another option to use for smaller pieces like pendants, geode resin art and crafting items is to use a nail drill. I love this trick! This one below comes with several different drill bits and you can set it at a very slow rotation if needed. It also comes with a cure lamp for UV resin as well as a dust machine to collect dust particles when sanding, it’s super handy kit to have on hand.

Thanks so much for reading, and I hope these tips help make your resin pieces even smoother and shinier. Feel free to share this article with anyone else who’s working with resin and could use a few sanding tips!
For more tips, tricks, and inspiration on epoxy resin and various other crafting and woodworking endeavors like making resin wood art, stay tuned for our future blog posts.