How To Polish Epoxy Resin
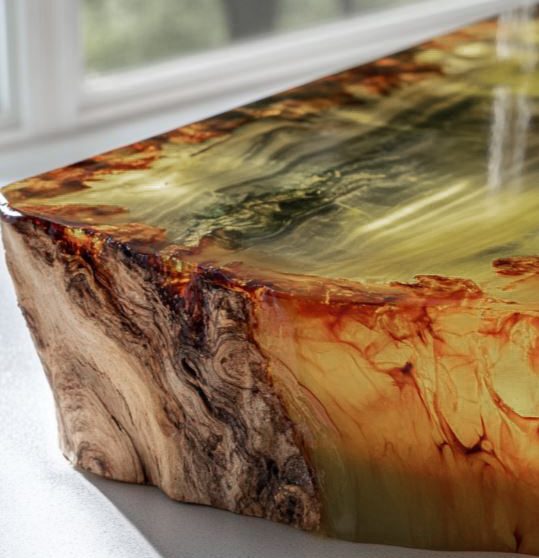
Today we are going to talk about how to polish resin. Epoxy resin projects look even more beautiful when the surface has a smooth glossy finish. Learning how to polish epoxy resin helps bring out the depth, color, and shine in your resin art. A simple polishing process can turn a dull resin surface into a clear glass like finish. With the right sanding steps and polishing products, epoxy resin pieces start to look brighter and more refined. This guide walks through how to polish epoxy resin so your finished pieces look clean, shiny, and smooth.

If you have ever finished a resin project and noticed the surface looked a little cloudy or not as shiny as you hoped, you are not alone. Many resin artists run into this moment and wonder how to bring back that beautiful glossy look. The good news is that polishing epoxy resin is a simple step that makes a big difference in how your piece looks.
How to Polish Epoxy Resin
Materials You Need
- Resin piece: Begin with the resin piece you’ve created and intend to polish. Make sure it’s clean and free of any dust or contaminants.
- Sandpaper (from coarse to fine grits): You’ll need a selection of sandpapers with varying grit levels, starting from coarse to fine. This will allow you to progressively smooth the resin’s surface.
- Water: A basin of clean water will be used to wet the sandpaper and rinse the resin during the process.
- Mild soap: A few drops of mild soap are needed for cleaning the resin piece before you begin sanding.
- Microfiber cloth or paper towels: These will be used for drying and cleaning the resin piece throughout the polishing process.
- Polishing compound or resin specific polish: A specialized polishing compound or a polish designed for use with resin is for getting that glossy finish.
- Rotary tool with a soft buffing attachment (optional): While not mandatory, a rotary tool with a soft buffing attachment can expedite the polishing process and yield professional-level results.
- Safety gear, including gloves and safety glasses: Have the necessary ppe resin safety gear to protect your hands and eyes while working with potentially abrasive materials and tools.
Step 1: Prepare Your Work Area
Before you start polishing epoxy resin, take a few minutes to set up your work area. Place your resin piece on a flat sturdy surface with good lighting so you can clearly see the resin surface while you work. Keep your sandpaper, polishing compound, soft cloth, and water nearby so everything is easy to reach. Many resin artists like to place a towel or silicone mat under their project to catch water and sanding dust.
Step 2: Clean the Epoxy Resin Surface
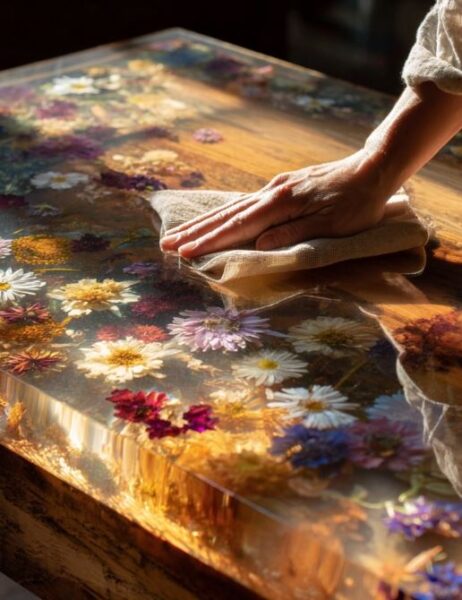
Before sanding or polishing epoxy resin, start by cleaning the resin surface. Dust, small particles, or fingerprints can sit on the surface and get rubbed into the resin while you work. Use a soft cloth and gently wipe the entire piece. This helps lift away dust and keeps the resin surface clear and ready for sanding. Once the piece looks clean, let it dry completely before moving on to the next step.
Step 3: Sand the Epoxy Resin
Sanding is the step that smooths the resin surface and gets it ready for polishing. Start with a lower grit wet sandpaper and gently sand the epoxy resin using small circular motions. Keep the surface slightly wet while sanding so the paper glides smoothly across the resin. As the surface starts to look more even, move to a finer grit sandpaper and continue sanding. Working through several grits helps the resin surface become smoother and ready for the polishing step.
Check out this guide on how to sand resin for the exact steps on how to do this.
Step 4: Remove Dust Particles
After sanding, wipe the resin piece to remove the sanding dust. Use a soft damp cloth and gently clean the entire surface. This helps lift away the fine resin powder left from sanding so the surface looks clear again. Once the piece is clean, dry it with a soft towel and let it sit for a few minutes. When the resin surface is fully dry, you are ready to move on to polishing.
Step 5: Apply Polishing Compound
Once the resin surface is clean and dry, it is time to apply the polishing compound. Place a small amount of resin polishing compound onto a soft cloth or polishing pad. Gently rub the compound onto the resin surface using small circular motions. As you work the compound across the piece, the surface will start to look clearer and shinier. Continue polishing until the entire resin piece has a smooth glossy look.
Polishing Resin FAQ
Why Do I Need To Polish Epoxy?
People polish resin to bring out a clear glossy finish on their epoxy resin projects. During sanding, the resin surface can look cloudy or dull because of the fine sanding marks left behind. Polishing smooths out those tiny marks and restores the shine. This step also helps the colors and details inside the resin stand out more clearly.
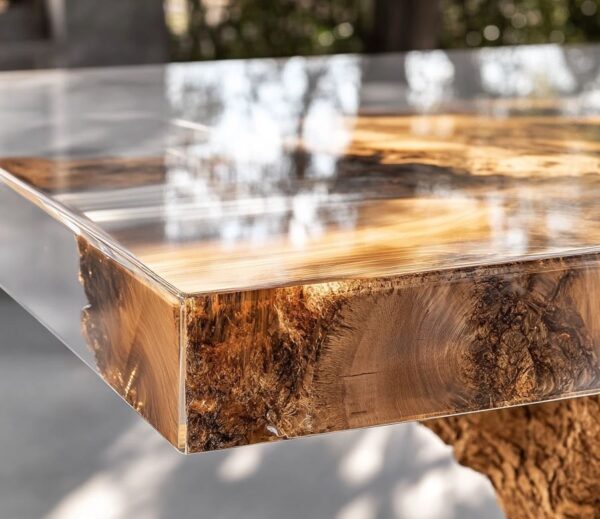
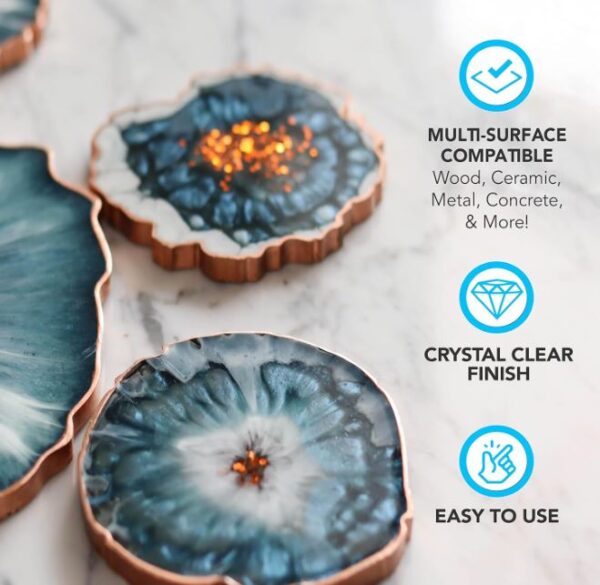
Polishing resin also gives the finished piece a smooth glass like surface. This makes resin art such as coasters, jewelry, trays, and decorative pieces look brighter and more refined. It is often the final touch that makes a resin project look clean, shiny, and beautifully finished.
Can I polish resin immediately after it cures?
Certainly, you can start polishing resin once it’s fully cured, which typically takes 24 to 72 hours, depending on the specific resin you’ve used. See this guide on resin curing times.
Can I use regular polishing compound for resin?
It’s best to stick to polishing compounds that are made for epoxy resin. Regular metal or car polishing compounds might not give the same smooth glossy finish and can sometimes leave tiny scratches on the resin surface. Epoxy specific formulas are designed to work with resin’s texture so your piece gets that clear shiny look.
Do I need a rotary tool for resin polishing?
You don’t need a rotary tool to polish resin. Polishing by hand with a soft cloth or polishing pad works really well, especially for smaller pieces or delicate shapes. Hand polishing gives you more control and lets you feel how smooth the resin is getting as you work. A rotary tool can speed things up on larger flat surfaces, but it’s not required. Many resin artists get beautiful glossy finishes just using the cloth and polishing compound method, so you can keep it simple and still get that clear shiny look.

How do I protect An Epoxy Resin Surface?
To protect an epoxy resin surface, the easiest way is to keep it clean and handle it gently. Wiping it regularly with a soft cloth removes dust and keeps the shine. For pieces that might get a lot of wear, like coasters or trays, adding a thin coat of resin or a resin safe sealer on top can help keep the surface smooth and glossy.
Also, keep resin art out of direct sunlight for long periods. Sunlight can slowly cause the resin to yellow over time, so storing pieces in a shaded spot helps them stay bright. With a little care, your resin surfaces stay shiny and clear for a long time.
Thanks for reading! I hope you found these tips on polishing epoxy resin helpful and easy to follow. With a little time and care, your resin pieces can get that smooth glossy finish that really makes them pop. Happy polishing and have fun bringing out the shine in all your resin projects!
More Epoxy Articles