The 5 Best Doming Resin Brands
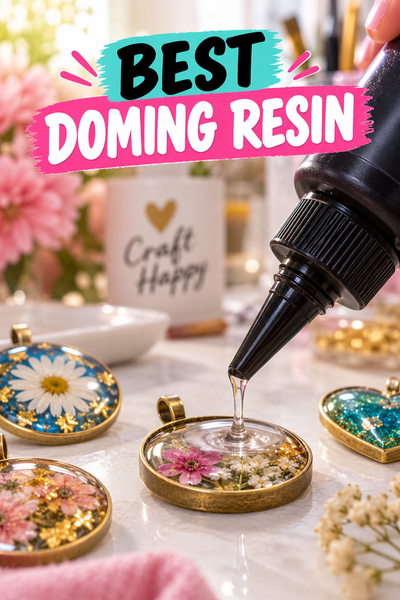
Here is everything you need to know about using doming resin, including how to get a smooth raised finish on your crafts. Doming resin is a type of epoxy resin that sits on top of a surface and creates a glossy, rounded coating. It works well for projects such as handmade signs, paper crafts, artwork, coasters, jewelry, and decorative pieces. Knowing how much resin to mix, how to spread it, and how long it needs to cure can help you get a neat finish on your project.
If you are new to doming resin, the first project can feel like there are quite a few little details to learn. I have found that knowing how resin behaves before you start makes resin crafting much easier, especially when you are working with small crafts or detailed designs. These tips can help you feel more comfortable using doming resin and give your handmade projects a glossy finish you will love.
What is doming resin?
Doming resin is a type of resin used to create a smooth, glossy, raised finish on craft projects. You can use epoxy resin or UV resin, and the resin is applied so it forms a rounded dome over the surface. Its surface tension helps the resin stay in place, allowing it to dome up without spilling over the edges when the right amount is used. It works well for stickers, artwork, jewelry, keychains, signs, and other small crafts where you want a shiny, dimensional finish.
Best Doming Resin
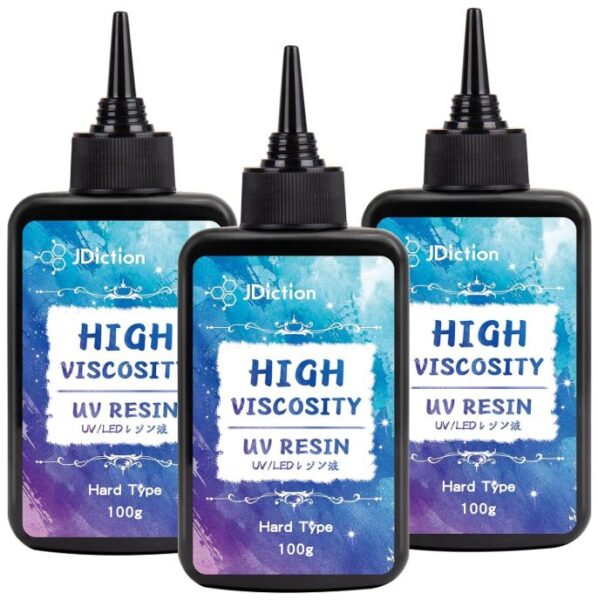
1. JDiction Doming Resin
JDiction High Viscosity UV Resin has a thick consistency that helps it sit on the surface and form a raised dome. Since this is a UV resin, you will need a UV or UV LED lamp to cure it. The resin cures in layers, so you can add more after the previous layer has hardened if you want additional height. I’ve used this one a ton over the years and love it. I’ve never had a problem with it spilling over or bubbles.
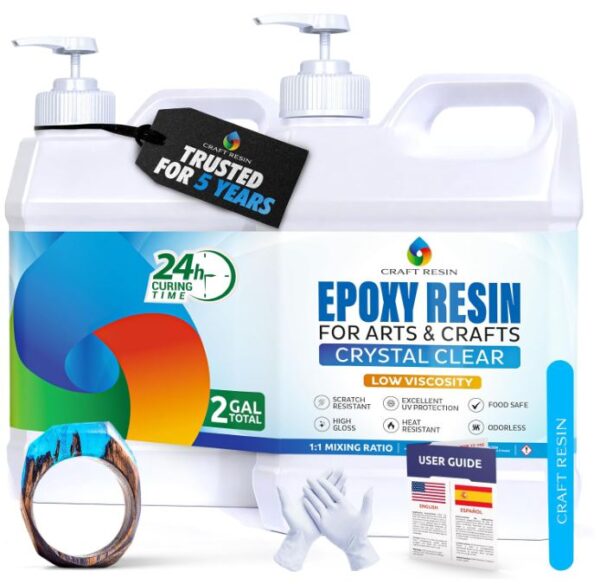
2. Craft Resin Epoxy
Craft Resin is a two part epoxy that you mix together before applying it to your project. Once the resin and hardener are combined, the mixture has a glossy finish and cures without needing a UV lamp. Its formula works well for small jewelry pieces, and it can also be poured into molds to make resin coasters. The longer working time gives you time to spread the mixture and check the surface before it begins to cure.
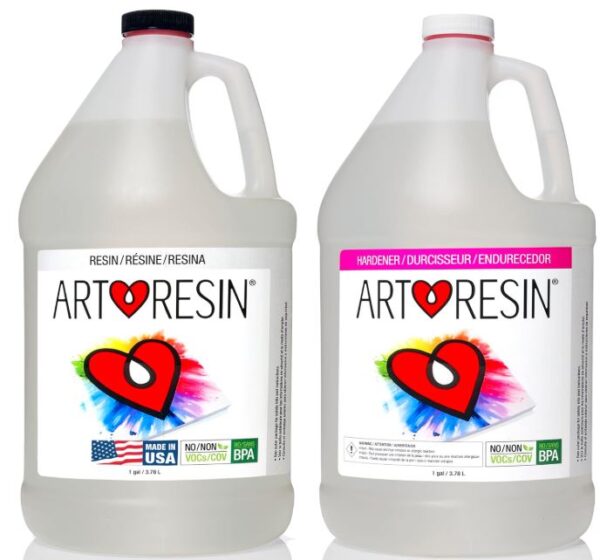
3. ArtResin Epoxy For Crafts
I have been using ArtResin for more than five years, and it is one I like for jewelry and small pieces that need a domed finish. This is a two part epoxy resin that you mix before pouring, and its consistency is thinner than the JDiction resin listed above. Because of that thinner texture, stirring it slowly and properly is important so you introduce fewer air bubbles into the mixture. Here is a review on the ArtResin brand.
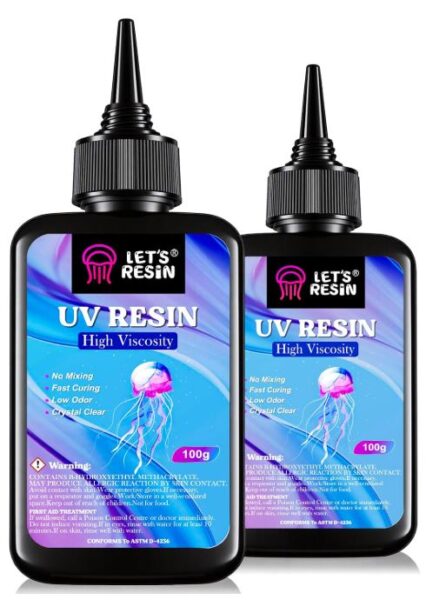
4. Let’s Resin High Viscosity
You will like the thicker consistency of this Let’s Resin UV resin because is it not runny. It makes it easier to build up a nice dome. For this type of resin, you will need a UV or UV LED lamp to cure it. Keep that in mind before buying this type of resin. You will find the thicker texture especially helpful when you are working with smaller areas and want more control over where the resin sits.
5. Kisrel Resin For Doming
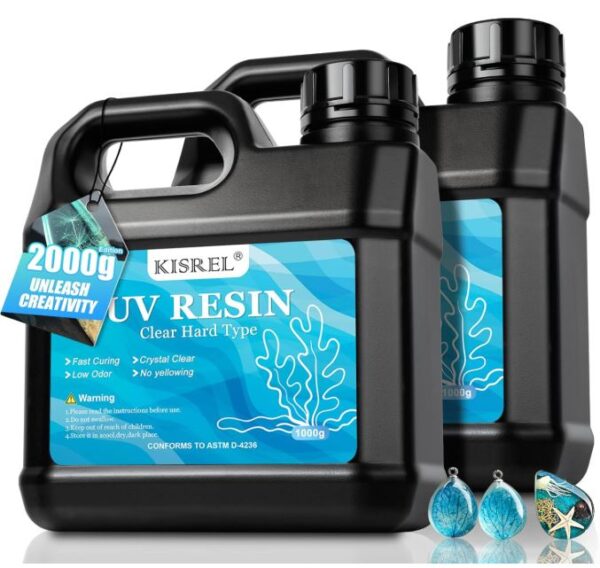
KISREL is a brand worth checking out if you want both epoxy resin and UV resin to try. Their epoxy resin has a smooth, clear finish, while their UV resin cures under a UV lamp. Having both types available makes it easy to choose the resin that fits the project and curing setup you are working with. KISREL is a nice brand to keep in mind when you want a reliable resin for adding a glossy domed finish to smaller things. I’ve used it over the years and like the UV resin for making domino pendants.
What To Know About Doming Resin
Doming resin has high viscosity
Doming resin has high viscosity, which means it is thicker than many other types of resin and tends to stay where you place it. This thicker consistency helps the resin form a raised, rounded dome on the surface instead of flowing quickly toward the edges. When you use the right amount, surface tension helps the resin hold its shape and stay within the edges of your design as it cures.
Doming Resin Will Self Level
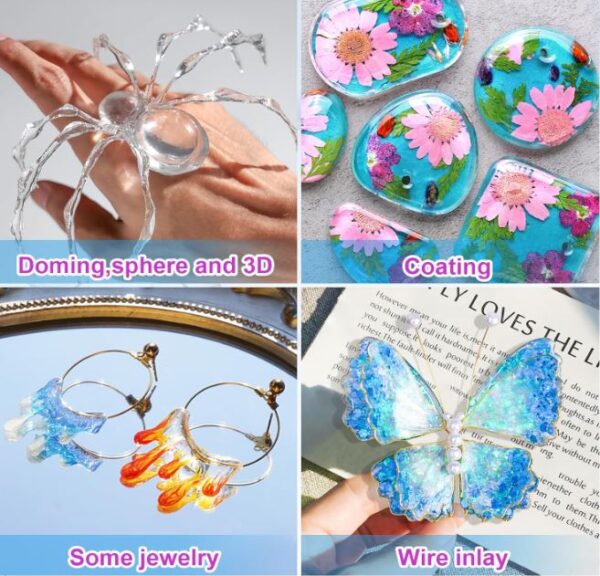
Self leveling means doming resin naturally spreads across the surface and settles into an even layer as it cures. This is especially helpful for craft projects because the resin can flow gently into small areas. Its thicker consistency lets it spread across the surface while surface tension helps it stay within the edges when the right amount is applied.
Surface tension in domed resin
Surface tension in domed resin is the force that pulls the resin molecules together at the surface, creating a curved, raised shape. With doming resin, this helps the resin form a dome that can rise above the surface while staying contained within the edges of the piece. The higher viscosity of doming resin also helps it stay in place as the dome forms. When the right amount is applied to a flat, level surface, these properties work together to create the rounded finish associated with doming resin.
Minimizing air bubbles in domed resin
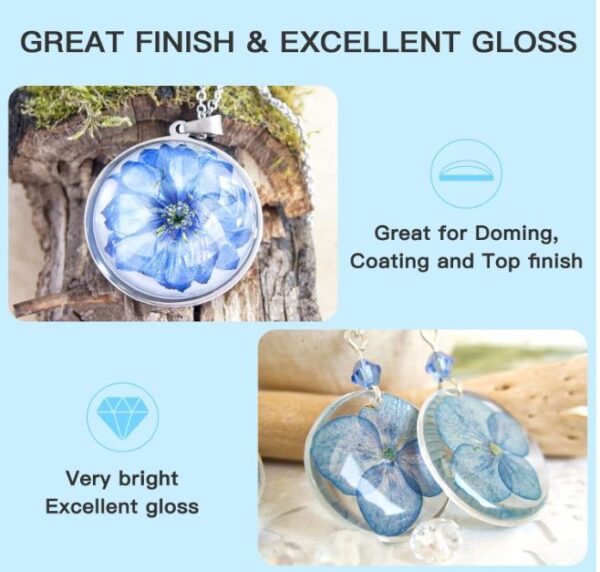
Minimizing air bubbles in domed resin starts with mixing the resin slowly and gently, since fast stirring can introduce more air into the mixture. Letting the mixed resin sit for a few minutes can give some bubbles time to rise to the surface before you apply it. A warm room can also help the resin flow more easily, allowing trapped air to move upward. For UV resin, applying thin layers and curing each layer as directed can help keep bubbles from becoming trapped inside the finished dome.
What to look for when buying doming resin
What to look for when buying doming resin starts with the resin’s viscosity, since a thicker formula is made to sit on the surface and form a raised dome. Check the product information for its recommended curing time, mixing ratio if it is a two part epoxy, and the type of surfaces it can be used on. For UV resin, look for curing instructions that match the lamp you plan to use. It is also helpful to check the resin’s clarity, working time, bubble release properties, and the maximum recommended thickness for each pour.
How to use doming resin
Start with a clean, dry, level surface so the resin has a smooth area to settle on. For two part epoxy, measure the resin and hardener according to the product instructions, then stir slowly until the mixture is fully combined. If you are using UV resin, you can apply it directly from the bottle since it does not need to be mixed with a second component.
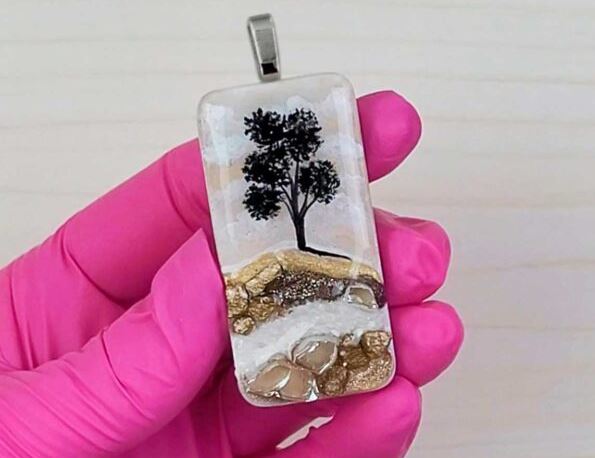
Add a small amount to the center of your piece and let it spread outward, adding more little by little until you have the raised dome you want without letting it reach the edge. For UV resin, cure it under the recommended lamp, while two part epoxy needs time to cure on its own according to the instructions.
Tips for using doming resin
Start With a Clean, Level Surface
Before adding your resin, make sure the piece is clean, dry, and sitting level. Dust, moisture, and an uneven surface can affect how the resin settles. A level workspace helps the resin spread evenly and form a nice rounded dome.
Use Small Amounts at First
It is much easier to add a little more resin than to deal with too much. Start in the center of your piece and slowly guide the resin toward the edges. The high viscosity of doming resin helps it stay in place as you build the dome.
Mix Epoxy Resin Slowly
If you are using a two part epoxy, follow the mixing ratio on the bottle and stir slowly. Scraping the sides and bottom of your mixing cup helps combine the two parts properly. Stirring gently also puts less air into the resin, which means fewer bubbles to deal with.
Give Bubbles Time to Rise
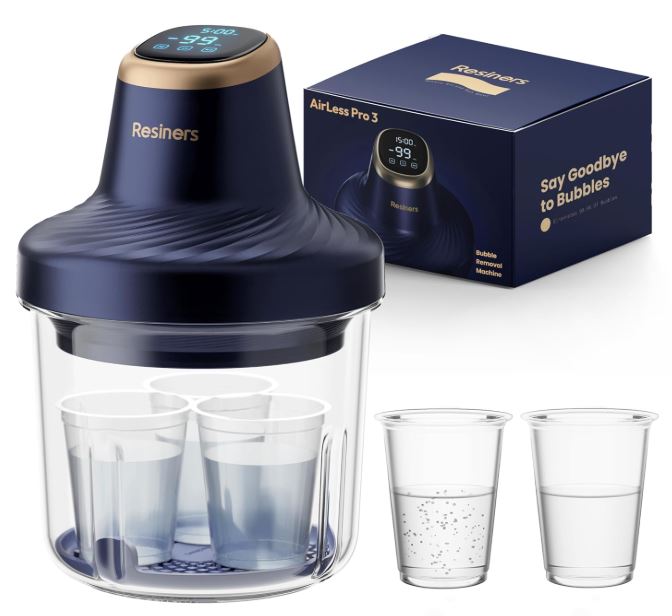
Small bubbles can appear after mixing, especially with epoxy resin. Letting the mixture rest for a short time gives some of those bubbles a chance to rise to the surface. For UV resin, bubbles can also form during application, so checking the surface before curing is helpful. You can also use a bubble remover, like this bubble remover from Resiners.
Cure Your Resin the Right Way
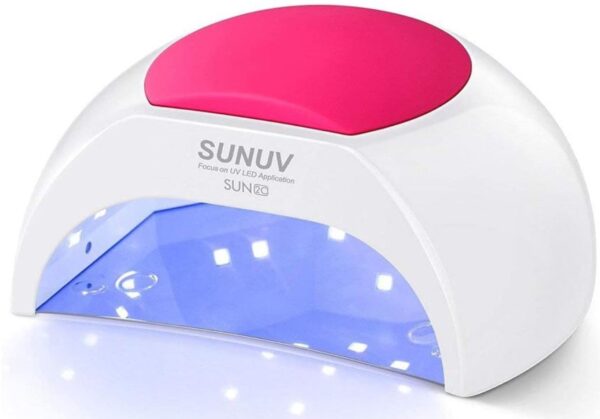
UV resin needs a compatible UV or UV LED lamp, while two part epoxy cures through the chemical reaction between the resin and hardener. Follow the curing time listed by the manufacturer, since formulas vary. With UV resin, check that the light can reach the full layer so the resin cures properly.
Doming Resin FAQ’s
How do you keep doming resin from spilling over?
Start with a small amount of resin in the center of your piece and slowly guide it toward the edges. Doming resin has a thicker consistency and surface tension that help it form a rounded edge. Keep the piece level while the resin settles, and add more only when you need additional height.
How thick should doming resin be?
The thickness depends on the product, so check the manufacturer’s instructions before applying a large amount at once. UV resin is often best applied in layers, while some epoxy formulas can be poured at a greater thickness. Applying resin gradually gives you more control over the height of your dome.
Why does my doming resin have bubbles?
Bubbles can get into resin while it is being mixed or poured. With two part epoxy, stir slowly and scrape the sides and bottom of the cup as you mix. Letting the resin rest for a short time can give bubbles a chance to rise before application, while gently checking your surface after pouring can help you spot bubbles before curing.
How long does doming resin take to cure?
Curing time depends on the type and brand of resin you are using. UV resin cures under a compatible UV or UV LED lamp, with the product instructions giving the recommended exposure time. Two part epoxy cures through the reaction between the resin and hardener and usually needs much longer to fully cure. Always check the specific product instructions for its curing time and recommended layer thickness.
doming resin vs casting resin
Doming resin is a thick, epoxy that creates raised surface when poured on a flat surface. In contrast, casting resin is a thinner epoxy that is used to fill molds and create solid, 3D objects, making it perfect for projects like resin art, figurines, or tabletop games.
Thanks so much for reading! I hope this guide helped you feel more comfortable choosing and using doming resin for your craft projects. If you have a favorite resin or a tip that has worked well for you, share it in the comments. I always love hearing what other crafters are using and discovering new products to try!
More epoxy resin articles
- How to cover an alcohol painting with doming resin
- DIY resin jewelry
- DIY resin coasters
- Resin for artwork,
- How to get rid of resin bubbles.
- Supplies needed to use for resin crafts.
- How to deal with bubbles in resin