How To get Epoxy resin out of molds [without ruining them]
Here are some ways to help you get epoxy resin or UV resin out of silicone molds when they are sticking. Getting epoxy resin out of silicone molds can be tricky if you’re new to resin crafting, but with a few simple tips it’s easy to do. Knowing the right techniques helps you protect your molds and save your designs.
From using gentle tools to trying small tricks like bending the mold, there are ways to get your pieces out without damage. In this guide, I’ll share tips for removing epoxy resin from silicone molds, so you can keep creating beautiful jewelry, coasters, and other resin crafts.
No matter if you’re a someone who uses resin often or just starting out using resin and wanting to make resin coasters or resin jewelry. There’s one common challenge that comes up sometimes. How to get resin out of a mold without ruining the mold and your resin project.
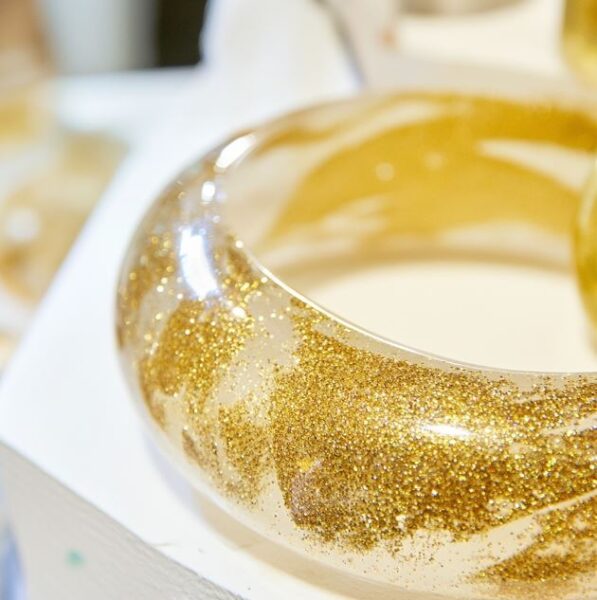
You’ve probably spent hours mixing colors, adding glitter, or embedding little decorations in your resin, and the last thing you want is to struggle getting it out of the mold. I know how satisfying it feels to finally see your piece pop out clean and perfect. With a few easy tricks, you’ll be able to enjoy that moment every time without worrying about ruining your mold or your hard work.
How To get Epoxy and UV Resin Out Of Molds
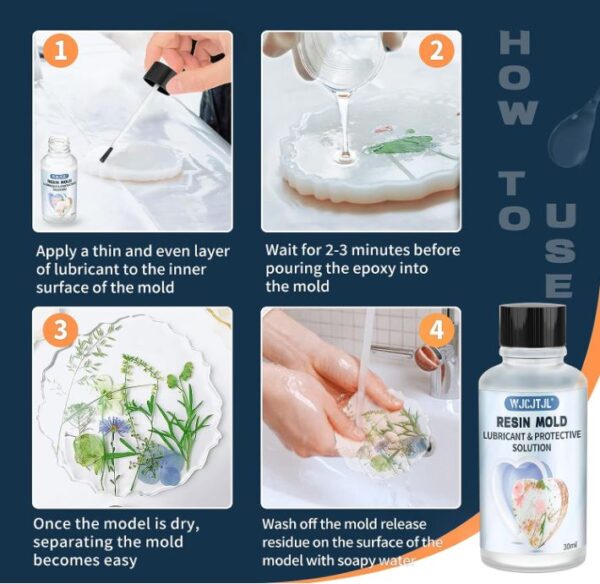
1. Use A Release Agent
Applying a release agent can be helpful for resin demolding. These agents, like silicone spray or a brush on formula, create a barrier between the mold and the resin. The sprays are for larger molds that have little nooks and crannies, and then the brush on ones are good for small things.
2. Wait for Full Cure
The most important step before trying to remove epoxy resin is making sure it’s fully cured. If your resin is still soft or tacky, it can tear or stick to your silicone mold. Follow the curing time on your resin package, and give it a little extra time if needed. Sometimes a few extra hours makes a big difference. Fully cured resin pops out much easier and keeps your mold in great shape for your next project.
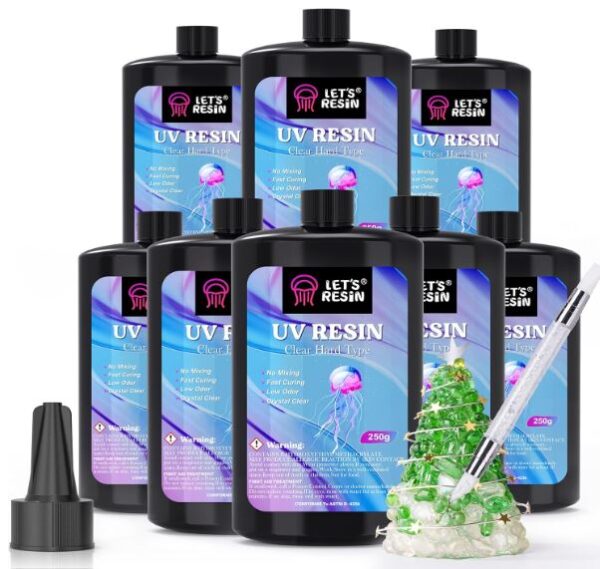
If you’re in a rush, you can use a fast curing resin, but still make sure it has enough time to harden before you try taking it out of the mold. UV resins are very popular for smaller items like resin earrings. One brand I like to use is Let’s Resin UV Resin.
See this guide about reasons why resin is not curing if you are having trouble with that.
3. Gently Flex The Silicone Mold
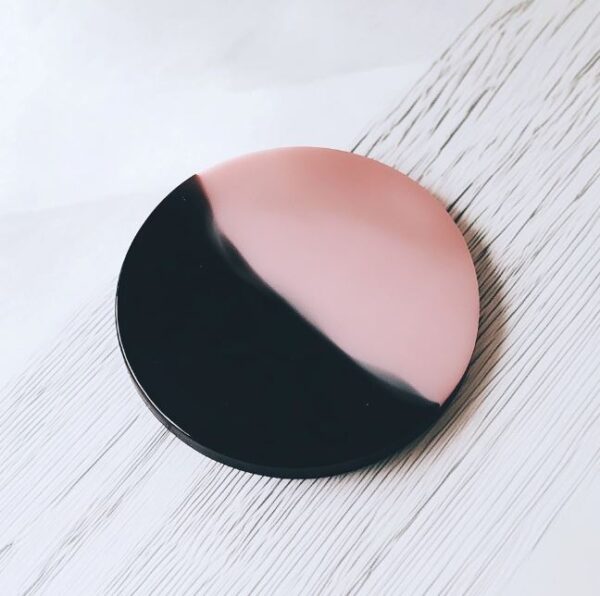
Once your resin is fully cured, gently bending or flexing the silicone mold can help release your piece. Take your time and move slowly so the resin doesn’t crack or break. Start at the edges and work your way around, letting the mold do most of the work. Being gentle keeps both your mold and your resin pieces in great shape for future projects.
4. Apply Warmth
If your resin is fully cured, a little warmth can make it easier to remove from the mold. Try soaking the mold in warm water for a few minutes or holding it under gently warm water. Just make sure your resin is completely hardened first! The warmth softens the silicone slightly and helps the resin pop out without damage. Always handle your mold carefully so your piece comes out smooth and perfect.
5. Freeze the Mold
I’ve never had to do this, but If your resin is fully cured then putting the mold in the freezer for a short time can help shrink the silicone slightly and make your piece easier to pop out. Never use a freezer that also stores food. Resin fumes or residue can be harmful. Just a few minutes is usually enough, and then you can gently flex the mold to release your resin. This trick works especially well for small or detailed pieces. If you are using resin all the time, you might want to get a small freezer or use a dedicated cooler with ice.
6. Gentle Tapping and Vibration
Sometimes a little gentle tapping or vibration is all it takes to get resin out of a silicone mold. Tap the edges of the mold lightly on a soft surface or use your fingers to give it a small shake. This helps loosen the resin without bending or damaging your mold. Take your time and be gentle and slow.
7. Pry with a silicone Craft Stick
In cases where molds have small details like deep undercuts or tight crevices, a silicone craft stick can be used to carefully pry the resin from the mold’s edges. This is especially useful when working with detailed or delicate molds.

8. Use Compressed Air for Small Details
For molds with tiny crevices or intricate designs, a quick burst of compressed air can help loosen the resin. Aim the air at the edges or corners where the resin might be sticking. This way is gentle and keeps your mold and resin piece safe. It’s a great trick for delicate or detailed projects that need a little extra help to release.
I have a helpful guide on how to work with resin that you might find helpful.
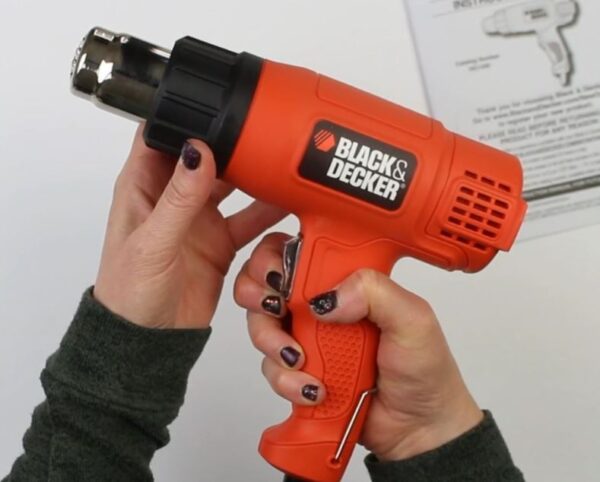
9. Use A Heat Gun On Low Setting
A heat gun on a low setting can help soften the silicone slightly and make resin pieces easier to remove. Keep the heat gentle and move the gun around instead of holding it in one spot to avoid damaging the mold or resin. Always make sure your resin is fully cured before using heat.
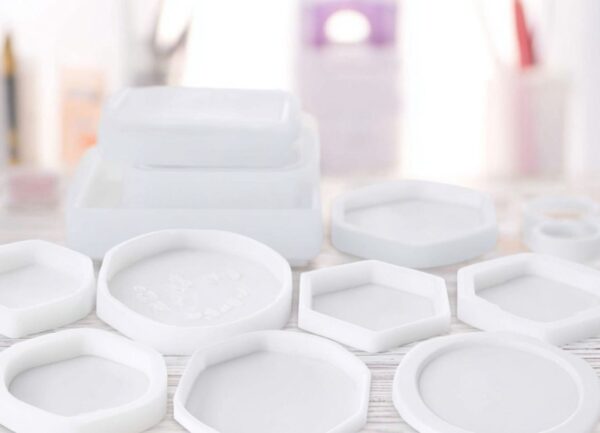
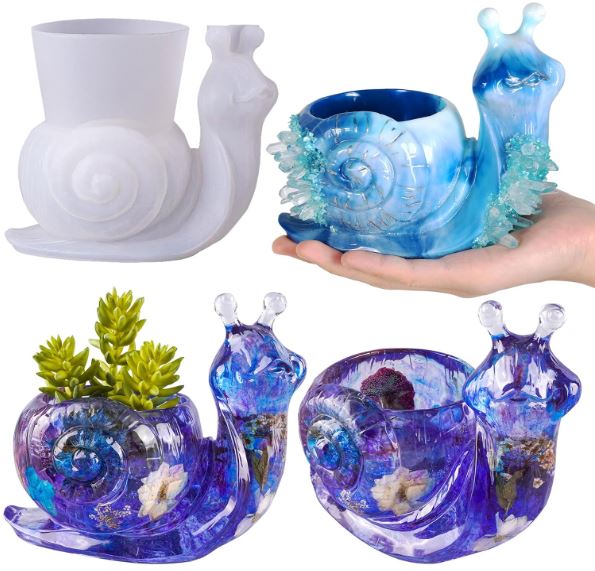
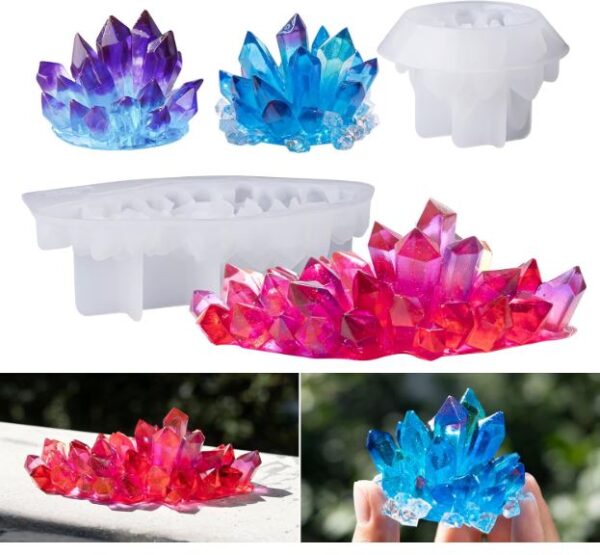
10. Use Proper Molds
Using thicker silicone molds makes removing resin much easier. Thin or flimsy molds can tear or warp when you try to pop out your pieces. Look for molds that are flexible but sturdy enough to hold their shape, especially for larger or detailed designs. The Let’s Resin molds are fantastic and I’ve used them a ton over the years.
Reasons why resin will not come out of a mold
Early Demolding
One of the most common reasons resin sticks in a mold is trying to take it out too soon. Even if the surface feels firm, the inside may still be soft and not fully cured. Pulling it out early can bend, crack, or warp your piece, and can also damage the mold. Always check the recommended curing time on your resin package and give it a little extra time if needed.
Complex Mold Details
Molds with lots of tiny crevices, intricate patterns, or raised textures can make it harder for resin to release. The more detailed the mold, the more areas the resin can stick to. Using gentle flexing, tapping, or tools like a silicone brush can help free these tricky spots. If you are just getting into resin, try using a mold with slightly simpler details and use those until you get the hang of it.
Cold or Humid Environment
Temperature and humidity can affect how your resin cures, which can make it stick in the mold. If the room is too cold, the resin may take longer to harden and stay tacky. High humidity can also interfere with the curing process, leaving your piece soft or sticky. Try to work in a room with a stable, warm temperature and low humidity whenever possible. This helps your resin fully cure and pop out of the mold easily every time.
Warped Molds
A warped or damaged silicone mold can make it difficult to remove resin cleanly. If the mold has bent, stretched, or lost its original shape, the resin may stick in certain areas or even crack when you try to pop it out. Using sturdy, high quality molds and storing them flat helps prevent warping. The Let’s Resin molds can be used over and over.
Too much Mold Release Agent
While mold release can help resin come out more easily, using too much can actually cause problems. Too much agent can leave a slippery residue on your resin or make the surface look uneven. A light, even coating is all you need to help your pieces pop out without affecting the finish. I personally do not use mold release agents, I make sure to use quality molds and let the resin fully harden before unmolding.
Getting epoxy resin out of silicone molds doesn’t have to be stressful. By making sure your resin is fully cured, using gentle techniques like flexing, tapping, or a little warmth, and choosing the right molds, you can remove your pieces smoothly every time. Try these tips on your next project, and your resin crafting will be easier and more enjoyable. If you found this guide helpful, make sure to share it with a friend who also loves resin crafts!