How To Bake Polymer Clay
This is how to bake polymer clay. Baking polymer clay is one of the most important steps to getting strong, long lasting clay projects. The right baking time and temperature can make a huge difference in how your creations turn out. From small charms to detailed sculptures, polymer clay needs even heat and careful timing to cure properly. In this post, I’ll show you step by step how to bake polymer clay the right way and make some cute pendants.
I absolutely love using polymer clay, and it’s been a big part of my crafting for years. I’ve made trinket dishes, ornaments and even garden tags. Working with Sculpey clay is fantastic because it bakes without cracking, and I enjoy finding new ways to create simple pieces. I’m excited to share my tips for baking polymer clay so your projects come out just right every time.

How To Bake Polymer Clay
In this tutorial I’m showing you how to bake pendants, but you can use these guidelines for any polymer clay project you are working on.
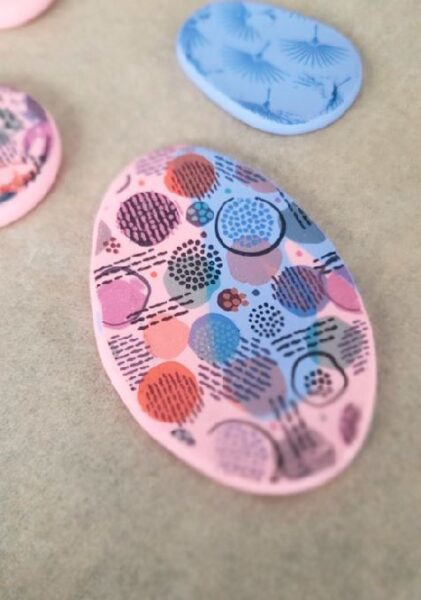
1. Prepare Your Pendants
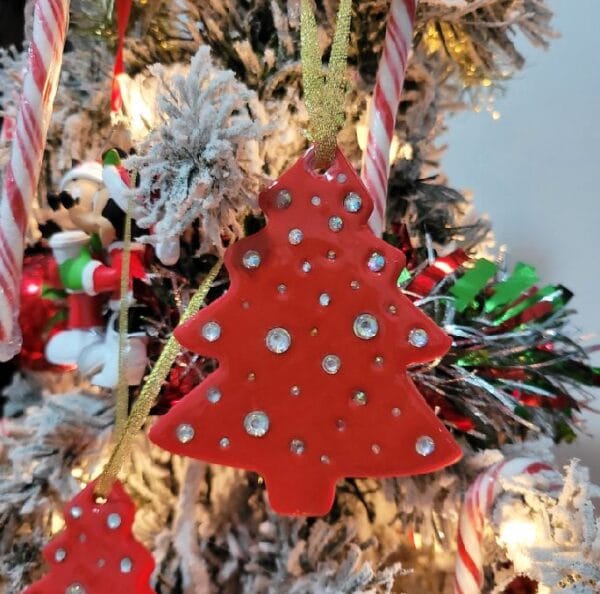
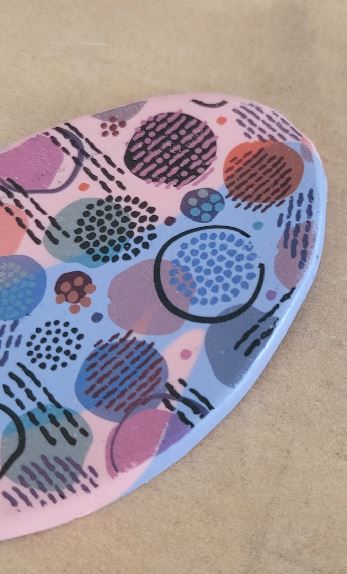
Make sure your pendants or project that you are working on are fully shaped and smooth before baking. You can use clay tools or your fingers to gently remove fingerprints or rough edges. If you want to add textures, stamps, or designs, do it before baking. Small details hold up best when baked carefully. I used Sculpey’s transfers for this batch and love the cute shapes.

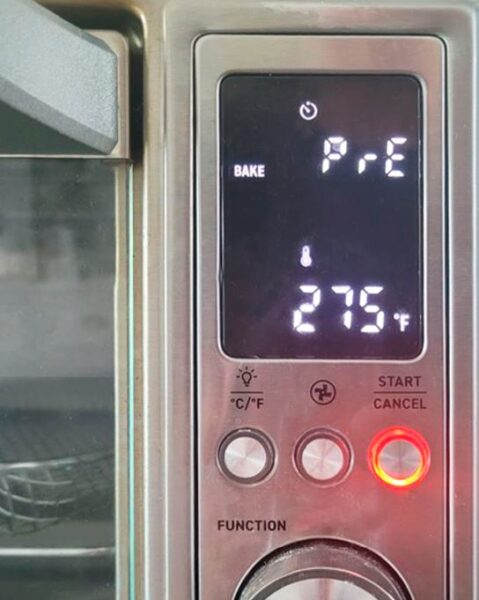
2. Preheat the Oven
Set your oven to 275°F (135°C) and let it fully preheat. I have a countertop oven that I use for polymer clay, if you find yourself making lots of polymer clay items, you might want to get a oven dedicated to crafts.
3. Place Pendants on a Baking Sheet
Use a ceramic tile, oven safe tray, or parchment paper like I’m doing with these pendants. Make sure pendants do not touch each other so heat can reach all sides evenly.
4. Bake the Item
Bake for about 30 minutes per 1/4 inch (6 mm) of thickness. Thinner pendants may only need 15 – 20 minutes. Check the Sculpey Soufflé package for exact times.
5. Finishing Touches
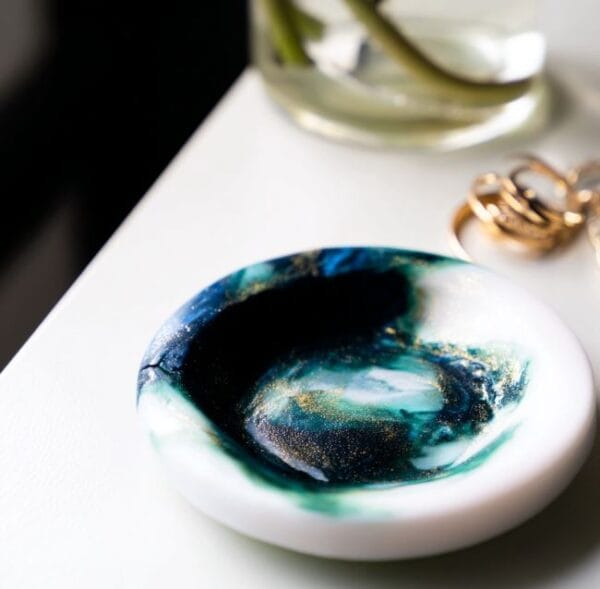
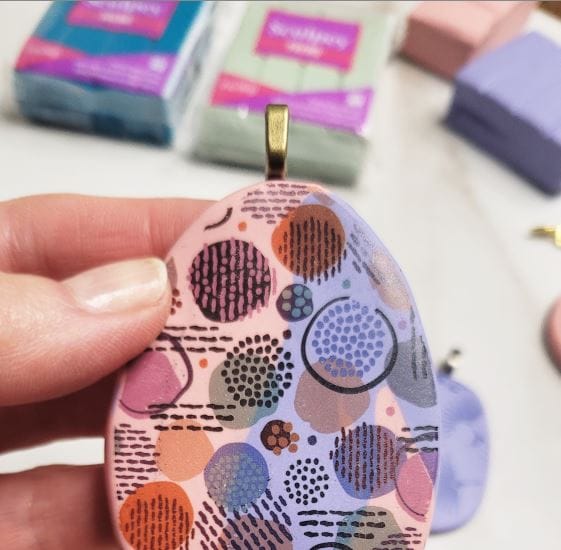
Once cooled, you can sand, buff, or drill holes for cords or chains. Adding paint, resin, or varnish can give a polished finish. For these pendants I added some little crystals with UV resin that are going to sparkle beautifully. You can also add findings like jump rings or bails like I did here. For these I attached a jewelry bail to the back using UV resin.
Tips For Baking Polymer Clay
Follow the Clay’s Instructions
Every polymer clay brand is slightly different, so always check the package for baking temperature and time. For example, Sculpey Soufflé has its own recommended settings. Following the instructions gives you strong, smooth, and durable pieces.
Bake on a Flat, Heat-Safe Surface
Use a ceramic tile, glass tray, or parchment paper for baking. A flat surface helps keep your clay pieces even and helps them so they don’t warp. Don’t use surfaces that can bend or get too hot, like thin metal pans, which can cause uneven baking.
Give Your Pieces Space
Arrange your pieces so they don’t touch each other. Proper airflow around each piece helps them bake evenly and prevents sticking. This is especially important for pendants, charms, or small trinket dishes. So as long as they are not touching, they will bake properly.
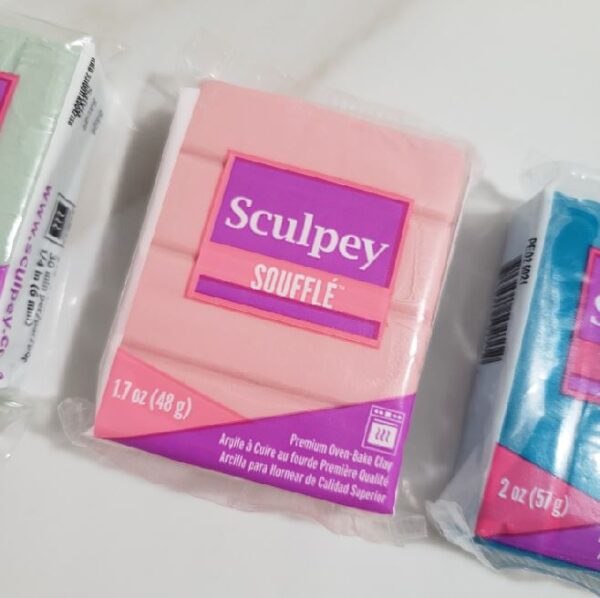
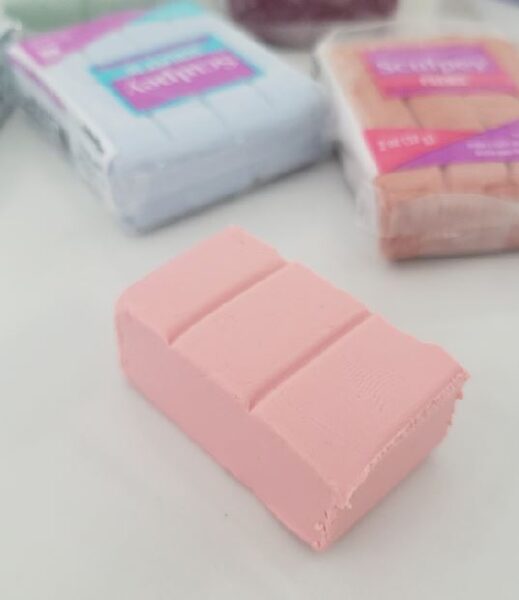
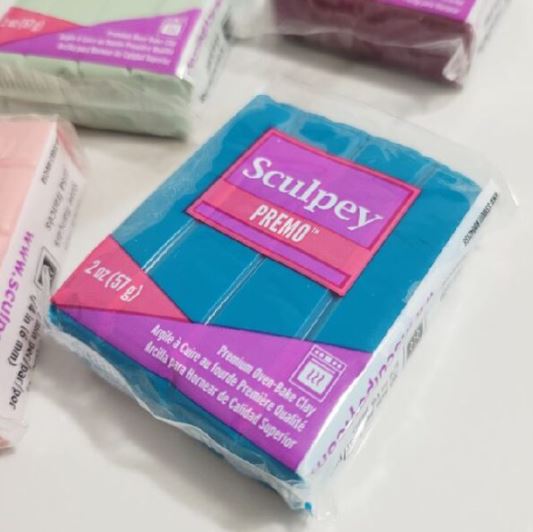
Use the best polymer clay
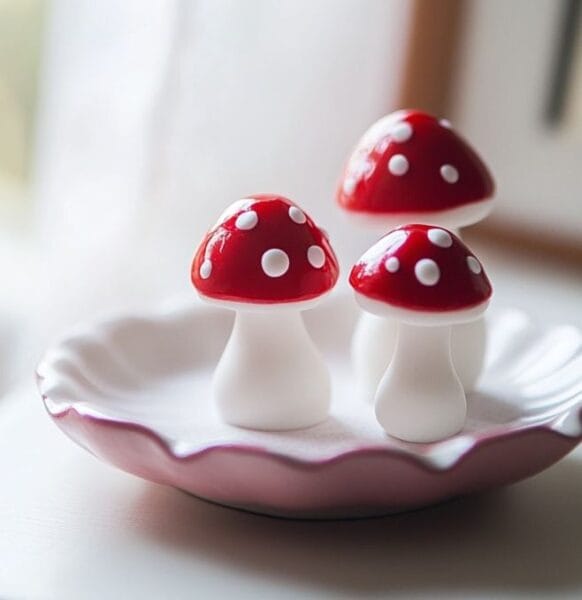
Sculpey polymer clay is one of my favorite clays to work with because it’s easy to mold, soft, and comes in so many fun colors. It’s great for making jewelry, charms, keychains, and even little home decor pieces. If you’re just starting out, Sculpey has tons of tutorials right on their blog that walk you through step-by-step projects. It’s a great way to learn new techniques and get ideas for your next clay creation.
Test Small Pieces First
If you’re trying a new oven, clay brand, or technique, bake a small sample first. This way, you can see how the clay reacts and adjust your time or temperature before working on larger pieces.
Record Your Baking Times
Keep notes of your baking times, temperatures, and oven quirks. Over time, you’ll know exactly how long each size and thickness of clay takes, making future projects easier and more predictable. This is really important if you are running an Etsy shop or selling your things at craft shows.
Use a Light Hand With Tools After Baking
Once your pieces are baked, handle them gently when sanding, drilling, or painting. Sculpey Soufflé is strong but can scratch or chip if you’re too rough.
Keep Your Workspace Clean
Polymer clay can attract dust, lint, and tiny bits of debris from your hands or the surface. Working on a clean, smooth area helps your projects stay neat and polished. Wiping down your table and washing your hands before handling the clay makes a big difference, especially for light colored or detailed pieces.
I hope you found this tutorial helpful and feel ready to bake your polymer clay creations. From small decorative pieces to personalized gifts, following these steps makes it easy to get beautiful results. If you enjoyed this guide, share it with your crafting friends so they can try it too and bring their own ideas to life.