How To Remove Epoxy Resin Bubbles
Here is how to remove and deal with epoxy resin bubbles. Bubbles in epoxy resin can make your projects look less smooth and shiny. This guide shows some ways to get rid of bubbles and keep your resin clear and glossy. You’ll learn easy tricks to pop trapped air and smooth out surfaces. These tips work for molds, countertops, and small resin crafts. Knowing how to handle bubbles makes resin work more fun and your creations more beautiful.
I remember my first resin pour, and tiny bubbles kept floating to the surface no matter what I tried. It was frustrating to see them dry in place, but over time I discovered a few easy ways that really help with this. Now, popping bubbles is fast and almost automatic, so I can focus on the fun part, creating beautiful resin pieces.
These tips will have you saying goodbye to bubbles and hello to better resin creations. Let’s make your crafting life a whole lot smoother! I know working with epoxies and UV resin can be challenging, especially when you need to remove bubbles from resin during the pour and after the pour cures.
How To Remove Epoxy Resin Bubbles
Why does Epoxy resin get bubbles?
Epoxy resin gets bubbles because air gets trapped when you mix the resin and hardener together. Using a lot of stirring or stirring too fast can make even more tiny bubbles. Temperature changes and moisture in the air or on your tools can also cause bubbles to form in your resin.

1. Mix Epoxy Resin Properly
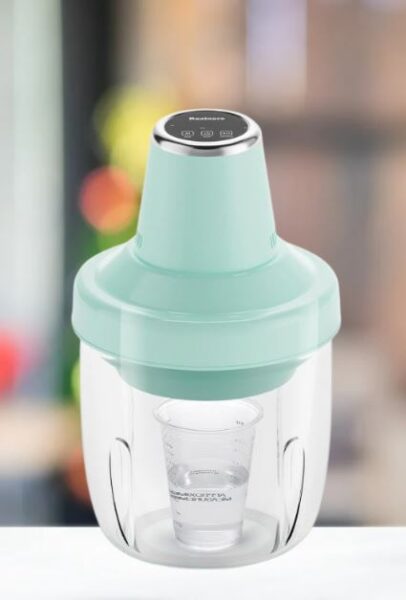
Take your time when mixing resin and hardener. Pour the hardener into the resin slowly, then stir gently but thoroughly for the full time recommended on your resin instructions, usually 2 to 3 minutes. Make sure to scrape the sides and bottom of the cup as you stir so no resin is left unmixed. Stirring too fast or for too short a time traps air, which turns into tiny bubbles that rise to the surface as the resin cures.
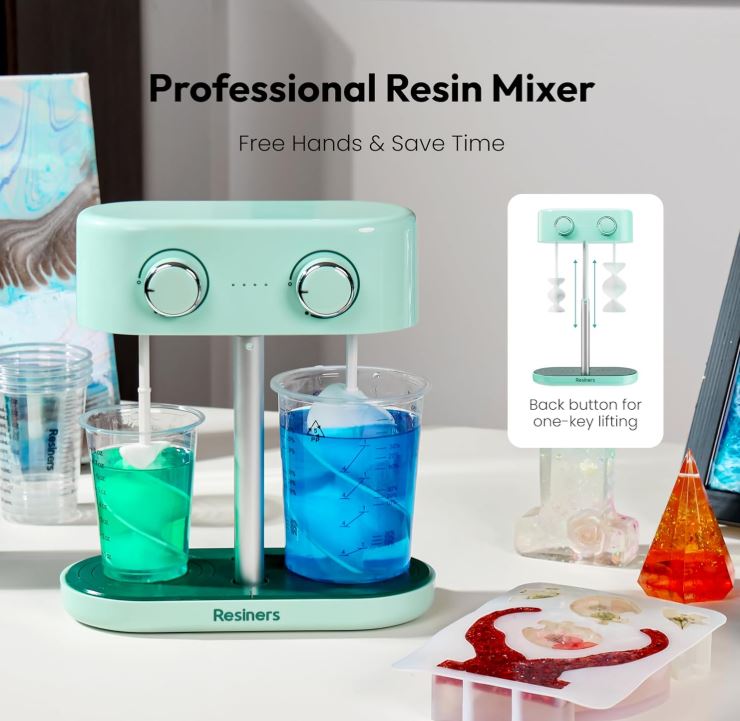
Using a slow circular motion helps move air out, and stopping occasionally to let bubbles float to the top makes your resin clearer. Proper mixing might feel slow at first, but it saves a lot of time cleaning up bubbles later and keeps your finished pieces smooth and glossy. If you are having trouble mixing the resin, check out our article for some resin mixing machines.
2. Pour The Epoxy Resin Slowly
When you pour resin into your mold, take your time and go slow. Pouring too quickly can trap air and create bubbles that stick to the surface or the sides of your mold. A slow steady stream lets the resin settle naturally and reduces the chance of tiny bubbles forming. If you are filling a large mold, pour in layers instead of all at once, giving the resin a moment to level and release air.
3. Use A Bubble Remover Or Vacuum Chamber
A bubble remover or vacuum chamber can make a big difference when working with resin. Small handheld torches or heat guns, gently warm the resin and help tiny bubbles rise and pop on the surface. A vacuum chamber goes a step further by drawing air out of the resin before you pour it, so bubbles don’t form in the first place. If you don’t have a vacuum chamber, a heat gun or torch used carefully can still remove most surface bubbles after pouring. Using these tools saves time scraping or fixing bubbles later and keeps your resin pieces smooth and clear.
4. Keep A Level Surface
Before you pour your resin, check that your workspace or mold is completely level. If the surface is tilted even slightly, resin can pool in one area, causing bubbles to get trapped or uneven curing. Use a small level or just eyeball it carefully, adjusting your mold or table as needed. A flat surface gives the resin time to settle evenly, letting trapped air rise naturally to the top where you can pop it.
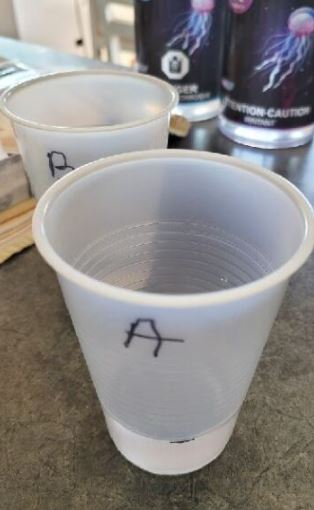
5. Warm Resin To Remove Bubbles
Warming your resin slightly before or after pouring can help bubbles rise and pop more easily. You can place your resin cups in a warm water bath for a few minutes, or use a proper epoxy warming machine. The heat thins the resin just enough to let trapped air escape without changing the curing process. Be careful not to overheat, as too much heat can cause the resin to cure too fast or create new bubbles.
If you are using resin in an unheated garage, you may have some troubles with bubbles if your garage is too cold. Whenever I use epoxy in the garage I make sure that it’s not too cold in there. Cold epoxy can also be one of the reasons why you get resin that is yellowing.
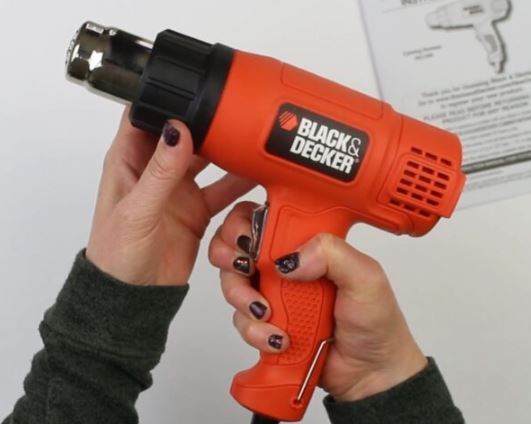
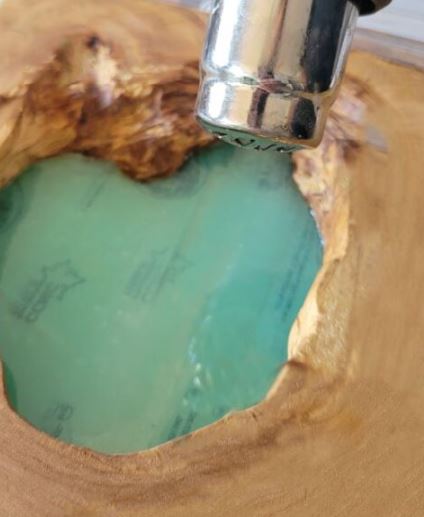
6. Use A Heat Gun Or Torch
After pouring your resin, a craft heat gun or small torch can help remove bubbles from the surface quickly. Keep the heat moving in a gentle, sweeping motion so you don’t overheat one spot, which can cause resin to cure unevenly. The warm air makes tiny trapped bubbles rise and pop, leaving your resin smooth and clear. This works especially well on molds and flat surfaces, and it can save a lot of time compared to waiting for bubbles to disappear on their own.

7. Wait Before Torching
After pouring your epoxy resin, give it a minute to settle before using a torch or heat gun. This lets most of the small bubbles float to the surface on their own, so you don’t have to chase tiny bubbles immediately. If you torch too soon, the resin may still be too thin, and bubbles can form again or move around.
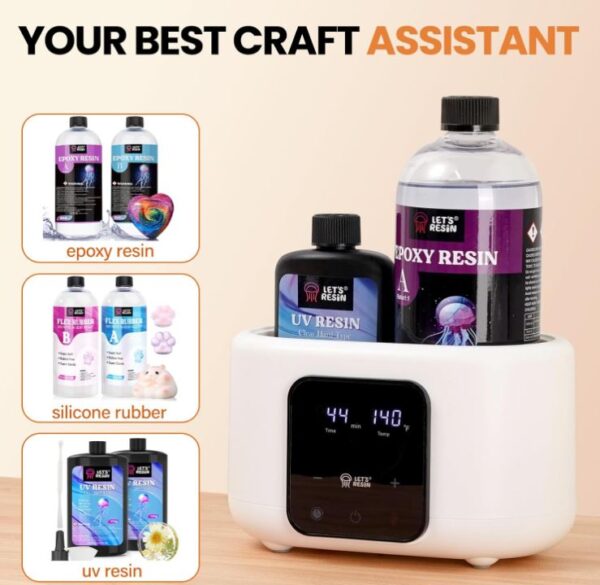
8. Use The The Right Epoxy Resin
Different types of epoxy resin behave differently, so choosing the right one for your project can help reduce bubbles. Thin pour resins are great for small crafts and molds because they let bubbles escape easily, while thicker resins are better for deep pours but may trap air if not poured carefully. Check the resin instructions for recommended uses and cure times, and match it to your project size and shape.
- Best resin for flowers
- Resin for casting insects
- Resins to use for covering paintings
- Resin for general crafting projects
- Best Resins For Stabilizing Wood
UV resins that cure under a lamp can be used for small items like jewelry. And for deep pours and casting, this resin is one of the best.

9. Control The Curing Environment
The temperature and humidity in your workspace can affect how bubbles form in resin. Work in a warm, dry space if possible, because cold or damp conditions can make resin thicker and trap air more easily. Keep fans or drafts away while your resin cures, and try to maintain a consistent temperature so the resin settles evenly.
10. Pop bubbles that rise
Even with careful mixing and pouring, some bubbles will float to the surface as the resin starts to settle. Take the time to watch your piece over the first hour, and gently pop any bubbles that appear with a toothpick, skewer, or small torch. Doing this slowly and consistently helps catch bubbles before the resin begins to cure.
One time I was working on a table and thought that I had checked it long enough, but the next morning there were huge pits on the surface where one of the bubbles came out from a sea shell I had in there. It was really disappointing.
11. Cover The Epoxy Resin
Once your resin is poured, cover it loosely with a dust-free container or box while it cures. This keeps dust, hair, and other particles from landing on the surface, which can create imperfections and tiny bubbles. A cover also helps the resin cure more evenly by reducing air movement over the surface. Covering your resin doesn’t have to be fancy, anything clean and large enough to fit over your piece works.
12. Spritzing with Isopropyl Alcohol
Some resin artists spritz the surface of their resin lightly with 91 percent or higher isopropyl alcohol to pop bubbles, especially on large pours like countertops or big tabletops. The alcohol helps bubbles rise and pop quickly, leaving a smooth surface. If you try this, hold the sprayer a few inches above the resin and use a light mist. Too much can leave marks or create streaks.
13. Inspect after curing
Once your resin is fully cured, take a close look at the surface for any remaining bubbles or imperfections. Sometimes tiny bubbles don’t appear until the resin has hardened, especially on deep pours or textured molds. If you see any, you can sand and polish the area or add a thin layer of fresh resin to get a smooth, clear finish.
Common Types Of Bubbles in Epoxy & UV Resin
Air Bubbles
These are the most typical and occur when air gets trapped in the resin during the mixing or pouring process.
Microbubbles
Tiny bubbles that can be hard to detect with the naked eye, often coming from the resin itself or introduced during the mixing stage.
Surface Bubbles
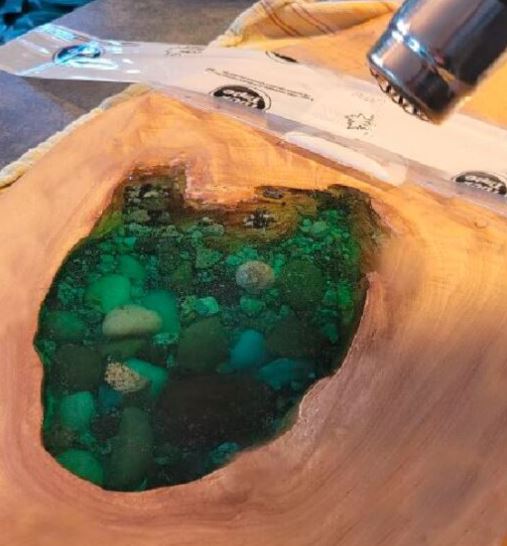
Bubbles that form on the surface of the resin after pouring. They can come from things like including improper mixing, pouring from too high, or humidity. You can also get these from having inclusions in your pour. The bubble get’s trapped underneath and can come up unexpectedly to the surface.
Heat Induced Bubbles
Excessive heat generated during the curing process can lead to bubbles, especially when using fast curing resins.
Moisture Related Bubbles
Moisture in the air or on the surfaces being coated, can cause bubbles when it reacts with the resin.
Bubbles From Expired Resin
Expired resin can lead to an increased presence of bubbles. Here’s a helpful article about how to tell if you epoxy resin has expired.
Bubbles In Resin fAQ
Let’s go over some questions you might have about bubbles in resin.
Why do bubbles form in my resin?
Bubbles form in resin mainly because air gets trapped during mixing or pouring. Stirring too fast or not long enough can pull air into the resin, and temperature changes or moisture in your workspace can make more bubbles appear. Even tiny imperfections on your tools or in your mold can trap air, which shows up as bubbles as the resin starts to cure.
How can I Stop bubbles during mixing?
To prevent bubbles during mixing, stir your resin and hardener slowly and gently. Use a smooth, circular motion and scrape the sides and bottom of your cup as you mix so everything combines evenly. Mixing too fast or too roughly traps air, which turns into bubbles later, so taking your time is key. Working at a slightly warmer room temperature can also help bubbles rise and escape while you stir. You can also try a resin mixing machine for small things.
Can I use a heat gun to remove bubbles?
Yes, you can use a heat gun to remove bubbles from resin. Hold the heat gun a few inches above the surface and move it slowly in a sweeping motion so you don’t stay in one spot. The warm air helps trapped bubbles rise and pop, giving you a smooth finish. Be careful not to overheat the resin, or it can start to cure too fast or burn.
does humidity Cause Epoxy Bubbles?
Humidity can make bubbles more likely to form in resin. Moisture in the air or on your tools can get trapped in the resin as you mix or pour, creating tiny bubbles. Working in a dry space helps resin settle more smoothly and reduces the chance of bubbles forming while it cures.
Can Expired Epoxy Resin Make Bubbles?
Yes, using expired epoxy can make bubbles more likely. Old resin or hardener can thicken or cure unevenly, which traps air when you mix it. This can lead to more tiny bubbles appearing on the surface or inside your project, even if you mix and pour carefully.
How can I Stop bubbles during the curing process?
To stop bubbles during the curing process, take a few simple steps. First, let your resin settle for a few minutes after pouring so most bubbles rise to the surface on their own. You can gently pop any remaining bubbles with a toothpick or skewer, or use a heat gun or torch carefully to help them escape. Covering your resin while it cures also helps by keeping dust and air movement from creating new bubbles. Working in a warm, dry space makes it easier for trapped air to rise. Check on the bubbles over the next hour.
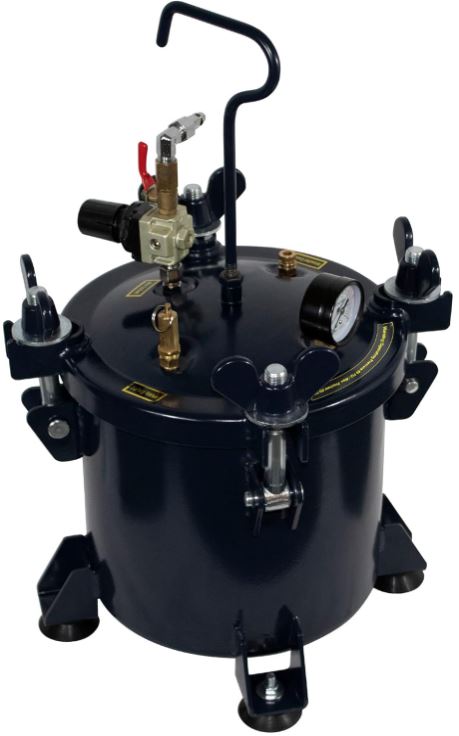
Can I use a Pressure Pot to remove bubbles?
Yes, a pressure pot can help remove bubbles from resin before you pour it. The chamber creates a low pressure environment that draws air out of the resin, so bubbles don’t get trapped inside your piece. This works especially well for thick pours or detailed molds where tiny bubbles are harder to pop.
Is it normal to see bubbles immediately after pouring resin?
Yes, it’s completely normal to see bubbles right after pouring resin. Mixing and pouring naturally trap tiny air bubbles, and most of them will rise to the surface within the first few minutes. Seeing bubbles at the start doesn’t mean your project will be ruined, it’s just part of working with resin.
How do I fix bubbles after the resin has cured?
If bubbles appear after your resin has cured, you can still fix them. For small bubbles, lightly sanding the area and polishing it can smooth the surface. For deeper bubbles or gaps, fill them with a thin layer of fresh resin and let it cure, then sand and polish if needed.
If the bubbles are too deep, there may be nothing to save the project. You can try to use the finished piece by incorporating it into other resin art ideas.
Can I reuse resin with bubbles?
If you have leftover epoxy resin with bubbles, don’t throw it away. You can still use it for smaller projects. I actually have a full list of ways to use up leftover epoxy resin for more ideas. One example is if you just made some resin jewelry and it did not turn out, well you can use those pieces in your resin artwork pours to give them more dimension or for a decorations.
Bubbles in epoxy resin are normal, but with the right steps, you can get smooth, clear results every time. By mixing slowly, pouring carefully, using a heat gun or torch, controlling your workspace, and popping bubbles as they rise, your resin pieces can look beautiful and polished.