How To Seal Paper For Epoxy & UV Resin Crafts
Here is how to seal paper for epoxy and UV resin crafts. Sealing paper before adding epoxy resin or UV resin is an important step to keep your designs crisp and colors vibrant. Using simple materials like Mod Podge or clear acrylic spray can help protect your paper from bubbling or wrinkling when the resin is poured. This step also stops the resin from soaking into the paper, keeping your project smooth and glossy. Knowing how to seal paper the right way makes your resin crafts look polished and keeps them lasting longer.
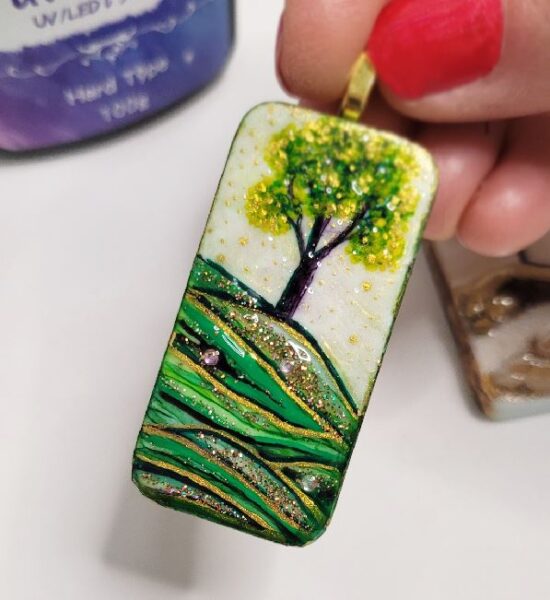
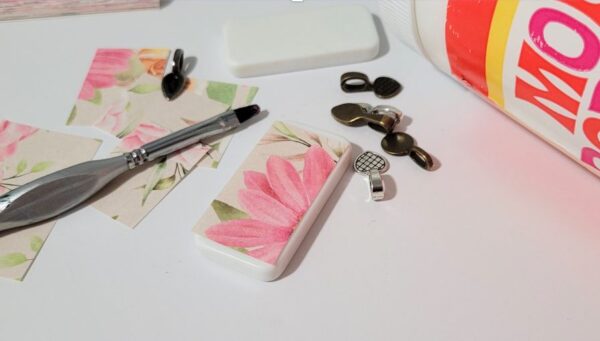
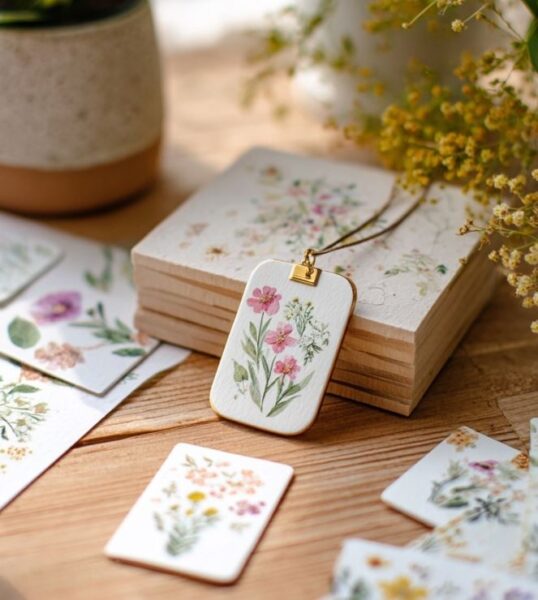
I remember the first time I tried sealing a delicate scrapbook page for a piece of jewelry I was going to make. I was so nervous about ruining the tiny floral print, but after carefully brushing on the sealant and letting it dry, the colors stayed bright and the resin went on smoothly. Seeing the finished coaster felt like such a little win, and it made me excited to try more designs without worrying about the paper getting damaged.

How to Seal Paper For Resin
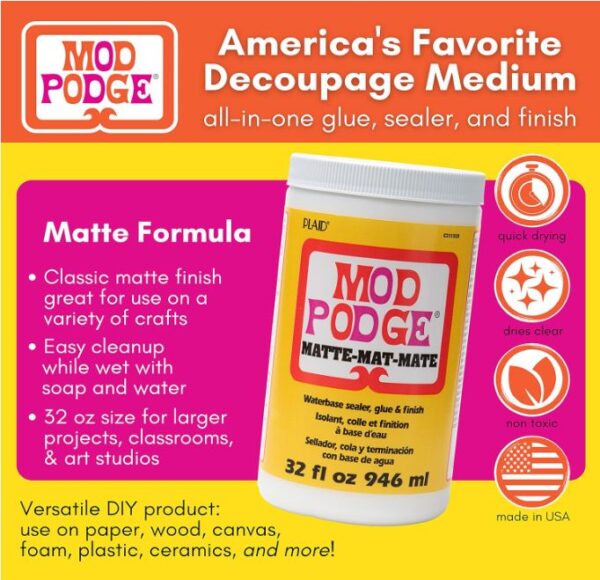
1. Use mod podge for sealing paper
Mod Podge is a water based glue that dries clear and forms a thin protective layer over paper surfaces. It creates a barrier that keeps inks and pigments from blending into resin, helping designs stay sharp. The formula is flexible when dry, so it won’t crack under the resin layers. I’ve used this quite a bit over the years. Just make sure it’s completely dry before adding any epoxy or UV resin.
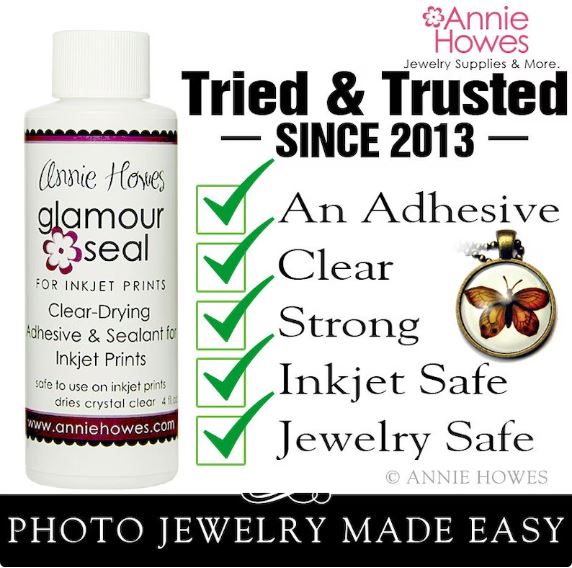
2. Annie Howes Glamour Seal
Annie Howes Glamour Seal is a must have for resin crafts. I found this on Etsy a few years ago, and I always keep a bottle in my craft room. You brush it right onto your paper, and it makes a thin shiny layer that stops the resin from soaking in. I like that it dries fast, so I don’t have to wait long before pouring resin. It’s great for small designs or cutouts because you can cover every spot without making a mess.
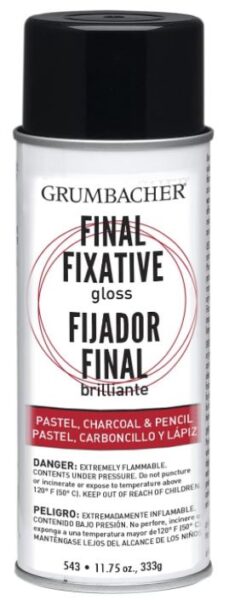
3. Grumbacher Fixative Spray
This spray is really easy to use and dries almost instantly. Hold it a few inches away and give the paper a light coat so the ink or pencil doesn’t smudge when resin goes on top. The Grumbacher Fixative Spray makes the surface a little firmer without changing the colors. You can use it on larger sheets or quick sketches because it covers everything fast and leaves a smooth layer for resin. Just make sure you shake the can really well and gently wipe the nozzle so it doesn’t get blocked.
4. Test The sealant
Before you cover your main project, I always try the sealant on a few scraps of paper. It lets you see how it dries and how the resin will sit on top. Some papers soak up more than others, so testing first stops any surprises. You can also figure out how many coats you like and how long it takes to dry without risking your full design. It’s a small step that makes a big difference in the final look.
5. Apply Thin, Even Layers
When you’re sealing paper, it’s better to use a light brush or spray and go slow. Thin layers dry faster and won’t bubble under resin. You can always add another coat if it needs more coverage. Spreading it evenly across the whole surface helps the resin sit smoothly and keeps your paper looking bright and clean. Taking your time here really pays off in the finished piece.

6. Seal All Sides of the Paper
Don’t just cover the top of your design. I always brush or spray a little on the back and edges too. It stops the resin from soaking in from underneath and keeps the paper from curling. Getting all the sides covered makes your piece feel stronger and smoother once the resin is on. It’s a simple step that really helps your project hold up. The most important thing here is not to add too much and to always let it completely dry first before topping with resin.
7. Dry Completely
After sealing, give your paper plenty of time to dry before touching it or pouring resin. Even if it feels mostly dry, a few extra minutes can make a big difference so the resin doesn’t stick or cause wrinkles. I like to set mine aside on a clean surface and check that it feels completely dry to the touch. This helps the resin sit smoothly and keeps the paper flat without any lifting.
Resin Crafts That Need Paper To Be Sealed
- Resin coasters with printed designs or drawings
- Handmade bookmarks with delicate patterns
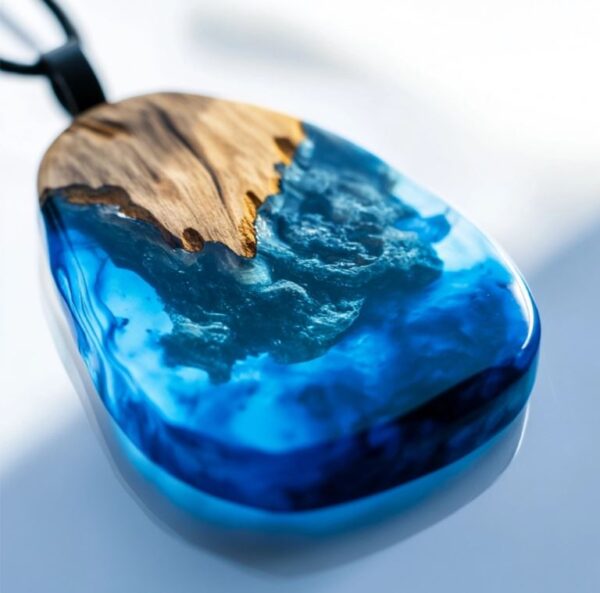
- Resin jewelry pieces with paper inserts like pendants or charms
- Decorative keychains featuring printed images
- Paperweight designs using layered illustrations
- Scrapbook elements that get a resin finish
- Miniature art pieces for shadow boxes or frames
- Resin magnets with small printed graphics
- Handmade resin trays with paper decorations inside
- Greeting cards that get a resin embellishment
- Mixed media artwork with tissue, paper or pastels
- Epoxy resin jewelry boxes
Sealing Paper With Resin FAQ’s
Why seal paper before applying resin?
Sealing paper before adding resin keeps the surface from soaking up the resin, which can make it wrinkle or warp. It also holds inks, markers, and printed colors in place so they don’t bleed or smudge. A good seal creates a smooth layer for the resin to sit on, helping it spread evenly and look clear. This step makes your finished project stronger and keeps the paper looking crisp.
Can I use any type of paper with resin?
Yes, any paper can be used with resin but not all paper works the same with resin. Thin papers, like printer or notebook paper, can soak up resin and wrinkle, while thicker papers hold up better. Printed designs, photos, or cardstock usually do well, especially when you seal them first. Testing a small piece before your main project is a good way to see how your paper reacts and make sure it stays flat and smooth.
How long should I wait before applying resin after sealing the paper?
How long it takes to dry depends on the sealant you’re using. Most brush on or spray sealants need at least 15 to 30 minutes to feel dry, but some thicker coats can take longer, even up to a couple of days. The key is to touch the paper lightly. If it feels completely dry all over, it’s ready for resin. Giving it a little extra time helps the resin sit smoothly and keeps the paper from lifting or sticking.
What other things will seal paper?
- Water based glue
- Clear acrylic spray or fixative sprays
- Packing tape or clear adhesive sheets for small cutouts
- Glossy varnish or clear craft varnish
- Gesso for thicker papers or sketchbook pages
- Wax, like beeswax or paraffin
Thanks so much for reading! I hope you found these tips on sealing paper with resin helpful and that they make your projects go a little smoother. Taking the time to seal your paper really pays off in the final result, and it’s a simple step that keeps your designs looking clean and bright. I love seeing how little changes like this can make a big difference, and I hope it helps you feel more confident with your resin crafts. Happy creating!
More Crafting Articles
![How To Get Resin Off Of Hands & Skin [Don’t Use Chemicals]](https://craftydiyartistry.com/wp-content/uploads/2024/01/how-to-remove-resin-from-skin-cover-600x338.jpg)