UV Resin problems And Fixes [ultraviolet resin]
Here is a guide on UV resin problems and fixes. UV resin is a great material for making crafts, but sometimes things can go wrong. You might end up with sticky surfaces, bubbles, or resin that doesn’t harden all the way. These problems can be frustrating, especially if you’re new to working with UV resin.

In this article, we’ll go over some of the most common problems people have with UV resin and give you simple fixes for each one. With a few easy tips, you can avoid these issues and create beautiful, smooth resin projects every time.
UV resin Problems & Fixes
1. UV resin not curing in silicone mold
Sometimes, UV resin won’t fully cure in silicone molds, leaving it sticky or soft even after using the UV light.
Fix:
Make sure your UV light is strong enough and that you’re curing the resin for the right amount of time. When I made this resin jewelry tutorial, the pendant was cured for a total of 2 minutes. For a thicker layer, you might even have to go up to 4 minutes.
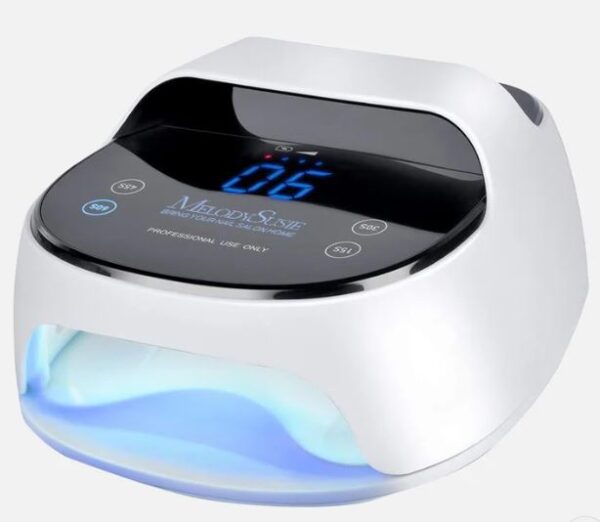
Try curing in thinner layers, as thick resin can block the light. Also, check if your mold is clear or translucent, as darker molds may block UV light from reaching the resin properly.
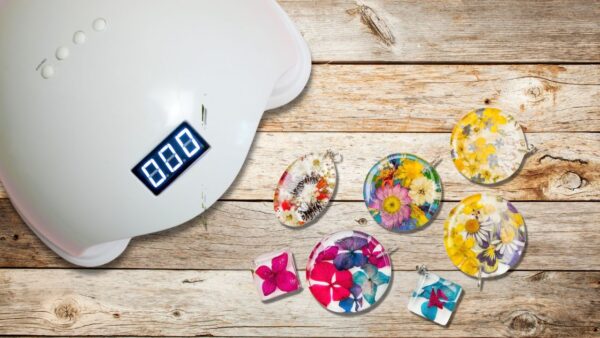
We have a helpful article about the best UV lights for curing resin. The choices are really good quality lights and lamps that have the proper wavelengths.
2. UV resin sticky after curing
You may be wondering why is my UV resin sticky after drying? After curing, your UV resin may still feel tacky or sticky, even though you’ve used the UV light for the recommended time.
Fix:
Make sure you’re using a high-quality UV light that’s strong enough to fully cure the resin. You can also try curing the piece for a longer time or in thinner layers.
Although not so common using UV resin, but the sticky part could be an inhibition layer. Understand that if the nail lamp gives off too little UV wavelengths, the curing of the UV resin will be slower and the inhibition layer will become even thicker.
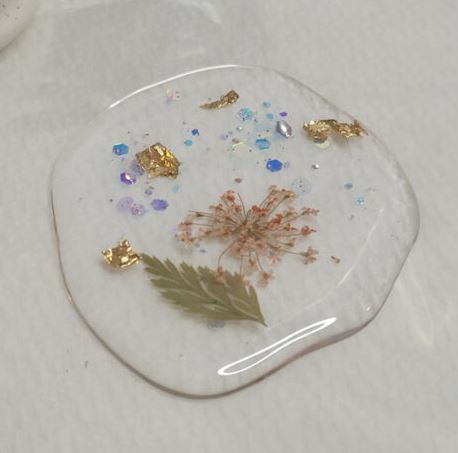
If this is the problem, you can try to wipe the surface with a resin wipe to remove the tackiness. But this is not ideal. Your resin could be old and just won’t cure anymore.
If the UV bulbs in the nail lamp need to be changed, this will also create a thicker layer as well. It’s one of the main reasons why the UV resin is not hardening.
3. why is my uV resin cloudy
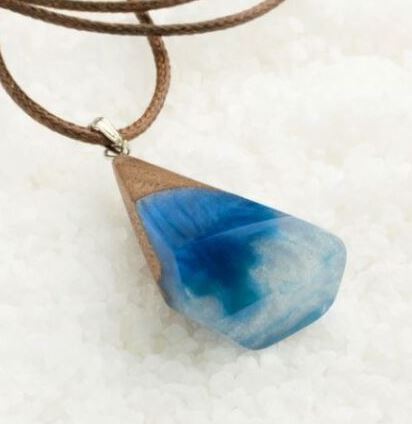
If your UV resin turns out cloudy instead of clear, it can affect the final look of your project. It’s disheartening when you expected a crystal clear finished piece, but it’s totally cloudy.
Fix:
Cloudiness can happen if there’s moisture or dust in the resin. Make sure your work area and tools are clean and dry before starting.
Check the expiration date of your ultraviolet resin. Sometimes it may be past expiry and will not cure clear.
Another thing to note is that are you using proper colorants for the resin? Some colorants and glitter will make the UV resin cloudy. Here’s our list of the best colorants for resin.
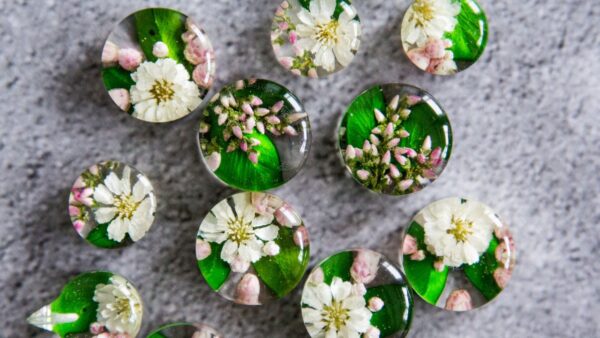
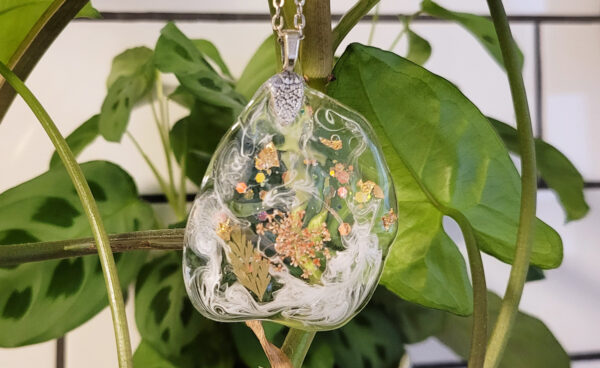
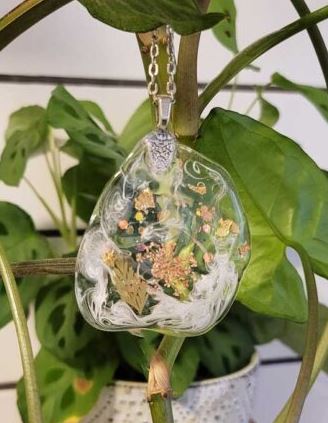
This was a plant charm that was made with crystal clear UV resin and white pigment paste swirled into it. The clear part does not have any cloudy resin in it.
How to make a resin charm tutorial
If the resin was exposed to humidity, try working in a less humid environment. We have a full article about why resin is cloudy. This article is mainly for epoxy resin but there are great tips for using UV resin as well.
4. UV resin has air bubbles
Problem: UV resin has bubbles
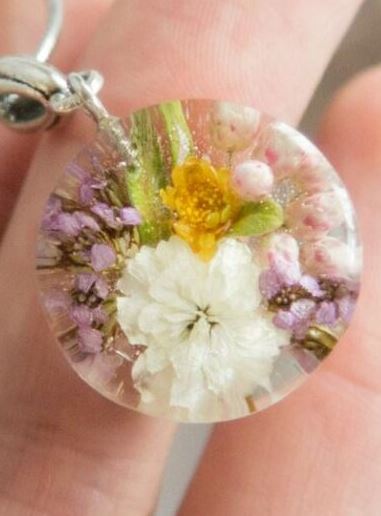
Bubbles in UV resin can make your project look uneven and messy, and they can be tricky to remove once cured.
Fix:
To avoid bubbles, stir the resin slowly to prevent air from getting trapped. You can also let the resin sit for a few minutes before pouring to allow bubbles to rise to the surface.
If you still see bubbles, use a toothpick to pop them before curing. A heat gun can also be used to gently remove surface bubbles right after pouring the resin.
5. Can you use UV resin and epoxy resin together?
Yes, you can use UV resin and epoxy resin together, but there are some things to keep in mind to avoid issues.
Fix:
When combining the two, make sure the epoxy resin is fully cured before adding UV resin on top, as they cure differently.
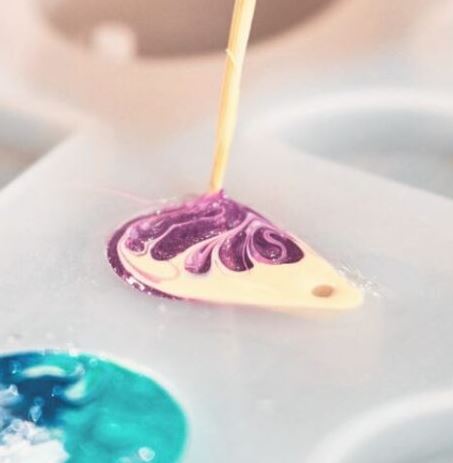
You can use UV resin for small details or top layers over epoxy. Just remember that UV resin cures quickly with a UV light, while epoxy takes more time to harden. Layering carefully and letting each resin fully set will help them work well together.

In Closing: Thank you for reading! I hope these tips help you solve any UV resin issues you may face. With a little practice and the right fixes, you’ll be creating beautiful, smooth resin projects in no time. Happy crafting!
Next, read up on some tips for using epoxy resin outside.

