7 Ways To Clean Epoxy Resin Out Of Cups & Molds
Here is how to clean epoxy and UV resin out of your cups and molds. Getting resin out of mixing cups and molds can be tricky if you don’t know a few simple tricks. This guide shows easy ways to clean your tools and get every bit of resin out without wasting any. You’ll learn how to loosen stuck resin, clean cups quickly, and pop pieces from molds with less effort. These tips make working with resin smoother and more fun, especially when you want your projects to look great.
I remember the first time I tried to get leftover resin out of a cup, it was so sticky! Now, I have a few go to things that really work to get uncured epoxy and UV resin out of my molds and cups. With these resin cleanup tips, you can get your mixing cups and molds ready for the next project faster. Try them out and see how much easier resin work can be.
How To Clean Resin Out Of Mixing Cups & Molds
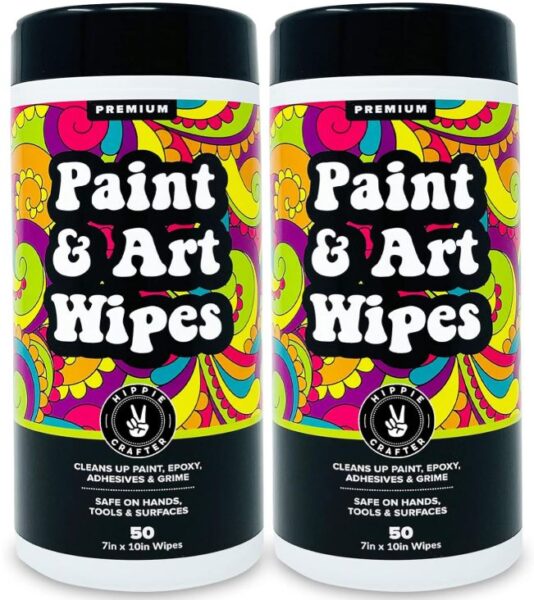
1. Use Resin Wipes
A favorite way to get resin out of mixing cups and molds is using resin wipes from Hippie Crafter. They make cleaning up sticky resin so much faster and easier, and they’re great for keeping your molds and tools ready for your next project. With these wipes, you get less mess and more time for creating your resin art. I’ve used this brand’s epoxy and other craft supplies and love that you can get supplies all in one store.
2. Wipe With Paper Towel
This is the first way to clean epoxy out of cups. First get all of the resin out of the cups by wiping them out with a paper towel while the resin has not hardened yet, all while wearing nitrile gloves. Do not use any materials that will leave lint in your cups like tissue or fabric cloths. I like to have lots of paper towel in my craft room.
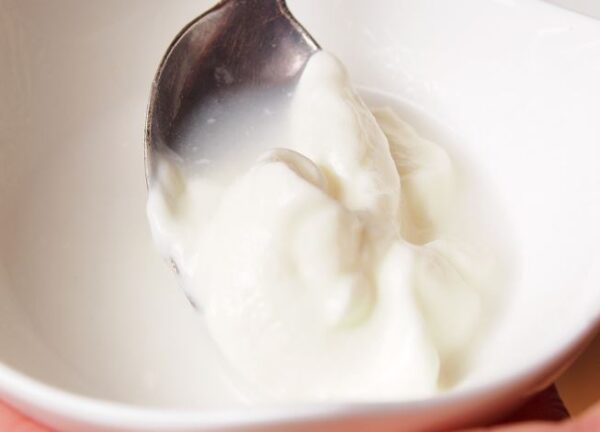
3. Make a baking soda paste
For a budget friendly and eco friendly way to tackle resin cleanup, try using a paste made from water and baking soda. This simple mixture, can work wonders in removing stubborn resin residues from your mixing cups. Just mix a bit of baking soda with water to create a paste, and gently scrub it onto the cups. The gentle abrasive nature of baking soda helps break down the resin, making it easier to wipe it away with paper towel.
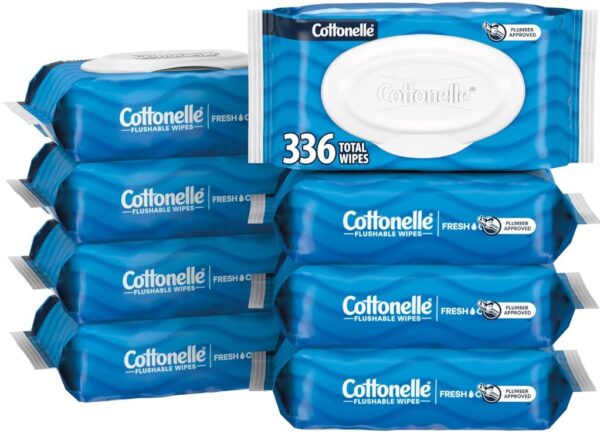
4. Bulk wipes for residue
These are great to have on hand if you are doing lots of epoxy resin crafts. If you still have some spots of resin then you can try using a soft wipe. These wipes have oils on them to help wipe away the resin. This helps dissolve and lift the resin, leaving your cups ready for the final cleaning with soap and water. See this guide on how to get uncured resin out of molds.
5. Clean with warm, soapy water
Now that you have all of the resin out, you just need to clean the little bit of residue left on the cups and set them to dry. Basically, you just grab your cup, fill it up with warm water, and squirt in a bit of dish soap. The warm water helps soften up that sticky resin, and the soap gets in there to break it down.
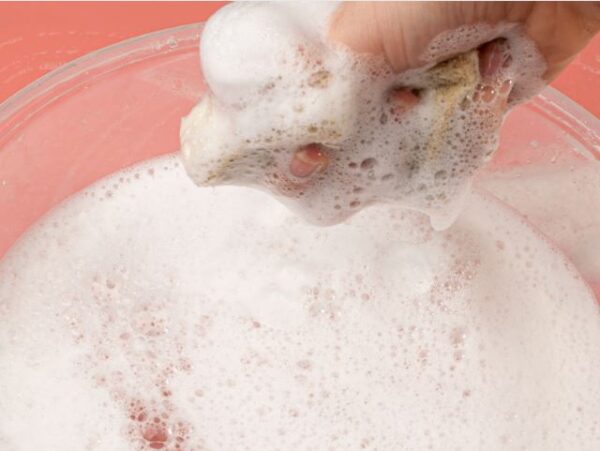
Then, take a sponge or brush and give it a good scrub. The stickiness starts to come off, and your cup gets back to its clean self. Just make sure to keep your gloves on so that you are not getting resin on your skin.
Never wash resin cups or anything that you use resin for in your sink. This includes dried resin and drops of resin because you can ruin your plumbing, especially over time. If you are worried about resin getting into your pipes, then have a washing bucket handy.
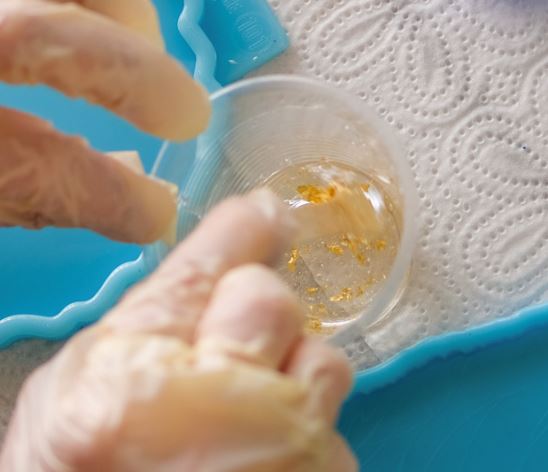
6. Let the resin harden in the cup
Sometimes, letting the resin to fully harden in the cup before removing it is the way to go. This is especially good for larger cups and silicone mixing cups because the hardened resin will just break apart. This just makes it easier to dispose of or even peel off in chunks out of your molds.

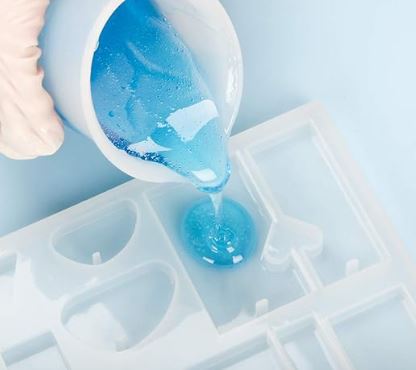
7. Switch to silicone cups & molds
Silicone mixing cups are the best choice for resin users because you can clean them pretty easily and then you can keep using them over and over. I used to use plastic cups for mixing but I found that a really good silicone set is just way better. And they are not expensive either which is really nice. Silicone is a surface that resin does not like to stick to. I also have a list of the best silicone molds for epoxy.
Getting Resin Out Of Mixing Cups FAQ
Can I reuse mixing cups & molds that still have some cured resin in them?
While it’s possible to reuse cups with minimal cured resin, it’s generally recommended to start with clean cups for each resin project. Residue from previous mixes can affect the curing process and the quality of your new project.
What should I do if the resin has cured in the mixing cup or silicone mold?
If resin has fully cured, it becomes more challenging to remove. Try scraping off as much as possible with a plastic tool, then soak the cup in warm, soapy water. Never use acetone or nail polish remover on your silicone cups and molds because they will eventually break down.
Can I clean resin cups & molds in a dishwasher?
No, never clean resin cups in a dishwasher. Never contaminate your kitchen and food supplies with epoxy or UV resin. The epoxy is very sticky and the residue can ruin your dishwasher. You do not want epoxy resin chemicals in your dishwasher that can transfer to your food dishes! Keep crafting and kitchen tools completely separated.
Now that you know how to get resin out of mixing cups and molds, cleanup can be quick and simple. Using these easy tips helps you save resin, keep your molds in good shape, and get ready for your next resin project faster. Try these steps with your own resin projects and see how much smoother your crafting time can be.