11 Tips For Coloring Epoxy Resin
Here are some tips for coloring epoxy resin. If you’re just getting into resin or want to try something new, coloring epoxy resin is such a fun place to start. There are a few easy ways to add color, and once you know what works, the possibilities are endless. This post is full of simple tips to help you get great results without wasting materials or messing up your mix.
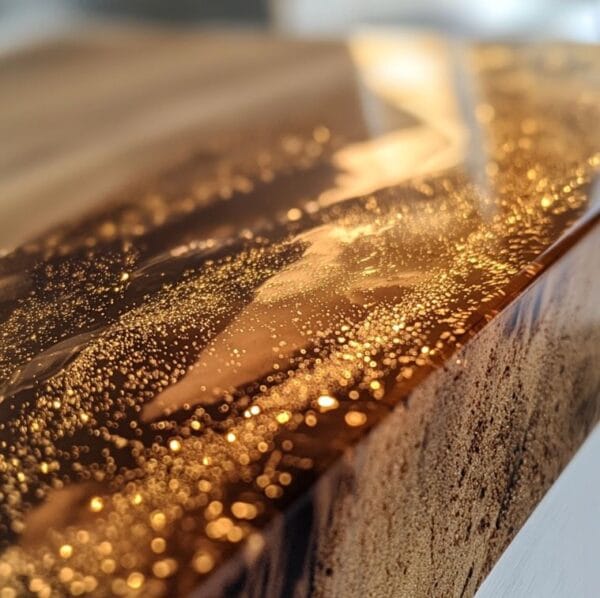
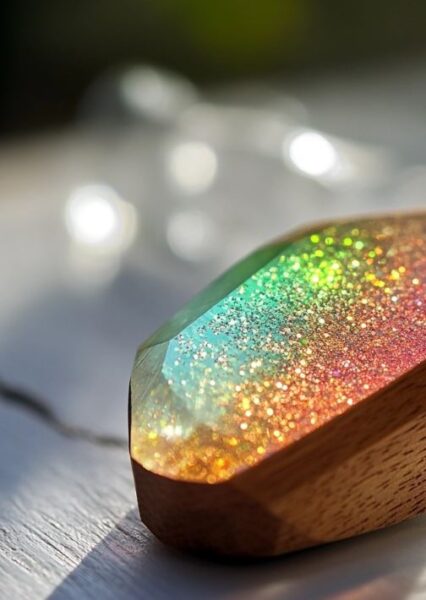
I’ve tried so many ways to add color to resin, and honestly, it’s one of the best parts of working with it. I love using mica powders for that shimmer, but alcohol ink gives such a cool dreamy look too. It’s fun to play around with colors and see how they blend. Just take your time and test small batches first.
Tips For Coloring Epoxy Resin
1. Use A Color Deck
A color deck makes it easier to pick colors that actually look good together. It keeps you from mixing shades that might turn out brown or weird. You can use it to plan out bold combos or soft blends before you even start. It’s super helpful if you’re using things like mica powders, resin dyes, or alcohol inks.
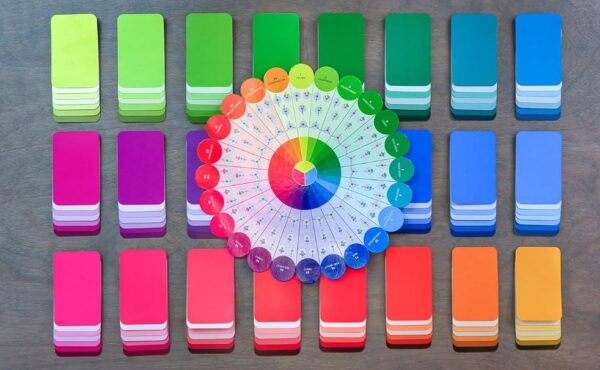
2. Color Chart For Mixing
A color chart makes it easier to see what your colors will look like. It’s especially helpful when using mica powders or mixing custom shades. You can swatch a little bit of each color and keep it for future reference. It saves time and helps keep your projects looking how you planned.
| Base Color | Complementary Colors | Harmonious Colors | Contrasting Colors |
|---|---|---|---|
| Blue | Orange, Yellow | Green, Purple | Red, Yellow, Orange |
| Red | Green, Turquoise | Yellow, Purple | Blue, Green, Yellow |
| Green | Red, Orange | Yellow, Blue | Purple, Red, Yellow |
| Yellow | Purple, Violet | Red, Green | Blue, Purple, Red |
| Purple | Yellow, Green | Blue, Pink | Yellow, Orange, Green |
| Orange | Blue, Turquoise | Yellow, Red | Purple, Blue, Green |
3. Solid Color Casting
To mix solid colors into resin, start slow and make sure everything blends smoothly. Powders like mica or pigment pastes work best when added a little at a time. Stir gently so you don’t add too many bubbles. Keep mixing until the color looks even, with no streaks or clumps.
Start by mixing your resin like the directions say. If you’re using a solid color, add a little bit at a time and stir well each time. Keep adding color slowly until it looks how you want. Make sure the color is mixed in all the way. Then pour it into your mold. Try to get rid of any bubbles. Let it cure all the way before touching it.
Using too much colorant can really mess with the resin’s curing process so make sure not to add more than 10%.
For larger projects, see our guide on How Much Pigment Per Gallon Of Epoxy
4. Layering Color In Epoxy
Layering colors in resin is a fun way to add depth and make your piece more interesting. Start by pouring a thin layer of clear resin into your mold. Let it sit until it gets a little tacky. Then add a bit of color and let it move on its own, or use a stick to guide it where you want.
Keep repeating with more layers, some clear, some colored. You can try different color mixes or change how thick each layer is. This helps your piece look more detailed and gives it a cool layered effect.
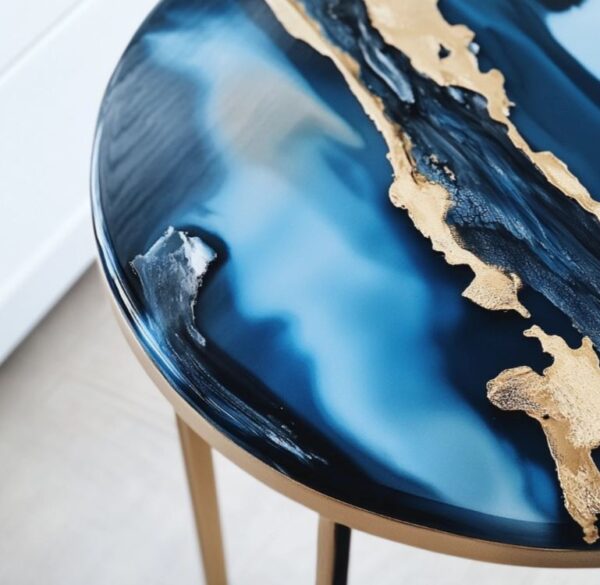
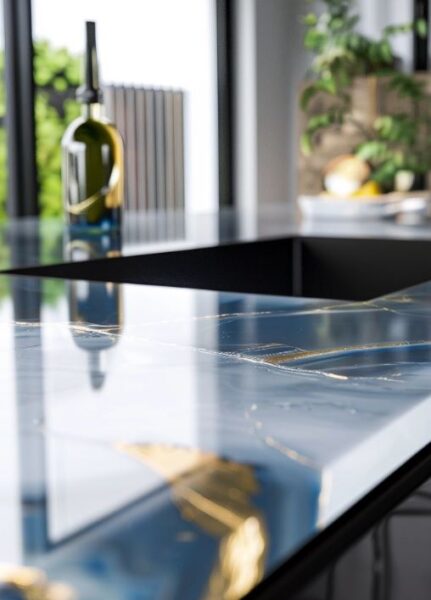
5. Swirling and Marbling Colorants
Swirling and marbling in resin is a fun way to add movement and flow to your project. Start by mixing your base and accent colors in separate cups. Pour them into your mold in different spots, then use a toothpick or skewer to gently swirl them together. Don’t overmix, just a few swirls will keep the colors from blending too much. This gives you that soft, marbled look.
Make sure your resin is still liquid when you swirl. If it’s too runny, the colors won’t hold their shape, and if it’s too thick, it won’t move well. Try swirling in figure-eights or small circles. Don’t add too much resin at once or it might overflow and ruin the pattern. For big projects, work in sections so you can keep your swirls even all the way across.
6. Resin Tinting Techniques
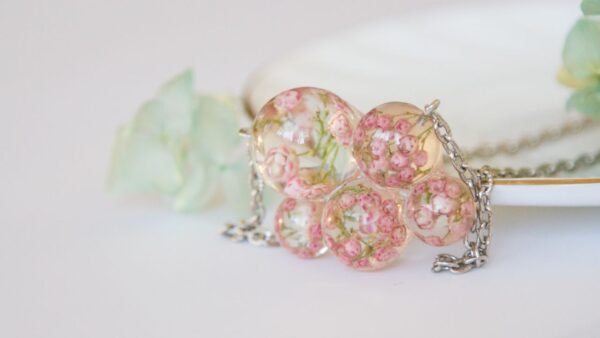
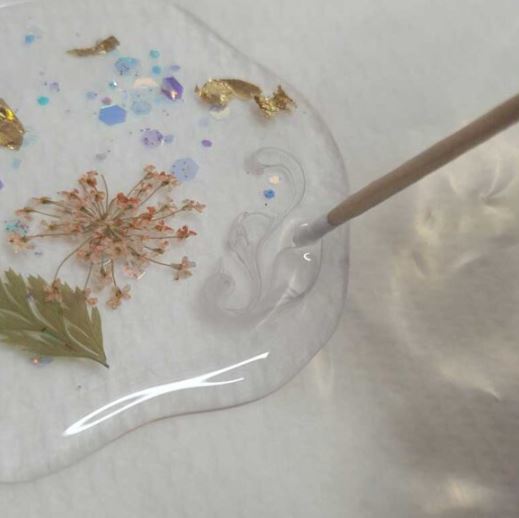
Tinting resin with transparent colors is a great way to get that stained glass look. Start with clear resin and split it into a few cups. Add just a little bit of transparent dye or pigment to each, so the colors stay light and see-through. Pour each color into your mold in different spots and let them naturally blend together for a soft, glowing effect. Keep the color light to keep that beautiful translucency.
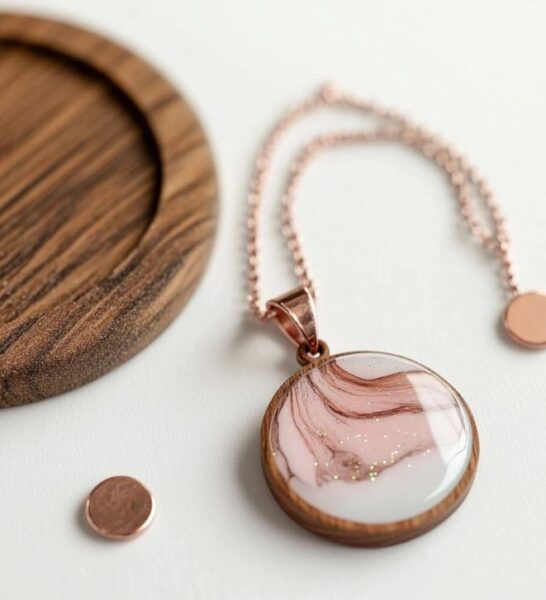
For a smooth color fade, make different resin mixes with shades that go from dark to light. Pour the darkest color first and then add the lighter ones on top, one layer at a time. Use a toothpick to gently blend where the colors meet so it looks seamless. This works well for jewelry or bigger pieces, giving your resin art more depth with a nice color flow.
7. Testing Color
Testing your colors on a small scale is an important first step before starting a big resin project. It helps you see how different pigments mix with the resin and how they look once cured.
Trying out colors and techniques in small batches lets you adjust your plan and avoid surprises later on. Plus, it saves materials and cuts down on waste, so you can experiment freely without worrying about messing up a large batch.
See this article about the differences between pigment pastes and pigment powders.
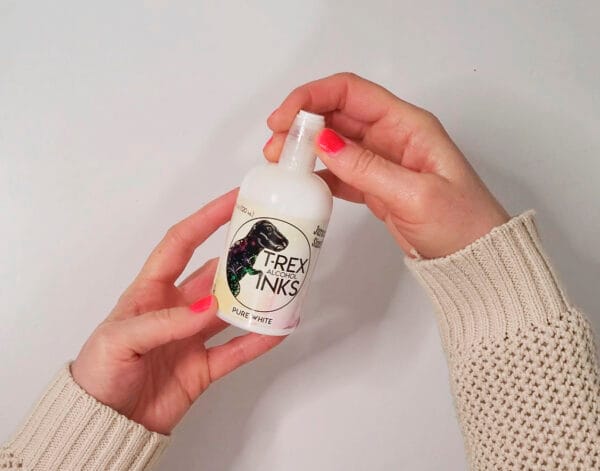
8. What You Can Color Resin With
I use resin on a regular basis and have helpful guides on choosing the best colorants for resin. You can use all types of colorants to use in resin and the most important thing is to experiment with small pieces to see how your resin is going to react.
See this complete guide of the Best Colorants For Resin where I go over even more choices and how to use each one for resin. Here are some of my favorites for coloring resin with.
Powdered Pigments For Epoxy Resin
9. Troubleshooting For Coloring Resin
Color Fading
Color fading in resin happens for a few reasons, and UV light is a big one. Sunlight can break down pigments and dyes, making colors fade and even causing resin to yellow over time. If you’re using alcohol inks, keep in mind they tend to fade faster when exposed to a lot of light. This is something to watch out for, especially if you’re thinking about selling your resin pieces.
Preventing Color Bleeding in Layers
Color bleeding happens when one resin layer mixes with another, causing colors to blend in ways you don’t want and making things look muddy. To avoid this, make sure each layer is completely cured before pouring the next one. Letting the layers fully set creates a solid base and keeps your colors sharp and separate.
10. Using Pre-Colored Epoxy
Using resin that’s already colored can save you time and make your project easier, especially if you want consistent, even hues. Pre-colored resin mixes the pigments right in, so you don’t have to guess how much colorant to add or worry about uneven mixing. It’s a great option for beginners or anyone looking for a quick way to get vibrant colors without extra steps.
11. Coloring Resin FAQ’s
Keep in mind that mixing different brands may not give you the best results. It’s a good idea to keep with the same brand. If you are layering and each layer is independent then go ahead and use different brands of colorants for each layer.
Pigments give you opaque colors, while dyes will give some transparency.
Yes, you can create an ombre effect by pouring progressively lighter or darker shades of resin in layers. Blend the colors smoothly for a seamless transition.
Allow each resin layer to fully cure before adding the next. Use a slower curing resin for intricate designs and control the viscosity to prevent unintended blending. I have an article about some low viscosity resins to use.
Thanks for reading all about tips for coloring epoxy resin. Using the right colorants and techniques can really make your resin projects stand out. Keep experimenting and have fun seeing how different pigments, powders, and inks work together. Remember, practice helps you get smoother blends and richer colors every time. I hope these tips make your resin crafting even more enjoyable and inspiring.