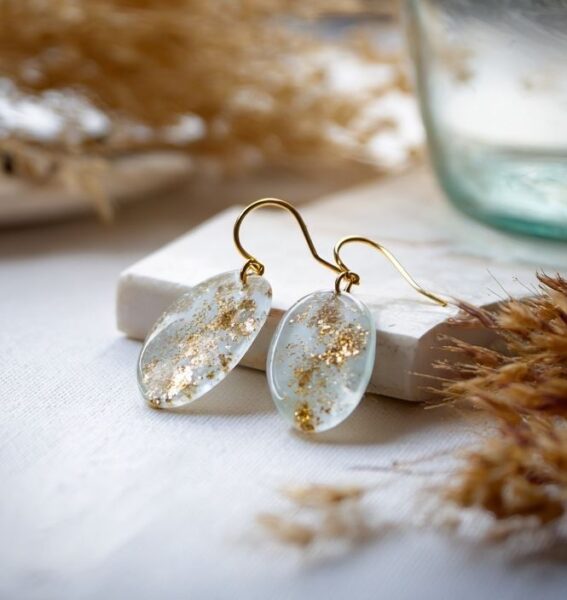
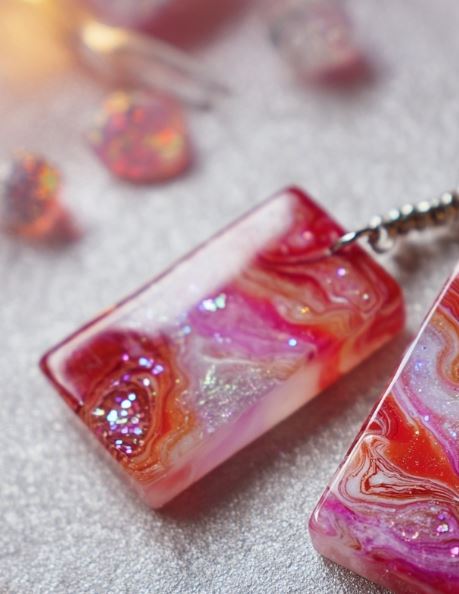
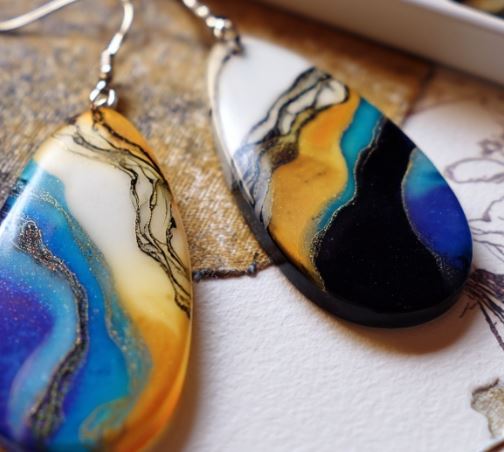
How to Make Resin Earrings For Beginners ✅
This is how to make resin earrings. Making your own resin earrings is a fun way to create jewelry that’s completely unique and personal. With just a few supplies like resin, molds, and pigments, you can mix colors, add glitter or tiny decorations, and craft earrings that match your style. It’s a hands on project that’s great for gifts, fashion, or just trying something new in your craft time. Once you see how simple the process is, you’ll be excited to try different shapes and designs.
I remember the first time I used epoxy for jewelry, it felt like magic watching the colors swirl and settle. It’s one of those crafts that’s creative, relaxing, and actually wearable. You can even make them and sell them at craft shows and in your Etsy shops.
How To Make Resin Earrings
1. Get The Supplies Ready
Before you start making resin earrings, it’s helpful to have all your supplies ready. Gathering your molds, findings, mixing tools, and colors ahead of time makes the process smooth and stress free. Here’s a quick list of the basics you’ll need to get started.
- Earring molds – silicone shapes like circles, hearts, or teardrops
- Earring findings – hooks, studs, or hoops to attach your earrings
- Mixing cups and sticks – for combining resin and colors
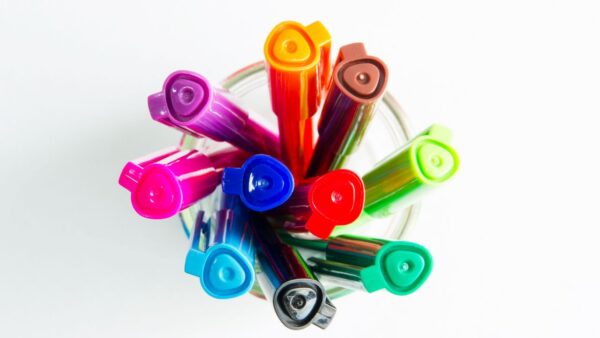
- Pigments or glitter – for adding color and sparkle
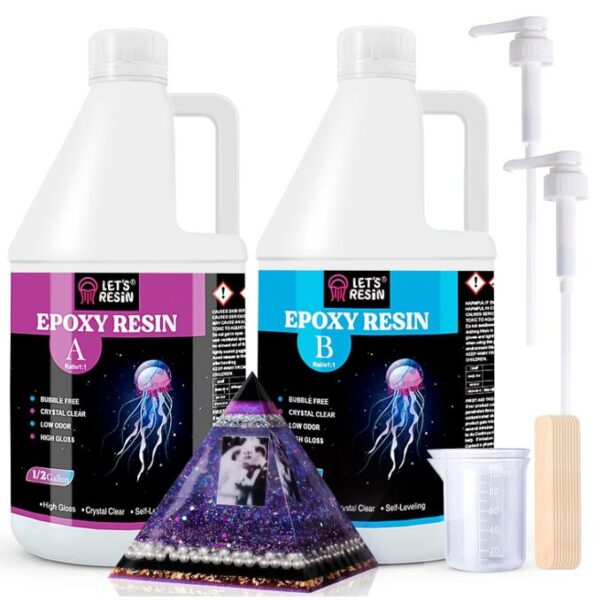
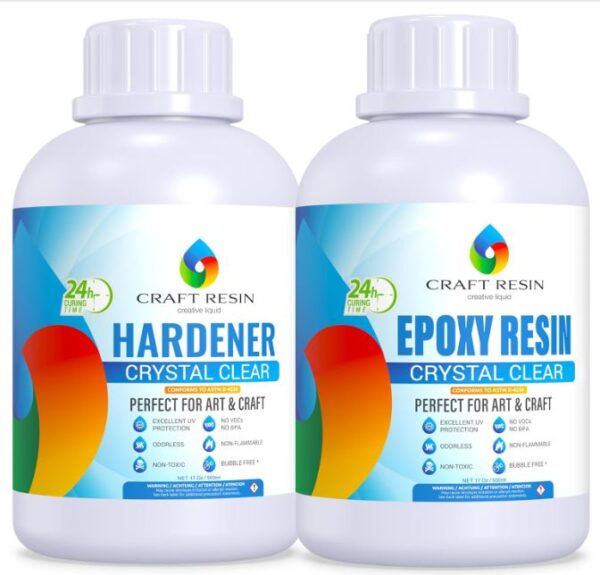
2. Choose Your Epoxy Resin
When it comes to choosing resin for earrings, you can use epoxy resin or UV resin. They are both pretty easy to work with and gives a clear, durable finish. I’ve used both for my jewelry projects. I especially love the Let’s Resin brand. It mixes smoothly, self levels nicely in molds, and holds color beautifully, which makes it my go to for creating fun and vibrant resin earrings. Plus they have both epoxy and UV resins in their shop.
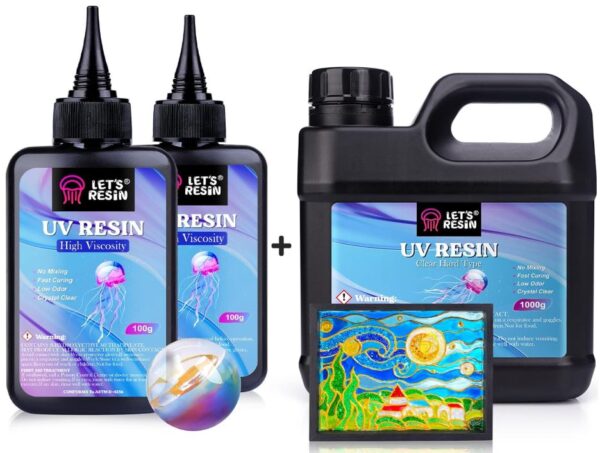
Now, if you are just starting out and don’t have any supplies at all, I have a list of resin kit for beginners that has everything included.
3. Choose The Type Of Earrings
Choosing the right molds is a fun part of making resin earrings because it sets the shape and style for your pieces. I like using silicone earring molds in classic shapes like circles, hearts, or teardrops. For a playful twist, you can also use scrabble tiles as molds. They’re small, flat, and perfect for customizing with colors, glitter, or tiny decorations. These make it easy to create earrings that are unique and totally your own.

4. Prep Your Workspace
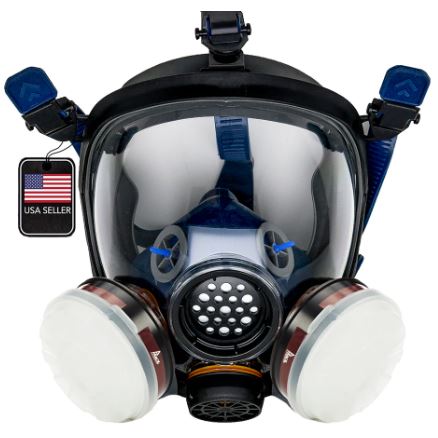
Before you start pouring resin, it’s important to prep your workspace so everything is within reach and ready to go. Cover your table with parchment paper or a silicone mat to catch any drips, and have your molds, resin, pigments, mixing cups, and sticks laid out. Don’t forget your epoxy safety gear. Gloves and a mask are a must, and good ventilation helps keep the air comfortable while you work. Read this resin safety guide before working with any type of resin.
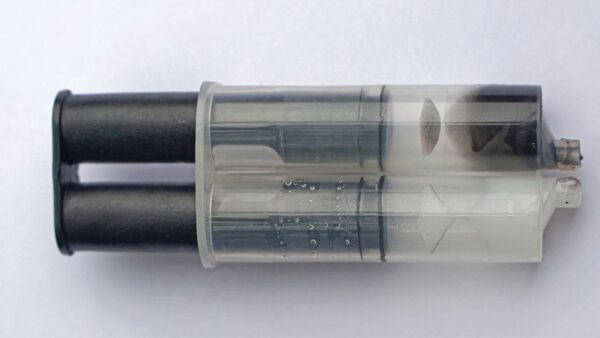
5. Measure and Mix Precisely
Measuring and mixing your resin carefully is key to getting earrings that cure clear and hard. Follow the instructions on your resin bottle for the right ratio of resin to hardener, and pour each part into a clean cup. Stir slowly and thoroughly with a mixing stick for a couple of minutes, scraping the sides and bottom so everything blends evenly. Taking your time here helps avoid bubbles and gives your earrings a smooth, even finish.

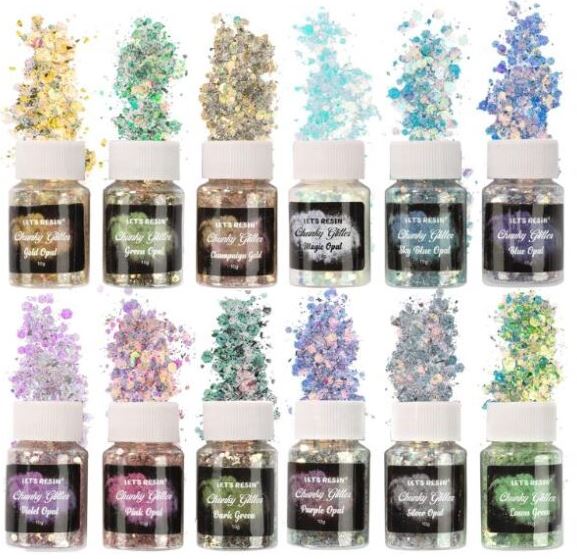
6. Add Pigments Thoughtfully
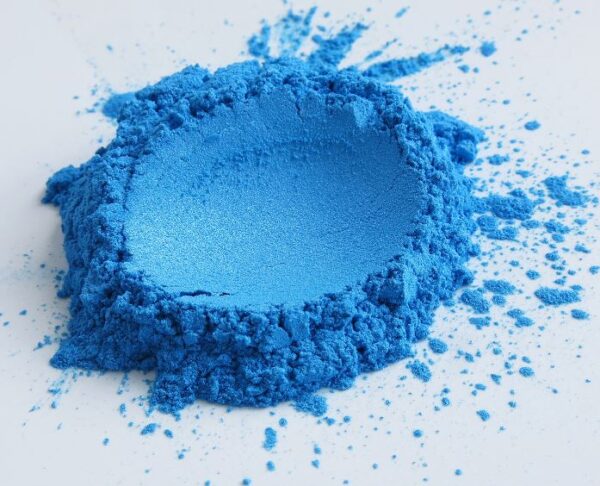
Adding pigments carefully lets you create earrings with color and personality without affecting how the resin sets. Start with a small amount of pigment, mica powder, or liquid dye, and mix it in slowly until you reach the shade you like. You can also add glitter or tiny decorations at this stage. Stir gently so the resin stays smooth and bubbles are kept to a minimum, giving your earrings a polished, even look. Here’s a list of resin pigments to try.
Start with small amounts, as resin pigments can be highly concentrated. Mix the pigments thoroughly to get consistent and vibrant colors. You don’t want to go over about 10% or your resin might not cure properly or get resin dimples.
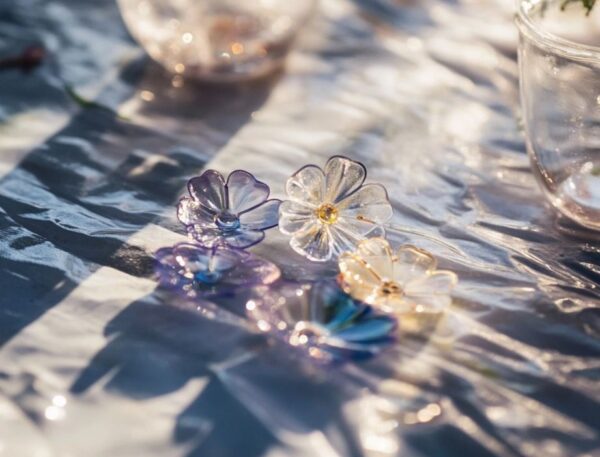
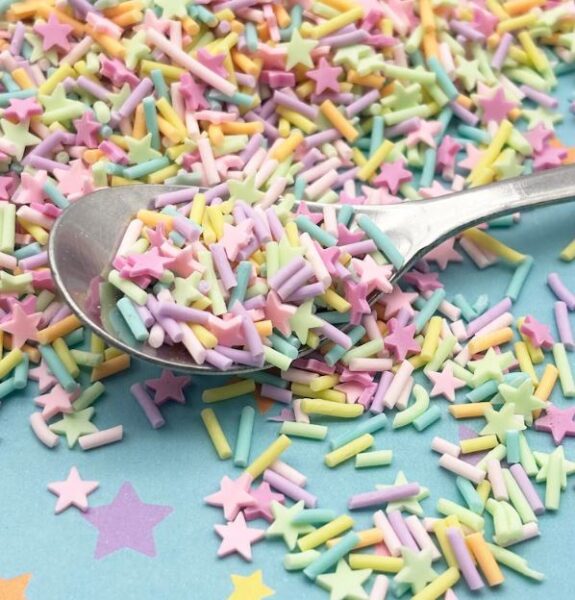
7. Add Inclusions
Adding inclusions is a fun way to personalize your resin earrings and make them truly one of a kind. These are small objects or decorations you embed into the resin before it cures, which can add texture, sparkle, or a pop of color. You can experiment with different shapes and materials to match your style, and they really make your jewelry stand out.
Here are some ideas for inclusions in resin earrings:
- Mini polymer clay charms
- Tiny dried flowers or leaves
- Glitter or shimmer powder
- Small beads or sequins
- Foil flakes or metallic accents
- Gold paint for epoxy
One time I was mixing in some gold paint for resin and mixed in way to much. The whole batch seized up and I wasted so much money! If you are using flowers, be sure that they are completely dried before using them in resin. I have a guide on the best ways to dry flowers.

8. Layering Pigments
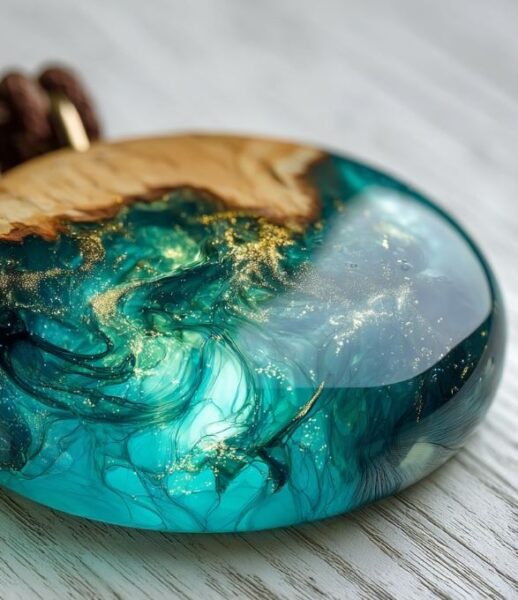
Layering resin in earrings is a fun way to add depth and make your pieces really pop. You can pour a thin layer of resin, let it partially set, and then add another layer with pigments, glitter, alcohol inks, or inclusions. Using liquid dyes for epoxy creates beautiful, swirling effects that float inside the resin, giving your earrings a cool look.
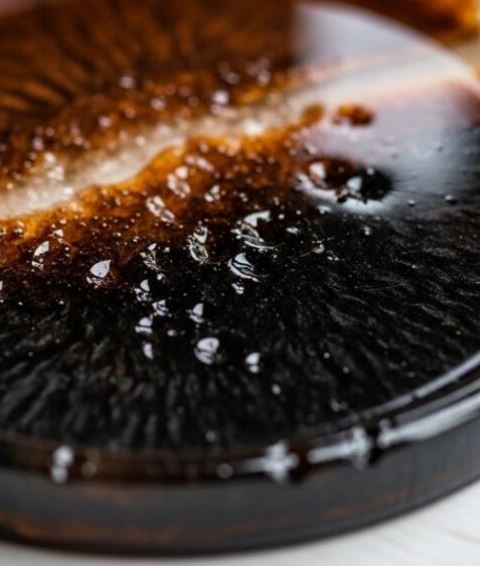
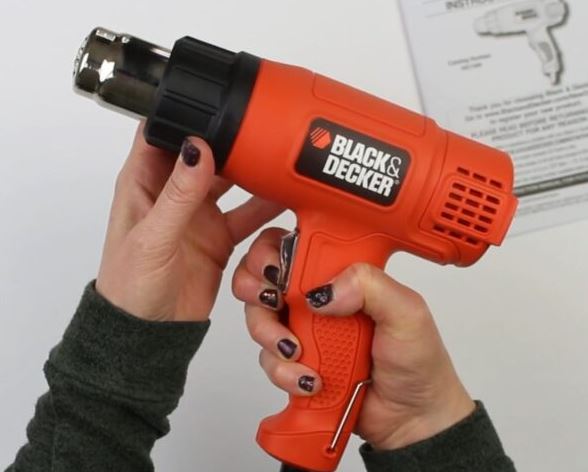
9. Use a Torch or Heat Gun for Bubbles
Using a torch or heat gun is a simple trick to get rid of bubbles in your resin earrings. After pouring, hold the heat source briefly over the surface to help trapped air rise and pop. Move it around carefully so you don’t overheat the resin, and watch as your layers smooth out. This step gives your earrings a clear, even finish with no bubbles in sight. I like using the Black & Decker heat gun and I also have a list of the best craft heat guns to use.
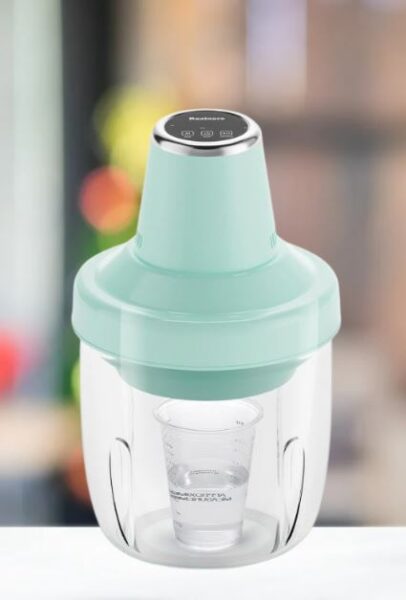
10. Use A Bubble Removal Machine
A bubble removal machine is another handy tool for keeping your resin earrings clear and smooth. After pouring your resin, placing your molds under the machine helps lift tiny air bubbles to the surface quickly. This can save time and reduce the need for using a torch or heat gun on every piece. It’s especially useful if you’re making multiple earrings at once and want a consistently polished finish.
11. Follow Curing Time Guidelines
Following the curing time guidelines is key to getting earrings that are strong and fully set. After pouring and adding any layers or inclusions, let your resin rest for the recommended hours without touching or moving the molds. Rushing this step can affect how the resin hardens. And not all resins cure at the same time.
If you would rather not have to wait for the resin to cure, then try a UV resin instead that uses a cure light to set the resin.

12. Careful Demolding
Careful demolding is important to keep your resin earrings looking their best. Once the resin is fully cured, gently flex the silicone mold or use a soft tool to lift the pieces out without bending or breaking them. See this guide on how to get resin out of mold without tearing them.
13. Sand Or Polish
If you notice any bumps or uneven spots on your resin earrings, you can gently sand them with fine grit sandpaper to smooth the edges. For a flawless finish, simply buff the surface with a soft cloth, and your earrings will look polished and ready to wear. Here’s a guide on how to polish resin.
14. Assemble Earring Components
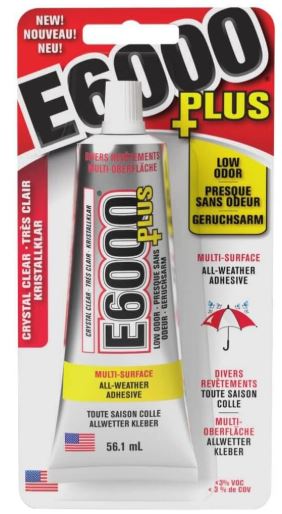
When it’s time to assemble your earrings, the method depends on the shape you chose. If you’re using a silicone mold, you can simply attach the earring chain or hooks to the top. If you went with a scrabble tile or domino piece, you’ll need to add a jewelry bail first, securing it with either UV resin or a strong craft glue like E6000.
15. Write Things Down
One tip I always follow is to write things down as I go. I learned this the hard way. One time I mixed the most amazing color combination for a domino pendant, and I loved how it turned out. Later, I tried to recreate it and couldn’t remember the exact amounts or order I used. Keeping notes of your pigments, layers, and inclusions helps you repeat the looks you love and makes every project easier to replicate.
16. Store Earrings Properly
Once your resin earrings are finished, storing them properly helps keep them looking their best. Keep them in a dry, cool place away from direct sunlight to protect the colors and details. Resin may yellow over time if not properly stored and you have the sun on them all the time.
Resin earrings FAQ
What type of resin is best for making jewelry?
The best types of resin for making jewelry are epoxy resin and UV resin. Epoxy resin is great for larger pieces, layering, and adding pigments or inclusions, while UV resin cures quickly under a UV light, making it perfect for small charms or details when you want fast results.
How do I Stop air bubbles in my resin jewelry?
To keep air bubbles from appearing in your resin jewelry, stir your resin slowly and thoroughly when mixing so you don’t trap extra air. You can also let the mixed resin sit for a few minutes before pouring to allow bubbles to rise. Using a torch, heat gun, or bubble removal machine over the surface after pouring helps pop any remaining bubbles.
Can I add color to my resin jewelry?
Yes, you can add color to resin using pigments or dyes specifically designed for resin. Add small amounts at a time and mix thoroughly to achieve the desired color. Experiment with different colors and ratios to create unique effects.
How long does it take for resin jewelry to cure?
The curing time varies depending on the type of resin used. Follow the manufacturer’s instructions for the specific resin you have, but generally, it can take anywhere from 24 hours to a few days for resin jewelry to fully cure. UV resin will cure in just a few minutes.
Can I embed objects in resin jewelry?
Absolutely! You can embed various objects like dried flowers, glitter, or small charms in resin. The objects must be thoroughly dry before embedding. One thing that is really fun to add to epoxy jewelry are cute polymer clay embeds. They come in all kinds of shapes that you can put into the resin. One place to get some really neat designs are at the Happy Kawaii Shop.
Can I wear resin jewelry in water?
While cured resin is water-resistant, prolonged exposure to water may affect the chains and findings that you use. It’s best to remove resin jewelry before swimming or bathing to maintain its appearance over time.
Two Best Resins For DIY Earrings
When it comes to making resin earrings, the two best types are epoxy resin and UV resin, and each has its strengths.
Epoxy resin is great for larger pieces, layering, and adding pigments, glitter, or inclusions. It has a longer working time, so you can take your time adjusting colors and designs, but it takes several hours to cure fully.
UV resin, on the other hand, cures very quickly when exposed to UV light, so it’s perfect for small charms or detailed designs. It’s easy to work with for quick projects, but it’s better for thinner pieces since it hardens fast and doesn’t layer as easily.
Thanks for reading! I hope this guide helps you feel ready to create your own resin earrings with epoxy or UV resin. Have fun experimenting with colors, layers, and inclusions, and enjoy wearing or gifting the unique pieces you make yourself!
More resin articles