How To Properly Polish Resin: 9 steps
Today we are going to talk about how to polish resin. Welcome, crafters and DIY enthusiasts. If you’ve ever ventured into the world of resin crafting, you’ll know that creating beautiful resin pieces is a fun journey.
However, just like any craft, putting on those final touches will help your epoxy resin pieces look their best. That’s where resin polishing comes into play.
We will discuss what is the easiest way to polish resin and what you can use. You can also use polishing as a final step when fixing dimples in resin.
In this guide, we’ll take you through the steps to achieve a flawless, glass-like finish on your resin projects. So, grab your safety gear, your resin pieces, and let’s dive into the art of resin polishing.
How to Polish Resin
Materials You Need
- Resin piece: Begin with the resin piece you’ve created and intend to polish. Make sure it’s clean and free of any dust or contaminants.
- Sandpaper (from coarse to fine grits): You’ll need a selection of sandpapers with varying grit levels, starting from coarse to fine. This will allow you to progressively smooth the resin’s surface.
- Water: A basin of clean water will be used to wet the sandpaper and rinse the resin during the process.
- Mild soap: A few drops of mild soap are needed for cleaning the resin piece before you begin sanding.
- Microfiber cloth or paper towels: These will be used for drying and cleaning the resin piece throughout the polishing process.
- Polishing compound or resin-specific polish: A specialized polishing compound or a polish designed for use with resin is for getting that glossy finish.
- Rotary tool with a soft buffing attachment (optional): While not mandatory, a rotary tool with a soft buffing attachment can expedite the polishing process and yield professional-level results.
- Safety gear, including gloves and safety glasses: Have the necessary ppe resin safety gear to protect your hands and eyes while working with potentially abrasive materials and tools.
Step 1: Prepare Your Work Area
Before diving into the resin polishing process, set up your work area in a well-ventilated space. Have adequate lighting for precise work, and don your safety gloves and safety glasses to protect your hands and eyes throughout the process.
Step 2: Clean the Resin Surface
Make sure your resin piece is completely cured before starting this step. Begin by cleaning the resin piece thoroughly. Fill a basin with warm water and add a few drops of mild soap.
Submerge the piece and gently wash it using a soft cloth or sponge. This step will remove any dust, dirt, or fingerprints that may have settled on the surface.
Step 3: Sand the Resin
Now you will start to sand the resin. The grit of sandpaper will depend on the resin you will be sanding.
If you have really bad ridges or bumps you will need a coarser sandpaper to start out with. You will start with about an 800 grit if you are finishing for high gloss.
Before using resin or sanding, be sure to read up on our resin safety tips guide.
Check out our guide on how to sand resin first.
To start smoothing the resin surface wet the sandpaper with water to prevent overheating and create a slurry if needed.
Gently sand the resin in a circular motion, maintaining a consistent and even pressure. Continue this process until you’ve achieved a level surface and any imperfections have been addressed.
Step 4: Rinse and Dry
After sanding, thoroughly rinse the resin piece with clean water to remove any residue left behind by the sanding process.
Use a clean microfiber cloth or paper towels. The piece must be completely dry.
Step 5: Apply Polishing Compound
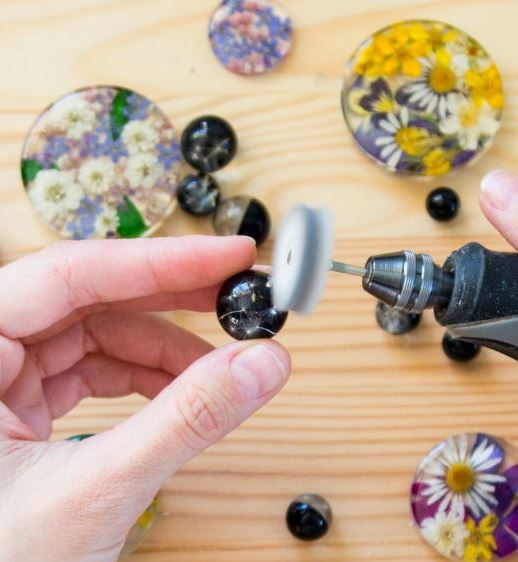
If you have a rotary tool with a soft buffing attachment, this is the stage where it becomes incredibly useful.
Apply a small amount of resin-specific polishing compound or a fine abrasive compound to the buffing attachment or a soft cloth.
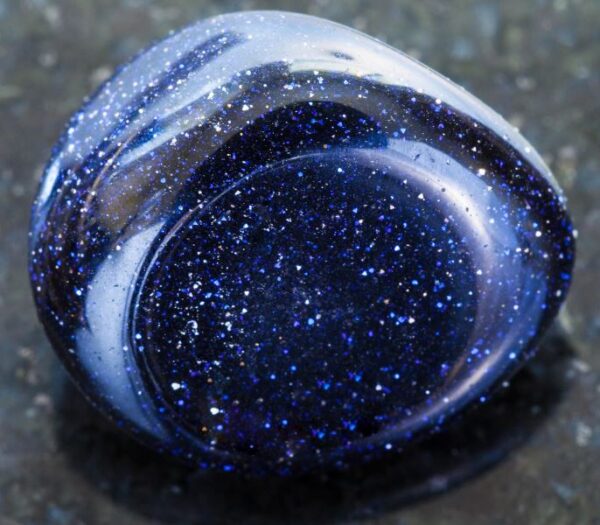
Buff the resin surface in a circular motion with gentle pressure. The compound helps refine the surface and bring out the desired glossy finish. This is also the best polish for epoxy jewelry.
Step 6: Check Your Progress
As you’re polishing, periodically pause to wipe away excess compound and inspect your progress. You should notice the resin starting to develop a noticeable shine as you continue the buffing process.
Step 7: Final Buffing
For a final polish, use a clean, dry cloth or buffing wheel to remove any remaining compound residue and bring out the resin’s shine to its full potential. This step will make your resin piece have that glass-like finish.
Step 8: Clean and Inspect
Once you’re satisfied with the shine, clean the resin piece once more with a damp cloth to remove any remaining residue. Take this opportunity to inspect the surface for any imperfections.
If any areas require further attention, repeat the polishing process to get an even finish across the entire piece.
Step 9: Seal or Finish
Depending on the specific requirements of your project, you may want to apply a clear coat or sealant to protect the polished resin surface and enhance its durability. This step will help your polished piece to keep its lustrous appearance for years to come.
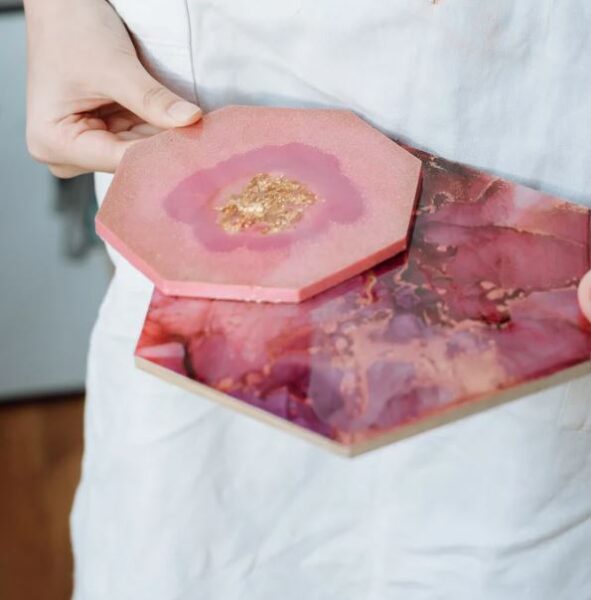
With these detailed steps, you’ll successfully polish your resin piece, giving it that brilliant, glass-like finish. Your DIY resin projects from coasters to DIY resin earrings will truly shine and leave a lasting impression.

Why does someone have to polish resin?
Since resin is known for it’s crystal clear glossy surface, you might not need to polish it at all. But there are some instances where resin might need to be polishes.
Resin, when initially cured, may exhibit imperfections such as surface irregularities, scratches, or cloudiness.
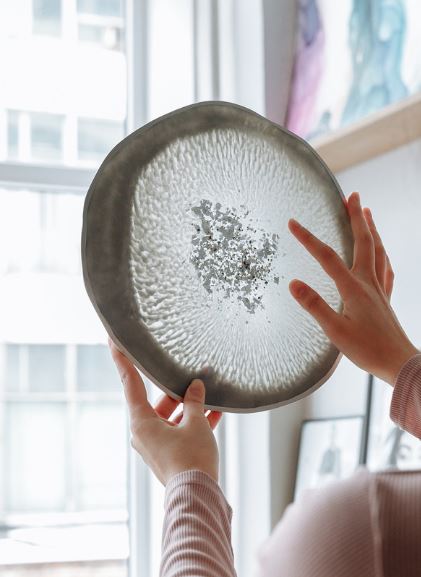
Polishing smooths out these imperfections and brings out the inherent clarity and luster of the resin. This process results in a pristine, glass-like finish that truly makes the piece shine, enhancing its visual appeal.
Resin polishing contributes to the overall quality and durability of the finished piece. By removing surface flaws and achieving a uniform shine, the resin becomes more resistant to wear and tear over time.
It also safeguards against the accumulation of dirt and grime, making it easier to clean and maintain. In the case of resin jewelry or decorative items, this added level of gloss and clarity can make all the difference in capturing attention and appreciation.
In essence, the act of polishing resin is not merely a cosmetic step but also a practical one. It elevates the craftsmanship and longevity of resin creations, making them stand out and ensuring they remain as stunning as the day they were made.
Polishing Resin FAQ
1. Can I polish resin immediately after it cures?
Certainly, you can start polishing resin once it’s fully cured, which typically takes 24 to 72 hours, depending on the specific resin you’ve used. See our guide on resin curing times.
Allow the resin to cure completely to avoid any potential damage to the surface during the polishing process.
Be patient so that the resin is stable enough for sanding and polishing without the risk of deformation or softening.
2. Can I use regular polishing compound for resin?
While regular polishing compounds can work in some cases, it’s highly recommended to use a specialized resin-specific polishing compound for the best results.
Resin-specific compounds are formulated to address the unique properties of resin, for a glass-like finish without risking any damage to the material. These compounds are designed to provide optimal clarity and gloss.
3. Do I need a rotary tool for resin polishing?
A rotary tool with a soft buffing attachment is optional but can significantly expedite the polishing process and yield professional-quality results.
However, it’s not a necessity. You can get excellent results by hand with a cloth or buffing pad, particularly if you’re working on smaller resin pieces. The choice of tools ultimately depends on your preferences and the scale of your projects.
4. How do I protect the polished resin surface from damage or scratches?
To safeguard the polished resin surface, it’s a good practice to apply a clear coat of resin. This protective layer not only enhances the durability of the polished surface but also shields it from potential scratches and daily wear and tear.
Additionally, when storing resin items, keep them in a clean and dust-free environment to minimize the risk of surface damage or contamination. Regular, gentle cleaning with a damp cloth can also help maintain the resin’s luster over time.
Thank you for taking the time to explore this guide on polishing resin. We hope that the step-by-step instructions provided here have been helpful in your resin crafting journey.
Whether you’re a seasoned artist or just starting out, achieving that flawless, glass-like finish on your resin pieces can be a truly rewarding experience.
By mastering the art of resin polishing, your creations will exude a professional touch and a lasting, radiant beauty. We wish you many successful and shining resin projects ahead. Happy crafting!