How To Resin A Painting
Welcome to my tutorial on how to resin a painting. Are you wondering how to resin a painting? I’ll show you an easy way to pour resin onto artwork so you can get a glossy, glass like finish.
This tutorial works fantastic for small pieces of artwork. And the best part? There is no mixing! That’s right, I used a high viscosity UV resin to cover a miniature alcohol ink painting. This is such an easy way to resin artwork.
If you want to enhance the colors, protect your artwork, or create a high gloss covering on small art, UV resin is what you can use.
So, gather your materials and let’s get started on transforming your painting into a shiny piece of art!
How to resin a painting with UV Resin
Supplies Needed
Resin A Painting Instructions
Do a small test piece first
Using the same products you will be using for your larger piece do a test on a smaller piece.
Sometimes resin can cause certain products to bleed and you will want to know if you can actually pour the resin on top without ruining it. Testing is key.
Step 1: Create Your Artwork
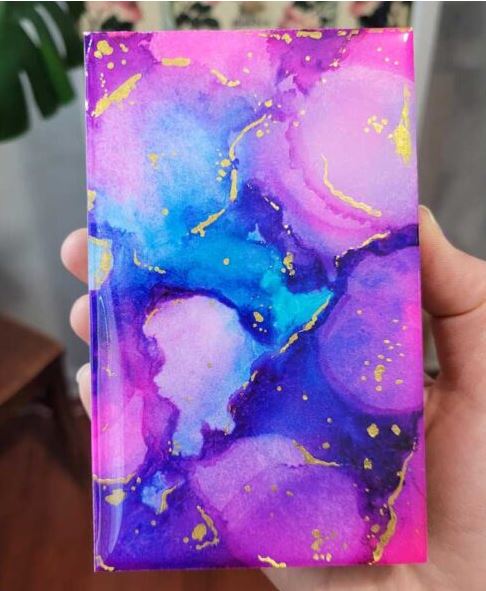
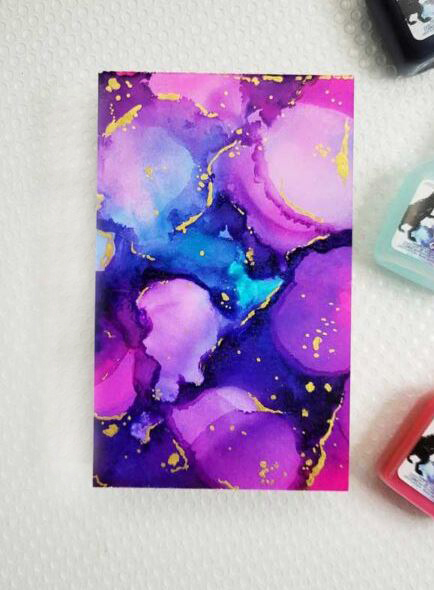
For this DIY, I painted a wood block with white craft paint, then went ahead with some alcohol inks and made the painting.
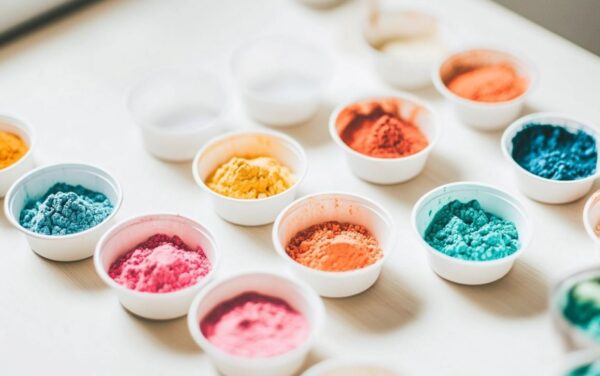
Begin by making your painting. For this I used T-Rex alcohol inks.
I like experimenting with techniques like blending, swirling, or dripping to create unique effects. I made the art a bit larger than the art block I’m using.
Allow your artwork to dry completely before moving on to the next step. This is important, as any moisture left can affect how the resin adheres later on.
Step 2: Pour the Resin
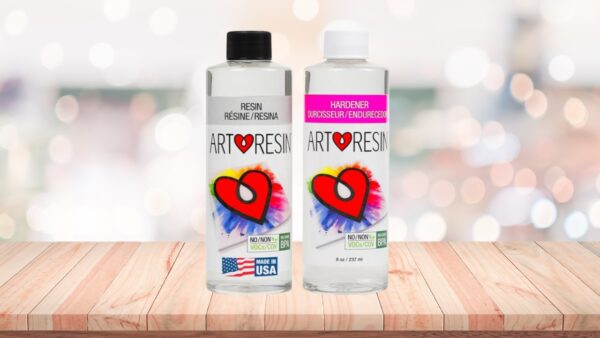
Now it’s time to pour the resin! For this tutorial I’m using a UV resin so that there is no mixing. This type of resin is great for small pieces of artwork because it cures under a UV lamp.
I’m using a thick doming resin from J Diction. It’s a brand that is easy to use and cures very hard and glossy.
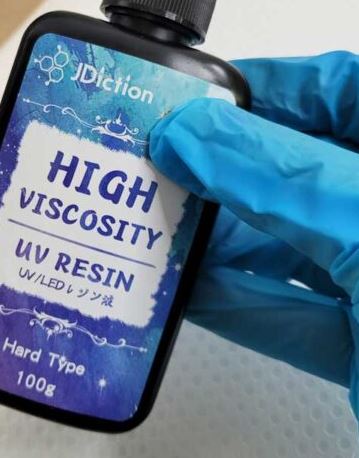
The high viscosity is going to make it so that it stays on the front of the artwork and doesn’t pour over.
Before pouring on the resin, make sure that your painting is completely level.
Slowly pour the resin onto the top of your artwork. Start from the center and work your way outward. Be careful not to add to much or it can start to drip over.
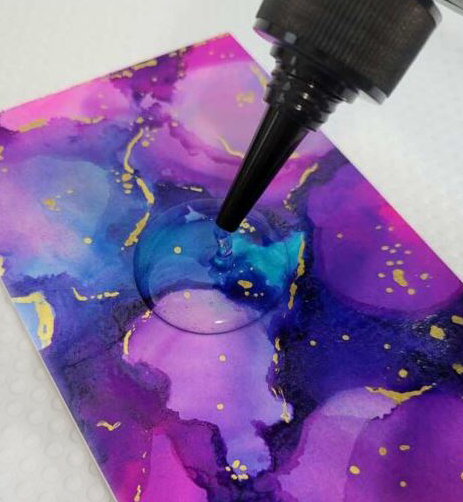
Another way you can do this is to start from the outer sides and work your way to the center. Kind of like flooding a cookie with icing.
Use a spatula or a popsicle stick to spread the resin evenly across the surface making sure that it doesn’t go over the sides.
Once you have the entire painting covered in resin you can assess to see if you can add more without risking it going over the edge.

That’s why it’s good to use a high quality doming resin because it does not spread quickly.
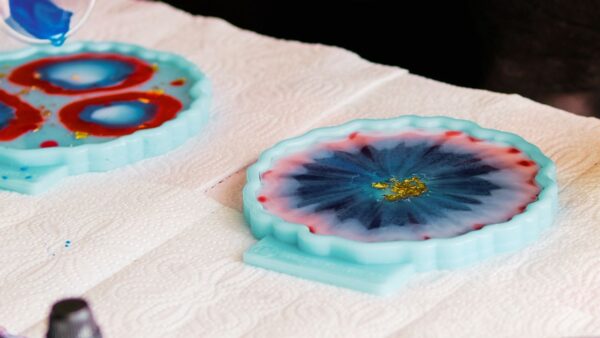
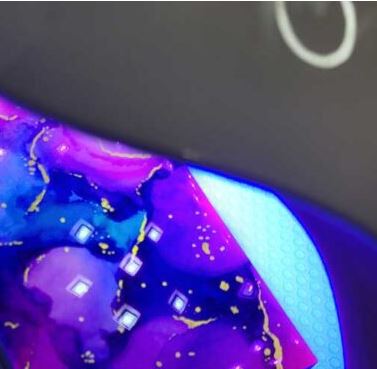
Step 3: Pop any bubbles in the resin
As the resin settles, you may notice tiny air bubbles rising to the surface. These can be removed easily with a torch or craft heat gun.
Carefully pass the heat source over the surface of the resin to pop the bubbles. Be sure not to hold the heat in one spot for too long to avoid damaging the resin or the artwork underneath.
Also, do not hold it too close to the artwork or the resin may warm up and this could make the resin less thick and cause it to run over the sides. See how the resin looks raised up without going over? That’s the beauty of doming resin.
Step 4: Cure under a UV lamp
After pouring the resin, cure it under a UV resin cure lamp for at least 4-5 minutes.
Once the resin has cured completely, your painting is ready to be displayed! Enjoy the vibrant colors and glossy finish that resin adds to your artwork. I attached mine to an art block with heavy duty double sided tape.
You can hang it on a wall, place it on a shelf, or gift it to someone special. Don’t forget to share your creation with friends and family, they’ll love seeing your beautiful, resin-covered artwork!
Next check out this article about the best epoxy resins for paintings for covering large artwork. And here is a helpful article about how to start resin art business.