Tips For Using Epoxy Resin Outside
Hi friends. Today I’m answering your question. Can you use epoxy resin outside? The answer is yes but let’s talk about some things you will need to know before using resin (and UV resin) outside.
Using epoxy resin outside comes with challenges. Temperature, humidity, and dust can all affect your project. Resin cures best in a controlled environment, so working outside means you need to plan ahead.
Choose a day with mild temperatures, low humidity, and little to no wind. Keep your workspace covered to prevent dust, leaves, or bugs from ruining your piece.

The first time I used resin outside, I didn’t think much about the weather. It was a warm, breezy day, and I set up my project on a table in the backyard.
Everything seemed fine until some things got into my curing resin. Dust, tiny leaves and bugs seem to be attracted to resin lol. I tried to pick them out, but it left marks on the surface. That’s when I learned that resin needs a protected space, even outdoors.

How To Use Resin Outside
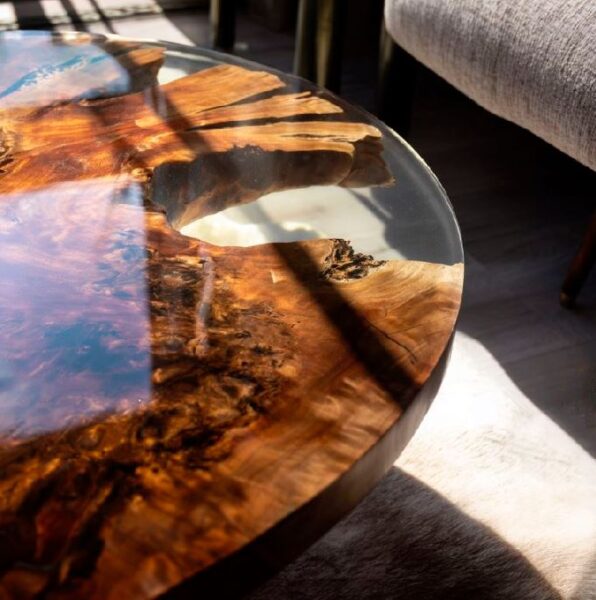
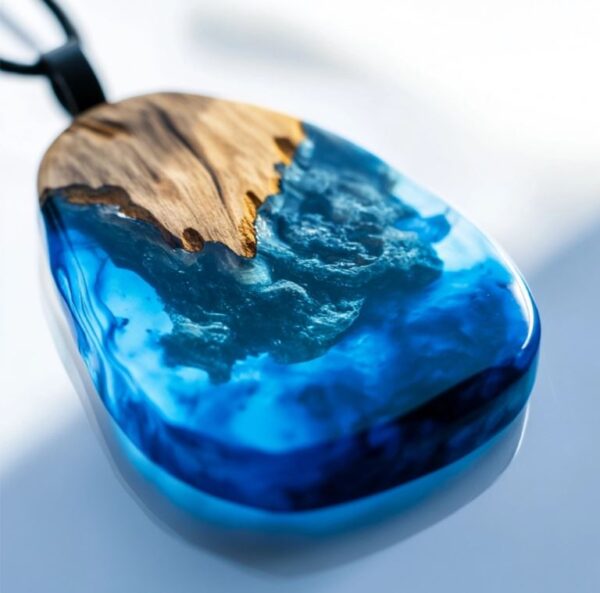
After using resin for almost 10 years on many things from jewelry to tables, here are my best tips for using resin outside.
1. Pick the Right Weather
When using epoxy resin outside the weather is important. If it’s too hot, resin cures too fast and gets sticky. If it’s too cold, it can take forever to harden. Humidity is another problem because it can make resin cloudy.
Try to work on a mild day with low humidity and temperatures between 70-80°F. If the weather isn’t perfect, a pop-up tent with mesh sides or shade can help.
2. Watch Out for Wind
A little breeze might seem harmless, but it can blow dust, leaves, and even pollen into your fresh resin. I learned this the hard way when some light wind covered my project in tiny specks of dirt. If you’re working outside, try to set up in a sheltered area or use a protective box.
One of my favorite places to work with resin is on my patio. I just set up my summer tent with the mesh windows and make sure it’s clean in there before I start to pour.
Even though it’s a good space for making resin things, I still cover up my small jewelry pieces with a box just to make sure nothing settles in the surface.
3. Use a Tent with a Zipper Cover
Like I mentioned above, a pop-up tent with a zippered front helps keep bugs and debris out while giving you a controlled space to work. It also blocks direct sunlight, which can heat up your resin too fast. If you’re working outside often, a tent is worth the investment.
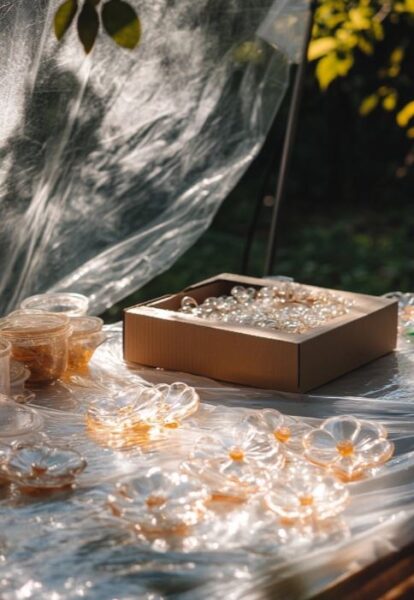
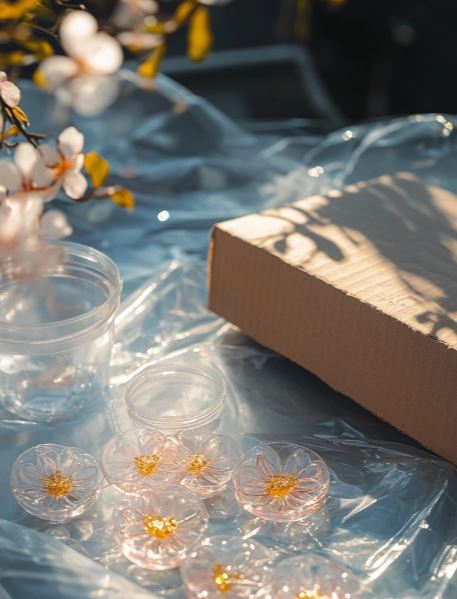
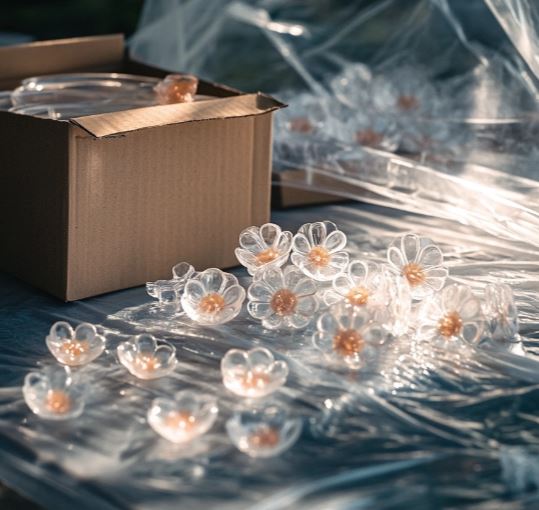
4. Cover Small Projects with a Box
For small resin pieces, a simple cardboard or plastic box works. Just place your project inside and lightly close the lid to keep dust and bugs out while allowing airflow. If you’re working on something larger, a mesh food cover does the trick.
5. Don’t Use UV Resin in Direct Sunlight
Keep in mind that when using epoxy resin outside is easier to work with than UV resin. UV resin cures almost instantly in sunlight. I once tried using it outside, and before I could even pop the bubbles, it had already hardened.
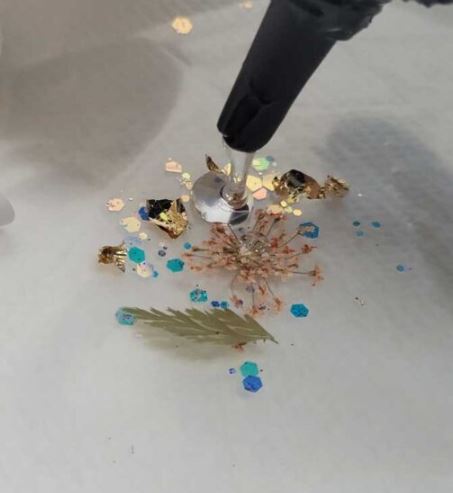
If you’re using UV resin, mix and pour in the shade, then move it to the sun when you’re completely ready. But with UV resin, sometimes that does not even work and it will start to cure.
6. Work on a Flat Surface
Resin is self-leveling, so if your table isn’t even, your project won’t be either. If you’re on a patio, deck, or even the grass, check that your surface is level before you start. A sturdy table makes all the difference.

Tip: Secure your table if you’re working in a windy area. A sudden shake or shift can spill resin, which is hard to clean up.
7. Keep a Backup Plan for Rain
Weather can change fast, and resin takes hours to cure. I once left a project outside, thinking the sky was clear, only for a surprise rain shower to hit. Now, I always have an indoor space ready just in case.
8. Bugs Love Sticky Resin
Flies, gnats, and even tiny ants are drawn to fresh resin for some reason. Once they land in it, they’re stuck for good. A mesh food cover helps, and a zippered tent is even better. If a bug does get stuck, use tweezers to pull it out before the resin hardens.
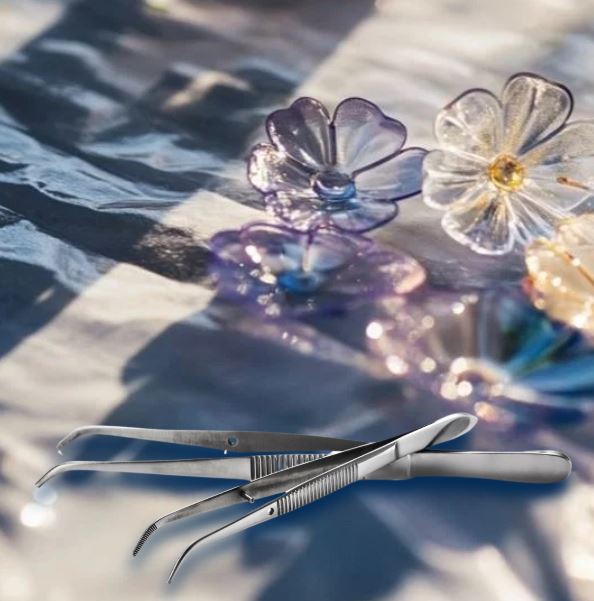
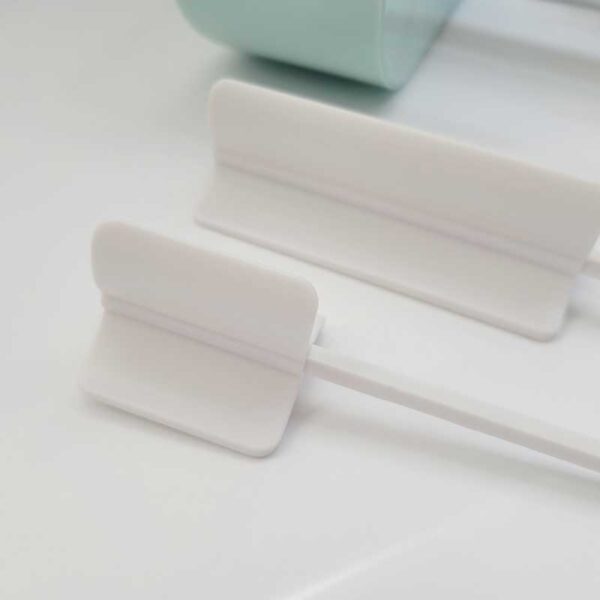
A set of crafting tweezers that are super helpful for when you need to get lint or dust out of the resin. I also use them for adding glitters and moving around colorants.
9. Mix in the Shade, Pour in the Shade
Direct sunlight can heat up your resin too quickly, making it thick before you’re ready. I mix and pour in a shaded area to keep the resin workable for longer. If the sun moves, adjust your workspace to stay in the shade.

10. Keep Your Supplies Nearby
Resin cures on its own time, so you don’t want to be running back and forth for missing supplies. Before you start, set everything up within reach. A tray and resin boxes will help keep things organized. All I have to do is grab my boxes and I have everything that’s needed.
11. Plan for a Longer Cure Time
If you’re used to working indoors, don’t be surprised if your resin takes longer to cure outside, especially on cooler days. Be patient and avoid touching it too soon. Sometimes I like to pour the resin outside, and then move the things into my crafting room for the final cure.
Keep pets and kids away from your resin setup. Even a small amount of uncured resin can be toxic if ingested. I never suggest working with resin around pets or kids. I consider using resin an adult craft due to it’s safety precautions.
Read up on these articles about resin safety:
12. Tape Down Your Plastic Sheet
If you’re covering your work area with plastic, make sure to tape down the edges. You definately don’t want wind to pick up your plastic sheet and get it stuck into your resin.

If resin spills onto your plastic sheet, let it cure before peeling it off. Trying to wipe it up while it’s wet can make a bigger mess.
13. Avoid Early Morning or Late Evening
Humidity is highest in the early morning and late evening, which can cause issues with resin curing. If you pour too early, morning dew can make the surface tacky. If you pour too late, temperature drops at night can slow down curing.
14. Check Your Project Before Walking Away
Before leaving your resin to cure, take a final look. I always check for dust, bubbles, or tiny bugs before walking away. Fixing these problems early can save your project from disaster.
15. Always Wear a Mask and Gloves
Even though you’re outside, safety gear is still a must. A proper resin respirator mask protects you from fumes, and nitrile gloves keep resin off your skin.
Some people think working outdoors means they don’t need a mask, but resin fumes can still be in the air. I made that mistake once and ended up with a headache that lasted all day. Now, I never skip my safety gear.
Extra Tip: Long sleeves can also help protect your skin from accidental drips. If resin gets on you, clean it off right away with baby wipes or alcohol—never use soap and water, as it can push the resin deeper into your skin.
Hope you found these tips for working with resin outside helpful! Working outdoors can be a great way to craft, as long as you plan ahead and protect your projects. Have you ever tried using resin outside? Let me know how it went!