How to make A Resin Charm
Making a resin charm is a fun and easy DIY project. You can create your own unique charms by adding things like glitter, dried flowers, and gold leaf. This is step by step how to make a resin charm.
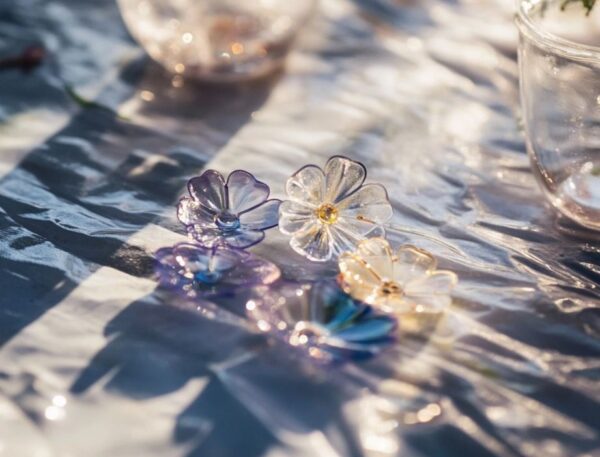
If you’re new to crafting with resin, don’t worry! A DIY resin charm is a simple project that’s great for beginners. This resin charm is going to be used as a pretty plant charm that will be beautiful in the sunlight.
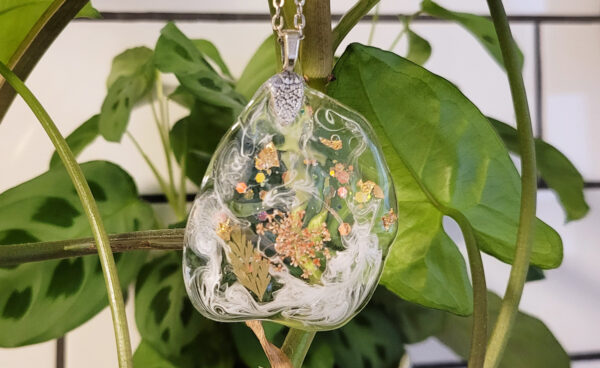
These charms are great for keychains, jewelry, or as cute little gifts. The best part? You can personalize them any way you like!
In this article, I’ll show you how to make a resin charm step-by-step. Once you know the basics, feel free to customize them however you like. Let’s get started and make something special!
How to make a resin charm
Supplies Needed for resin charms
High viscosity UV resin: High viscosity resin is like doming resin. It will not spread quickly and pretty much stays where you put it.
Resin lamp: This is going to cure the UV resin
Glitter: See our article best glitter for resin
Dried Flowers: Use flowers for resin that are completely dried
Gold leaf: This makes the resin charm look very pretty and high end
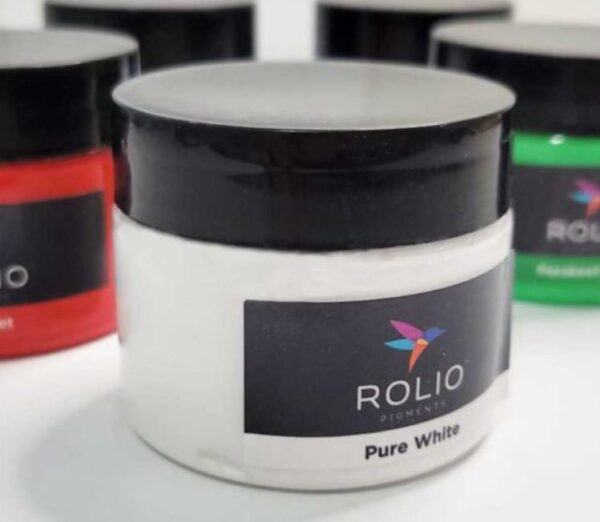
Resin Pigment Paste: For this tutorial white Rolio pigment paste is used to create elegant swirls
Jewelry bails and chain: These are what the pendant will hang on. If you have an old chain or costume jewelry just use that.
Silicone sheet: This is what the resin will be poured onto. Silicone is one of the things that resin will not stick to once cured.
Resin safety equipment: When working with resin, use proper safety equipment like resin masks and nitrile gloves. Before working with resin, read through these resin safety guides.
Instructions for making a resin charm
Before you begin, get all of your supplies out and ready so that you are not looking for things while you are making the charm. This makes things so much easier! I like to lay them all out on the table.
Step 1
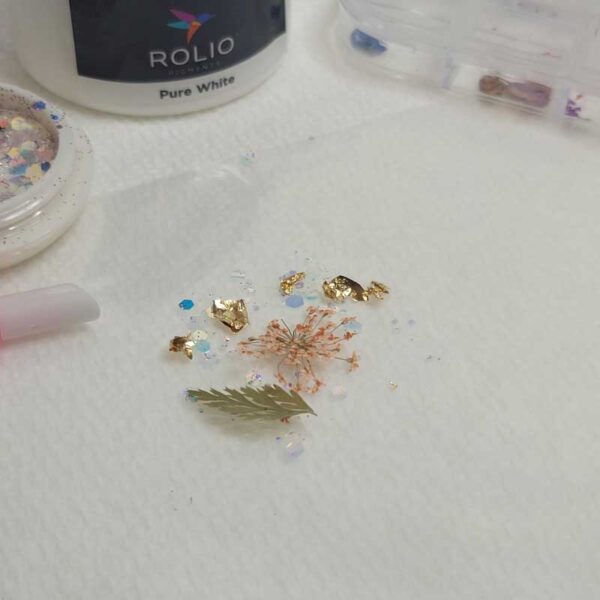
Place the glitter, dried flowers and gold leaf on your silicone matt. Take time to arrange them how you like, no need to rush.
Step 2
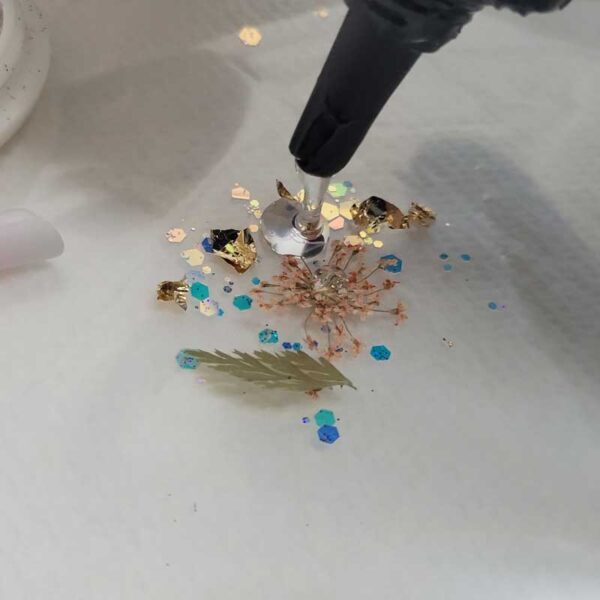
Take the UV resin and pour a generous amount on everything making sure that the glitter, flowers and gold leaf are completely covered.
Since we are not using a resin mold this time, it’s important to use high viscosity resin, so that it does not spread.
Step 3
Make sure you like how everything is placed. If there is something you want to move around, you can move it with a toothpick. Pop any bubbles unless you like that look.
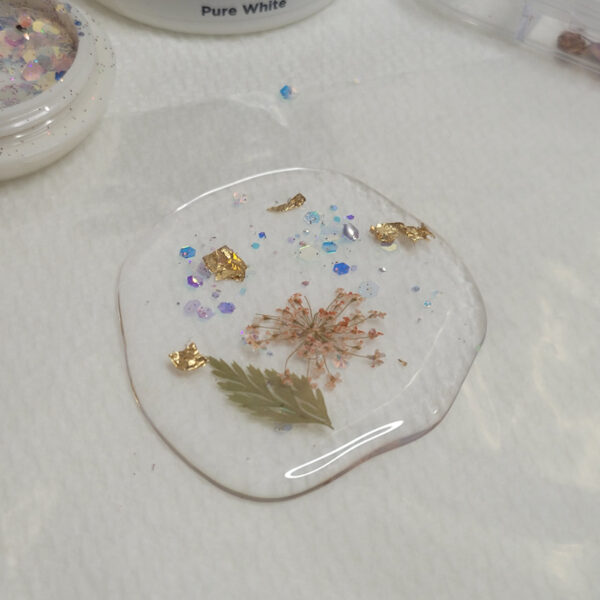
Step 4
On a toothpick, take a very small amount of resin paste and swirl it into the resin here and there. If you are new to using resin pigment paste, we have a guide for you. Using resin pigment pastes with resin.
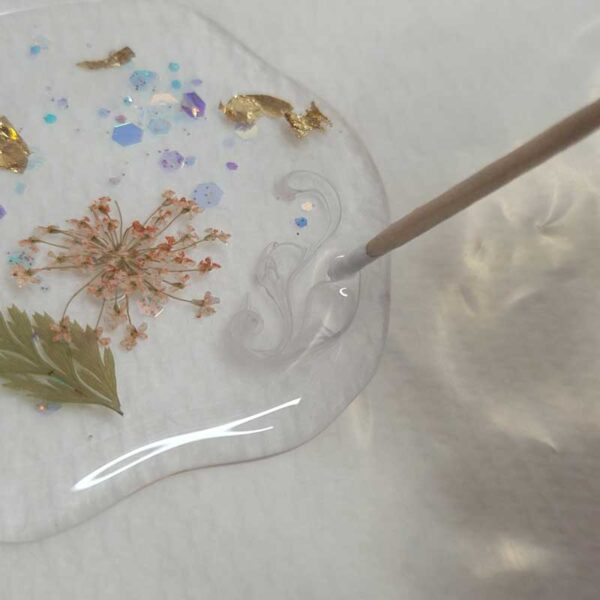
When you are happy with the swirling design, go to the next step.
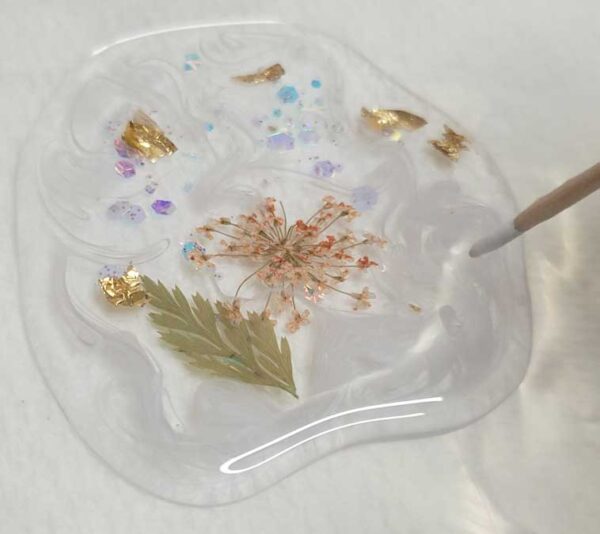
Step 5
At this point, your resin may have settled under the flowers. Add more resin if needed.
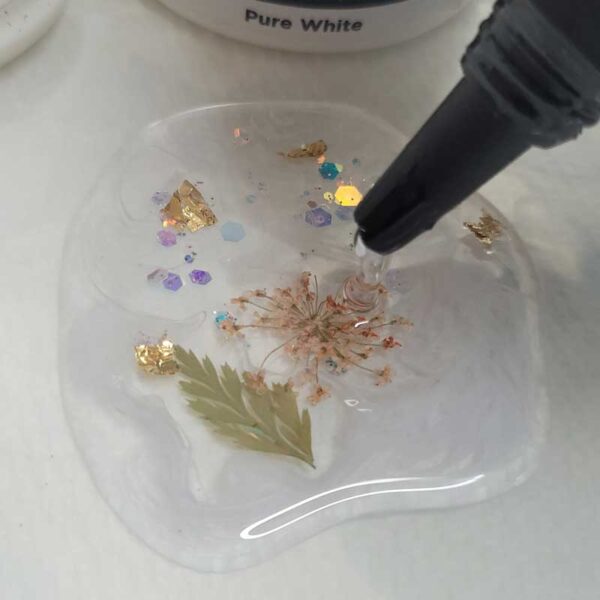
Step 6
Cure the resin under a UV lamp for at least 3 minutes. You may need a bit longer if your resin pour is very thick. You will know when it’s finished curing when the resin is hard.
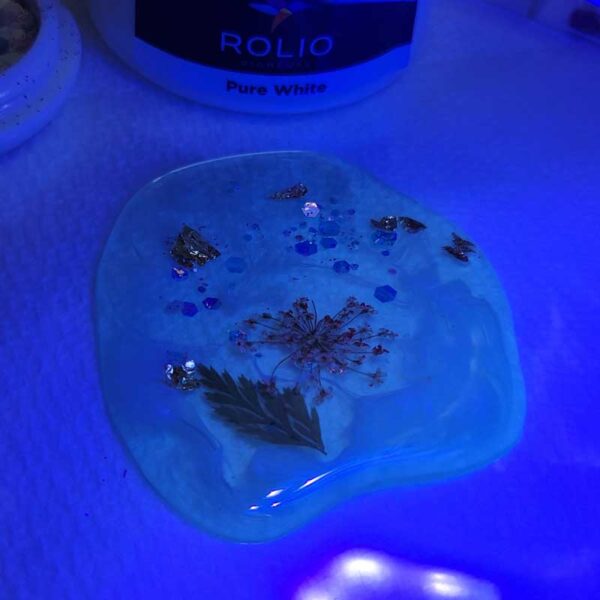
Step 7
If your charm is completely cured, peel it off of the silicone.
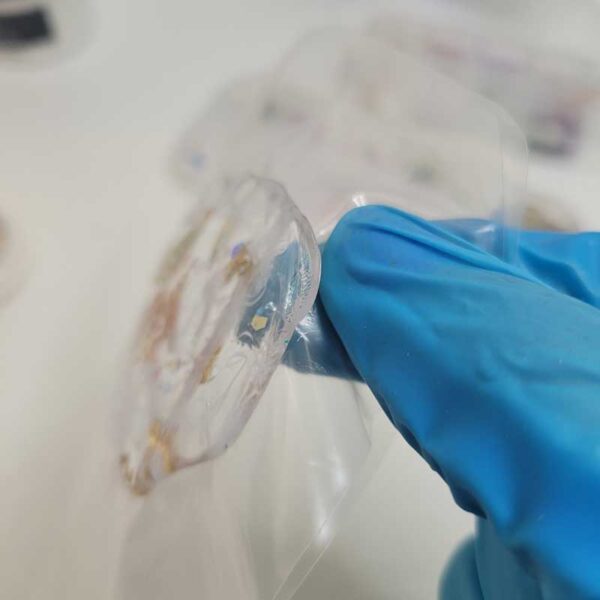
Step 8
Add the jewelry bail with a bit of UV resin to the back of the charm and cure for about 1 minute.
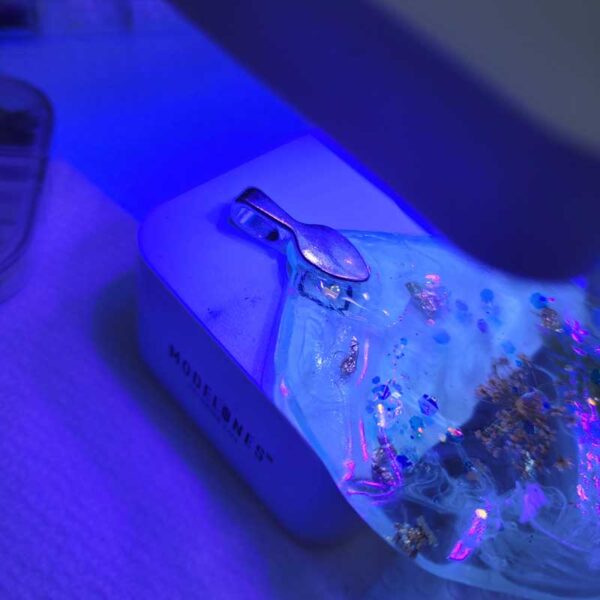
Step 9
Add the chain and hang it on your plant holder.
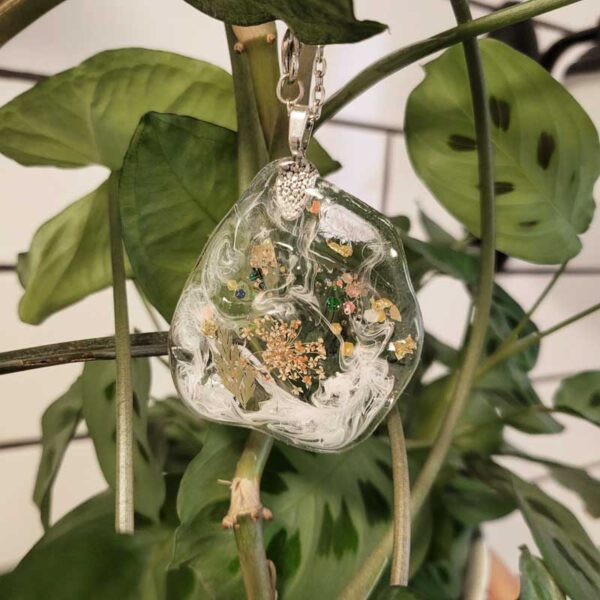
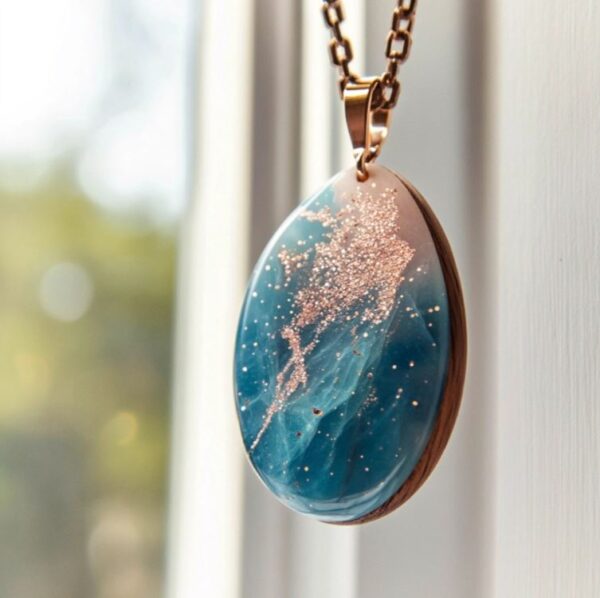
Isn’t this resin pendant pretty? I absolutely love how the white swirls look like they are floating. It really creates some movement in the resin charm.
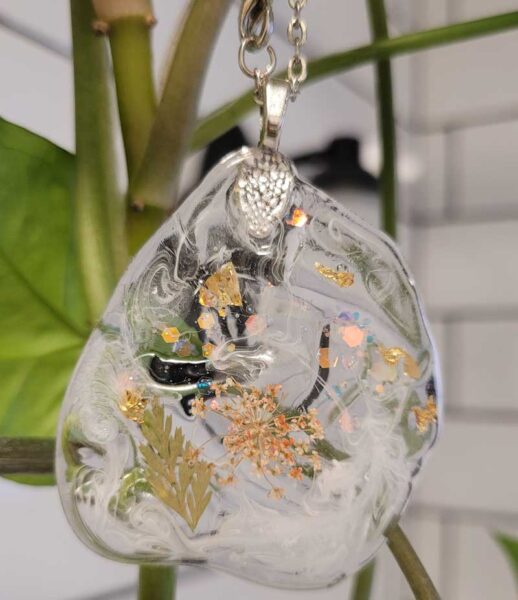
Once you’ve made your resin charm, you’ll see how fun and rewarding resin crafting can be! You can make these for your plants, sell them in your Etsy shops or for making gifts, the possibilities are endless.
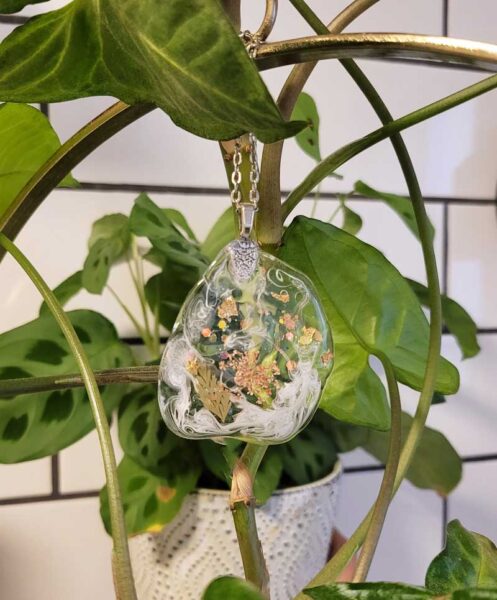
Well I hope you enjoyed this DIY. Our blog is full of resin resources, including tutorials, product reviews, and creative ideas to help you along when working with resin and UV resin. Take a look through our articles to find everything you need to keep creating amazing resin projects!
See our article about how to start your own resin business.

