How to make resin magnets
Resin magnets are a fun way to use epoxy resin in small batches, and they look so cute on a fridge or craft board. In this guide, I walk you through the simple steps for resin magnets, resin molds, pigments, and easy add ins. You get to see how easy it is to mix resin and turn it into something useful. These tiny crafts are great for beginners and anyone who wants a quick resin project. If you want a calm resin craft to try today, resin magnets are a great pick.

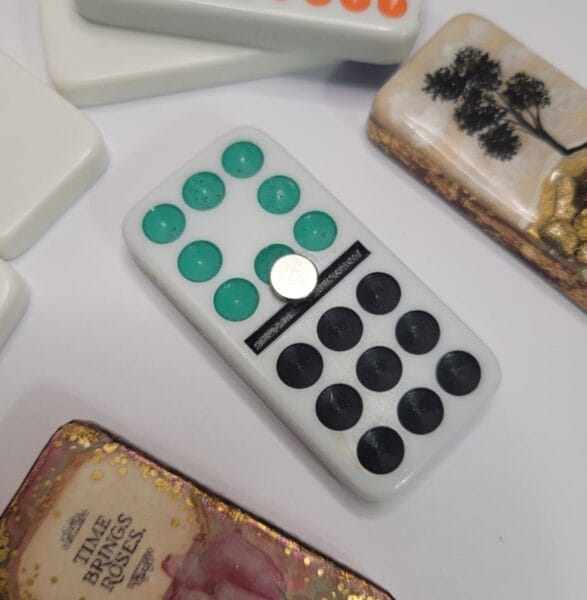
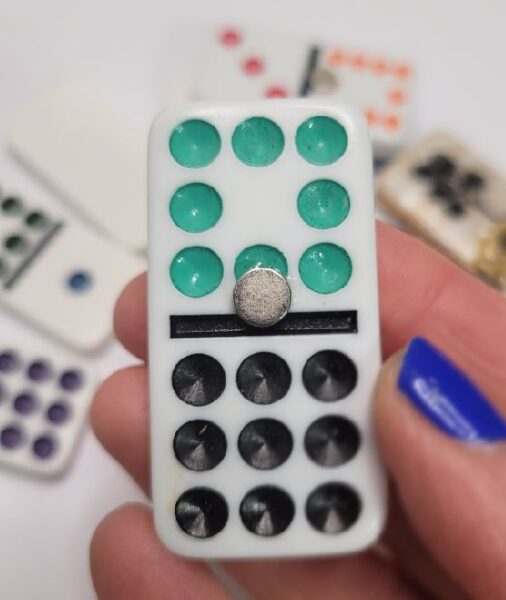
I’ve made so many resin magnets over the years, and some of my favorites were actually made with dominos. They turn out cute, strong, and always get comments when people see them on my fridge. I love that there are so many ways to make magnets with resin, from silicone molds to small found pieces you already have at home. You can keep them simple or add little touches to match your style. That is the fun part for me, and I know you will have a good time trying different styles too.
How to Make Resin Magnets
1. Getting Started with DIY Magnets
My favorite to make are resin magnets with dominoes because they are so easy to work with. They have a smooth surface, the size is just right, and they look cute once the resin goes on. You can paint them, add glitter, or keep them simple with a glossy finish. And then just add some doming resin and the magnet.
2. Choosing the Right Resin for Magnets
You can use epoxy resin as well as UV resin to make small things like magnets. The first step in making magnets with resin is to understand the types of resin available and the unique characteristics each one has. Because the magnets are pretty small as far as resin projects go, I prefer UV resin but it’s all personal preference.
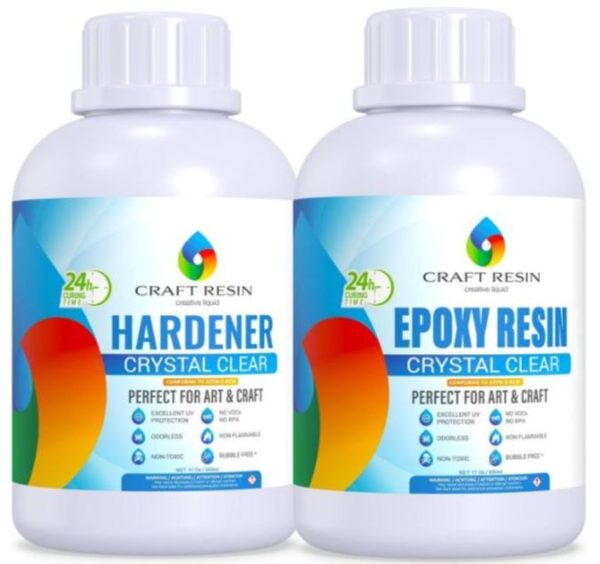
Epoxy resin is a two part resin that you need to mix. It’s good for larger pieces or for those who are going to be selling and need to make a whole bunch at once. It will give your magnets a glossy, glass-like finish and is fantastic for embedding objects into the magnets. Craft Resin is a great resin to try for magnets. You can buy these smaller sample sizes to try out before getting the jugs.
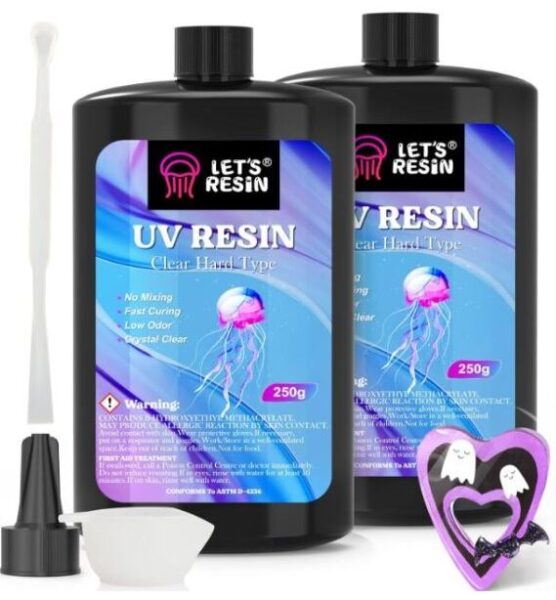
UV resin is a quick-curing option that’s perfect for small magnets. It cures when exposed to UV light, so if you are a beginner, you might find this more easy to use than the epoxy resin. But again, it’s just a matter of preference. Both can be used for this type of craft. I personally like to use the UV resin for small things like magnet. And it’s good for just adding a coating if you are making a small painting for your magnets.
Epoxy resin will give you about a 30 minute working time depending on the brand, UV resin is going to harden up almost immediately in about 1-2 minutes.
- Purchase resin that is crystal clear like the choices above.
- Use UV resin for smaller magnets as it will cure fast when it’s placed under a UV light.
- Thicker resins will hold embedded objects better.
- Look for a non yellowing resin.
3. Things To Make The Magnet With
Collect the supplies, including epoxy or UV resin, magnet molds, inclusions like glitters or golds for resin, colorants, mixing cups, stirring sticks, a heat gun or torch and resin safety equipment. You can make resin magnets in a few simple ways. Resin magnet molds are easy because you just pour, add your colors, and let them cure.
You can also use small wood domino blocks or even scrabble tiles if you want something with a handmade touch. Paint the wood in any style you like, let it dry, and then cover it with a thin layer of resin for a glossy finish. Both methods look cute, so you can try both and see what you enjoy most. I really like this look because if you use a thick resin, you can dome it.

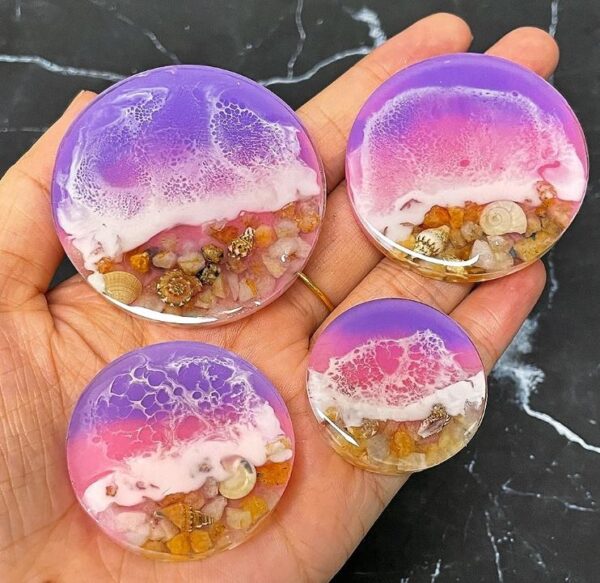
You will also need raw earth magnets to glue onto the back of your piece. If you are making a magnet that is clear, keep in mind that you are going to see the magnet on the back. If this bothers you, make sure the magnet is opaque in color, or you can try making magnets with jewelry pendant trays which looks really pretty.
4. Ideas To Add Into Resin Magnets
Creating homemade magnets is such a fun craft and you will need the right tools and supplies. Here are some unique things that you can make the magnets with.
See this guide about the best colorants for resin to use for even more ideas.

5. Dealing With Small Bubbles
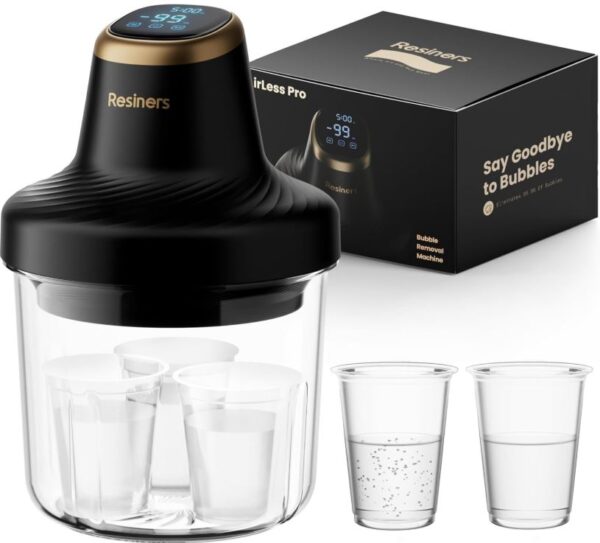
Use a Heat Gun or Torch to remove air bubbles for a smooth finish. A heat gun or torch helps to pop bubbles that form during the mixing process. You can also use a resin bubble remover machine if you are really getting into making small items.
6. Safety Precautions When Working with Resin
When working with resin, follow proper safety. Work in a well-ventilated area and wear a respirator to avoid inhaling fumes, use gloves and safety goggles to protect your skin and eyes. Resin an adult craft I and do not recommend children using it.

If you can, try to have a dedicated workspace, avoid direct contact with resin on your skin, and handle chemicals with care. Read and follow the manufacturer’s instructions for the specific resin you’re using for safe handling, proper disposal of any resin waste, and compliance with safety guidelines.
7. Common Resin Magnet Mistakes
Some common mistakes with resin magnets are easy to avoid once you know them. Many crafters pour too much resin into the mold, which can spill over and make sanding harder later. Another mistake is moving the resin before it starts to set, which can cause drips on the sides. Some people also forget to push the magnet on with a strong glue, so it pops off later. I like to glue the magnet on with UV resin. It works fantastic for this and then you don’t have to get extra supplies like glue.
I hope this helped you to make some beautiful magnets. Happy crafting!
Next, here is a guide on how to start an epoxy resin business.
![12 Things To Know About Lac Resin [GUIDE]](https://craftydiyartistry.com/wp-content/uploads/2023/11/lac-resin-guide-cover-a-600x338.jpg)