How To Mix Resin: Step by Step
Welcome, crafty comrades! Today, we’re diving into the world of resin mixing – a delightful alchemy that transforms your DIY dreams into glossy, vibrant realities. This is our guide on how to mix resin.
Whether you’re a seasoned crafter or just learning about how to work with resin we have some good resin mixing tips based on using resin for years. This blog is your friendly guide through the sticky, shiny wonders of resin art.
Picture this: you’ve got a table scattered with molds, pigments, and that mysterious liquid magic – resin. We’re going to show you how to do proper resin mixing.
So, grab your stir sticks, don your crafting apron, and let’s go on a resin journey together, where every drip and swirl brings you closer to crafting perfection. These are the basic instructions on how to mix resin.
The Importance Of Mixing Resin The Right Way
Mixing resin properly is an important step because it directly influences the outcome of your project. The resin and hardener need to be combined in precise ratios so that the resin cures correctly and achieves its intended properties.
Proper mixing prevents issues like tackiness, uneven curing, or the formation of bubbles in your final piece. Uneven mixing can cause many types of common resin problems.
The uniform blending of resin and hardener is the foundation of a successful project, dictating the clarity, strength, and overall aesthetic of the finished product.
Getting the mixing right makes it so your resin creation sets and solidifies properly.
You might be wondering about how much resin and hardener to mix, well it just depends on the brand you are using. Each brand has their own set of instructions based on their formulas.
How To Mix Resin Properly
Step 1: Measure Resin and Hardener
The foundation of successful resin mixing lies in precise measurements of resin and hardener. This is the most important because if you do not get this right, the resin will not cure properly.
Begin by carefully determining the required ratio, typically mentioned on the product packaging. Not all resins are a 1:1 ratio so this is very important to know before you start.
In the world of mixing resin, being accurate is crucial. Begin by knowing the resin-to-hardener ratio mentioned on the product you’re using, whether it’s a 1:1 mix or another proportion.
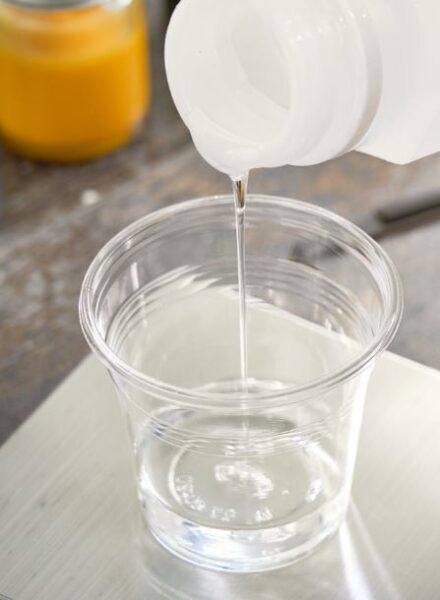
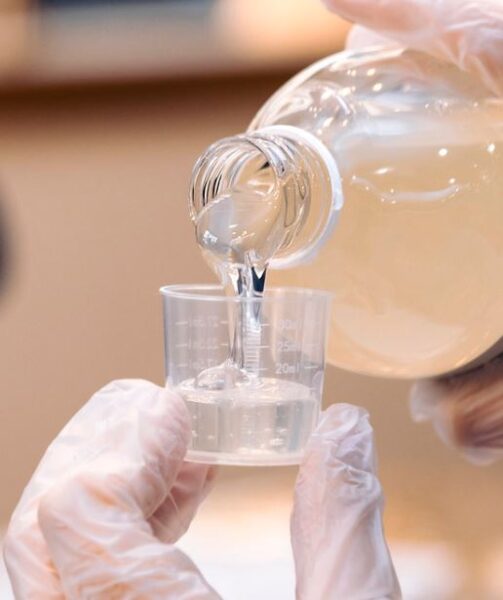
Pour the measured amounts into individual cups. The resin can be poured into a larger cup so that when you pour the hardener in, you will have enough room for both – transparent ones work best so you can see the resin inside the cup properly and see the measurement lines.
Just make sure that you are using the right ratio of resin to hardener.
Stick to the guidelines and don’t just estimate – measuring is key for the right consistency and curing. Always use separate measuring cups for resin and hardener to avoid cross-contamination.
A tip is to use syrup pumps. Each pump with give you the same amount. Some companies offer the pumps with their bottles like the brand Let’s Resin. Not only does this make for accurate measuring, it also keeps things clean. Resin is sticky! And mixed epoxy resin is one thing you do not want to get everywhere.
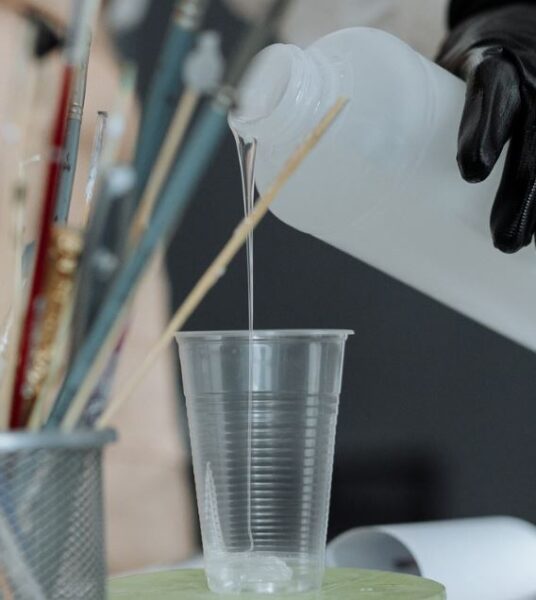
Step 2: Combine Resin and Hardener
Now that you’ve got your components measured, it’s time to mix them. Pour the hardener into the cup with the resin. Start a timer and stir for the recommended time by the brand you are using.
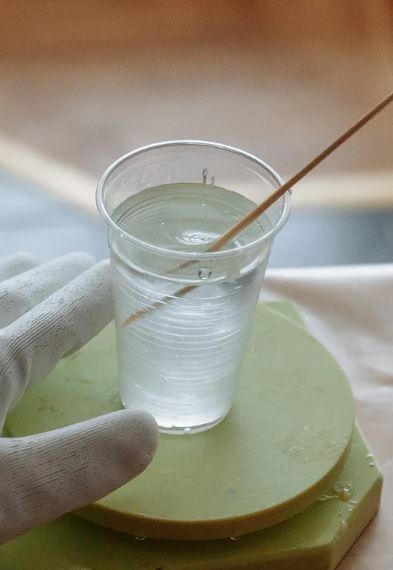
Use a clean, flat stir stick to stir them together in a deliberate, consistent motion. Make sure you scrape the sides and bottom of the cup well to mix every bit of resin and hardener. This blending transforms separate resin and hardener into a unified mixture, ready for your project.
While you are stirring try not to lift the stick out of the cup as this will cause more bubbles.
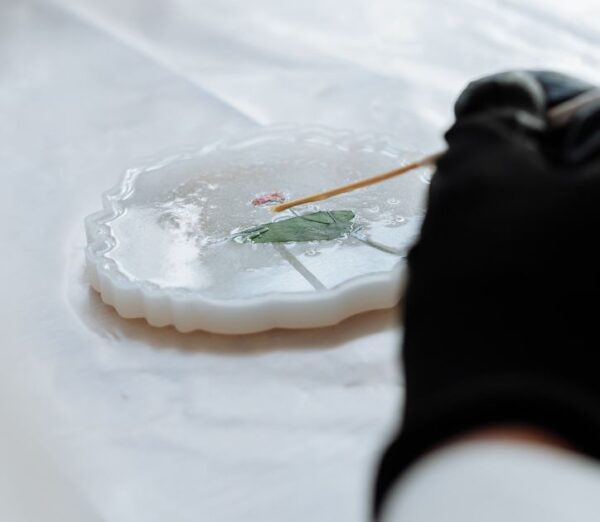
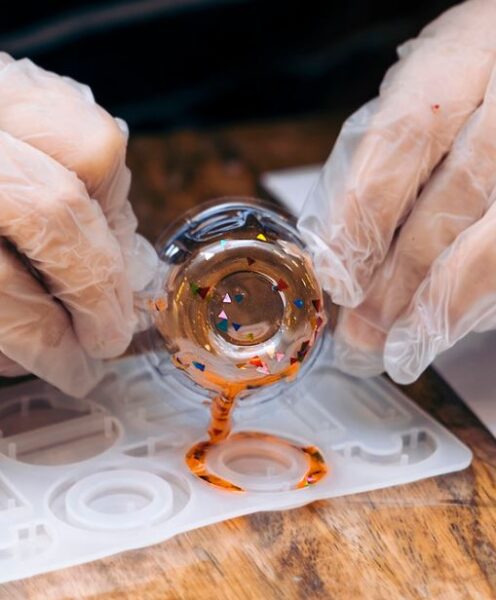
Step 3: Add Colorants If Desired
Stir the colorants into the resin mixture using the same methodical and consistent motion you employed during the initial mixing.
Mix colorants well, paying attention to the edges and bottom of the cup.
Once satisfied with the coloration, you’re ready to move forward with molding your resin creation.
How To Mix Resin FAQ’s
The ideal ratio varies based on the specific resin product you’re using. Always refer to the manufacturer’s instructions for the correct resin-to-hardener ratio. Common ratios include 1:1 or other specified proportions.
It’s strongly recommended to use precise measurements for resin and hardener for accurate ratios. Eyeballing can lead to curing issues, affecting the quality of your resin project.
The best way to mix resin is to use silicone mixing cup sets. They have the measuring lines on the outside and you can see the resin inside. Plus they can be re-used over and over.
Silicone Mixing Cups On Amazon
To minimize air bubbles, stir the resin and hardener thoroughly but gently. Pour from a low height to reduce the introduction of air, and consider using a heat gun or torch to pop any remaining bubbles on the surface.
Incomplete mixing or inaccurate resin-to-hardener ratios can result in tackiness. Thorough mixing and recommended ratios are needed to get a properly cured and non-tacky finish.
After properly mixing the resin and hardener, add pigments or colorants in small increments. Stir consistently and thoroughly to achieve the desired color. Experimenting with small test batches can help you achieve the perfect hue. We have a helpful guide on the proper colorants to use with resin.
No, It’s best to use resin and hardener from the same brand for compatibility and consistent results. Mixing different brands may lead to curing issues and compromise the final outcome.
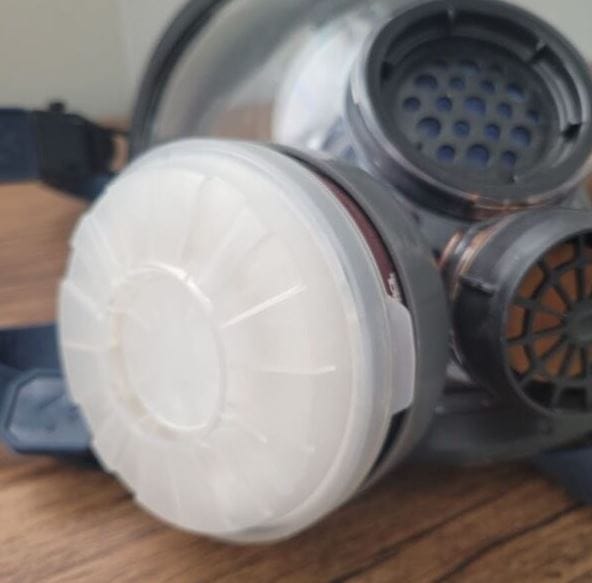
Wear appropriate protective gear, including gloves and a mask, in a well-ventilated area. Follow safety guidelines provided by the manufacturer and dispose of resin waste according to local regulations. Before using resin, read up on Resin Safety.
How To Mix Resin Pro Tips
1. Room Temperature Matters:
Both the resin and hardener should be at room temperature before mixing. Cold materials can lead to incomplete mixing and curing issues. Place them in a controlled environment for a consistent and smooth resin process.
2. Stir Slowly to Minimize Bubbles:
Stir your resin mixture slowly and deliberately to minimize the introduction of air bubbles. Vigorous stirring can create bubbles that are challenging to remove, affecting the clarity of your finished project.
3. Use a Clean Mixing Stick for Each Stage:
Use a new, clean mixing stick when transitioning from measuring to stirring and when adding colorants. This helps prevent contamination for a pure blend at each stage of the mixing process.
One time I was working on a white geode resin and accidentally got some glitter into my mix because I wasn’t paying attention. It was just a little bit that was on my stir stick, but it was very hard to get it out of the white.
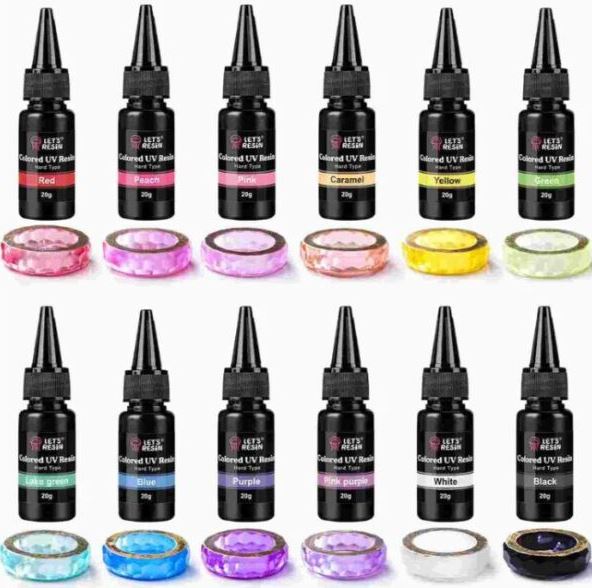
4. Experiment with UV Resin for Quick Projects:
If you’re working on small projects and want a faster curing time, consider experimenting with UV resin.
UV resin cures fast when exposed to ultraviolet light, allowing for quicker results in comparison to traditional epoxy resins. And it does not require any mixing. Some brands even offer resin that is already colored.
See our guide about the best UV resin brands that we are using right now.
5. Test with Small Batches for Color Accuracy:
Before committing to a large project, test your chosen pigments or colorants in a small resin batch. This allows you to assess the color accuracy and make adjustments before applying the color to your main project, preventing potential disappointments.
Mixing Resin Troubleshooting
1. Problem: Uneven Curing
Troubleshooting Tip: Uneven curing can occur due to inaccurate measurements or incomplete mixing. To address this, use precise measurements of resin and hardener. Some are a 1:1 ratio and then other brands are 1:2 ratio.
Stir thoroughly, paying extra attention to the edges and bottom of the mixing container. If needed, use a heat gun to gently warm the surface for a more consistent cure.
2. Problem: Cloudiness in the Cured Resin
Troubleshooting Tip: Cloudiness often results from improper mixing or using contaminated tools.
To resolve this, stir the resin and hardener more diligently, ensuring a homogeneous mix. Use clean tools, and consider using a resin cleaner to remove any residue on the mixing container. Your resin could also be expired.
3. Problem: Formation of Air Bubbles
Troubleshooting Tip: Air bubbles can disrupt the surface of your resin project. Minimize bubbles by stirring the mixture slowly and consistently.
Pour the resin from a low height to reduce the chances of introducing air. Use a heat gun or torch to carefully remove any remaining bubbles on the surface.
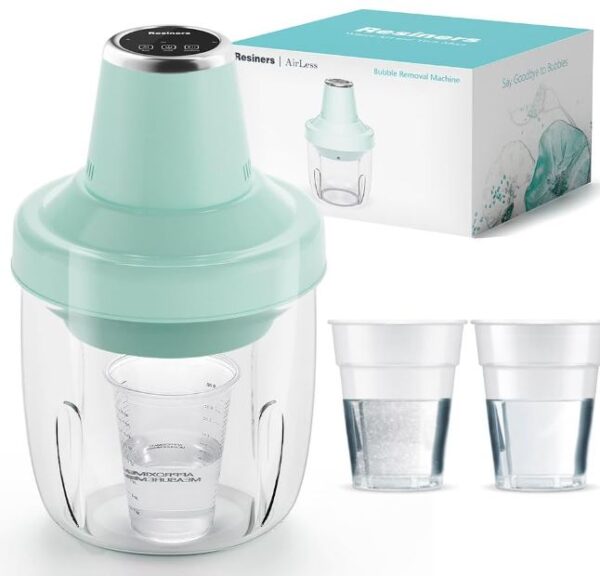
You might also consider using a resin pressure pot or bubble removing machine. Bubble removing machines will work with smaller pieces like jewelry or small resin statues. It cannot be used for large pours like a wooden resin table.
4. Problem: Tackiness After Curing
Troubleshooting Tip: Tackiness is often a result of incomplete mixing or inaccurate resin-to-hardener ratios. Double-check your measurements, mix thoroughly, and follow the recommended curing times.
If tackiness persists, consider sanding the surface lightly and applying a clear sealant for a smoother finish.
5. Problem: Resin Not Curing
Troubleshooting Tip: If your resin isn’t curing as expected, it might be due to outdated materials or incorrect ratios.
Check that your resin and hardener are not expired and follow the recommended mixing ratios. If issues persist, consider environmental factors like temperature – make sure you’re working within the recommended temperature range for the specific resin product you’re using.
See our pro guide: Why Resin Is Not Curing

In Closing: Thank you for taking the time to explore the wonderful world of resin mixing with us.
If you have any questions or need further assistance, feel free to reach out in the comments below. Happy crafting, and may your resin endeavors be filled with endless inspiration and joy!
If you think that mixing resin is too much for you, then you might want to switch to UV Resin. Here is our beginners guide to using UV resin.