How To Paint On Epoxy Resin: 13 Expert Tips ☑
Here is how to paint on epoxy resin. Painting on epoxy resin opens up so many ways to add color and personality to your projects. You can use acrylic paints, alcohol inks, or even mica powders to create designs that really pop on the glossy surface. Knowing how to mix colors, layer paints, and work with the resin while it cures helps your artwork stay vibrant and smooth. Small tips like using a brush or a palette knife in certain ways can make a big difference in the finished look. By learning these techniques, you get more control over your designs and can make each piece uniquely yours.
I remember the first time I tried painting on resin, I was so excited. I ended up experimenting with tiny swirls and blending little bits at a time, and it was so satisfying to watch the design come alive on the shiny surface. That day I realized that a little patience goes a long way, and now painting on resin is one of my favorite ways to get creative and try new ideas on every project.
Painting on resin can be challenging. By the end of this guide, you’ll have pro knowledge on how to make the most of this versatile medium. Let’s dive in and learn the best ways to paint onto resin.
How to Paint On Epoxy Resin
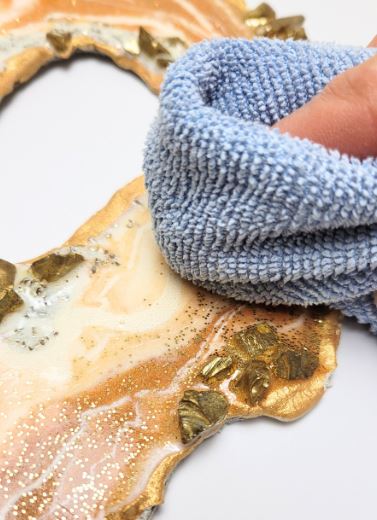
1. Prep the surface
Prep the Surface Make sure your resin surface is completely clean before you start painting. Any dust, fingerprints, or oils from your hands can stop the paint from sticking evenly. Wipe the surface gently with a soft cloth and a little bit of warm soapy water, then let it dry completely. Taking a few extra minutes to prep your surface makes the paint glide on smoothly and keeps your designs looking bright and crisp.
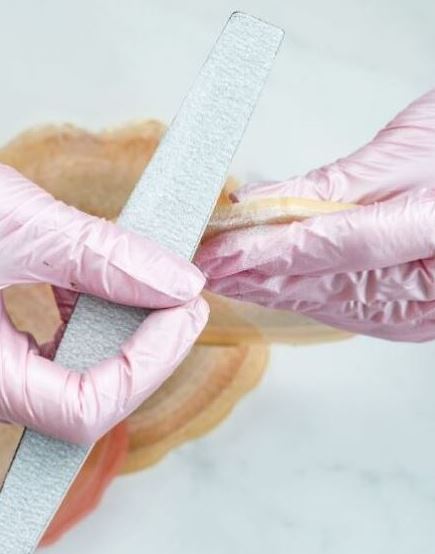
Additionally, lightly sanding the resin with an extra fine grit sandpaper can create a textured surface that helps paint stick better, especially on smooth or glossy resin surfaces. This clean and slightly textured surface gives it a base for the paint to adhere to. Your first layer of resin must be completely cured before going ahead with surface prep. If not, you will ruin the finish.
2. Paint on cured epoxy only
Check that your resin is fully cured. If the surface is still sticky or soft, the paint can mix with the resin or not stick properly. Most resin needs at least 24 hours to cure, but thicker pieces might take longer. Giving your project enough time to set makes it easier to work with and helps your colors stay vibrant on the finished piece.
3. Sand the epoxy for texture
Sanding for Texture can give your painted resin pieces a more interesting finish. Lightly sanding the surface with fine grit sandpaper creates tiny grooves that help the paint stick and blend more smoothly. You can sand the whole piece or just certain areas for different effects. After sanding, wipe away any dust with a soft cloth so your paint goes on clean and your design stays sharp.
This creates a subtle texture on the surface, which can be particularly helpful when working with smooth or glossy resin surfaces. Learn all about how to sand resin in our guide.
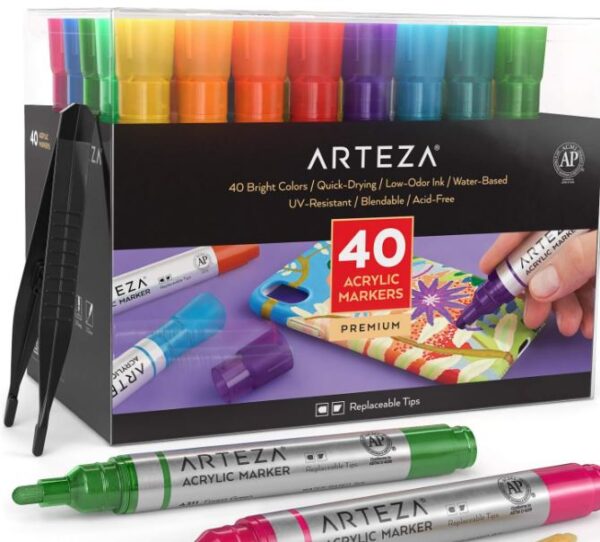
4. Paint pens will work on epoxy
Using acrylic paint pens is a great way to add detail and precision to your resin projects. They let you draw fine lines, write, or create small designs without worrying about brushes or messy paint. Shake the pen well and test it on a scrap piece first to get the flow right. Working slowly and layering colors carefully helps your designs stay bright and crisp on the glossy resin surface.
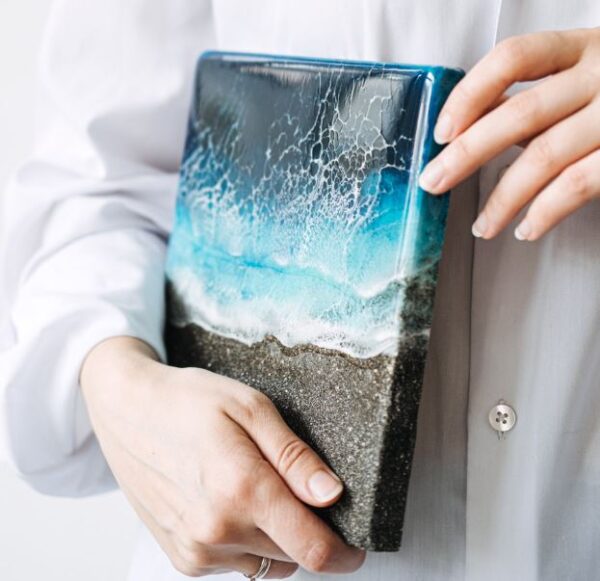
5. Choose the right paints
Choosing the right paints makes a big difference when you are painting on resin. Acrylic paints work really well because they sit on top of the resin and stay vibrant. You can also use alcohol inks or mica powders for special effects like swirls or shimmer. Testing new colors on a small piece first helps you see how they react with the resin and gives you more control over your final design.

Selecting the appropriate paint type is essential for creating vibrant and long-lasting resin art. Some paints will fade over time so a lightfast paint will be preferred. You can of course use oil based paints to paint on resin, but you are going to have to wait until the paint cures properly before going ahead with another layer. This process can take months to complete.
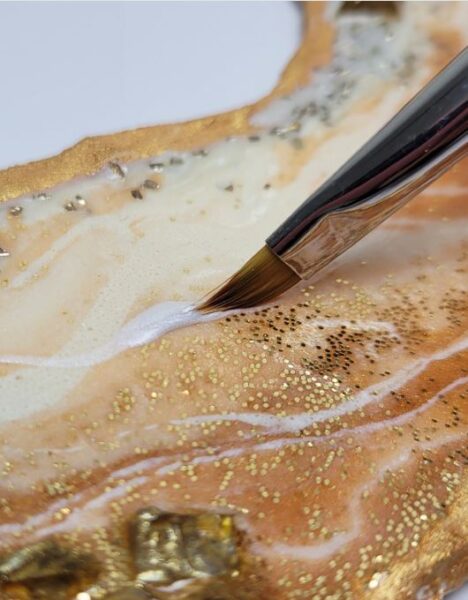
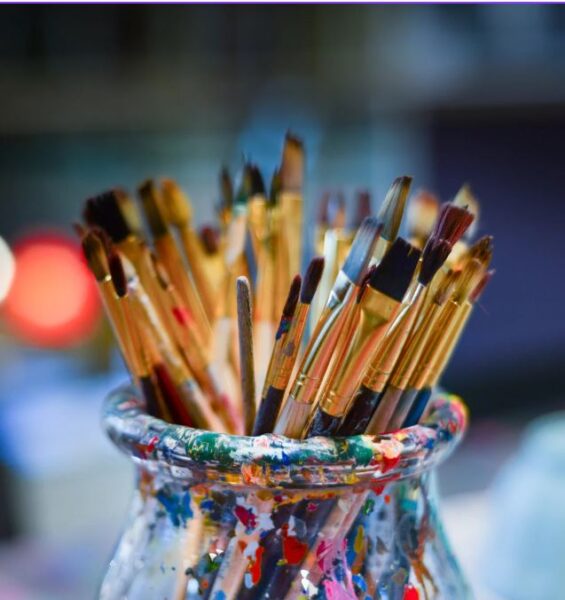
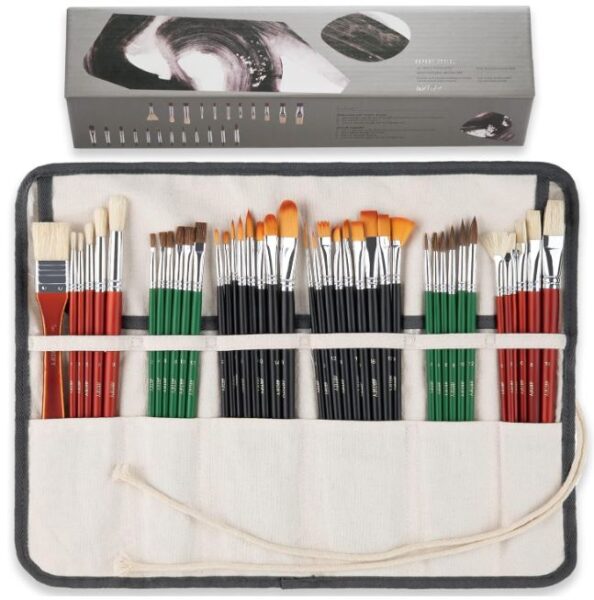
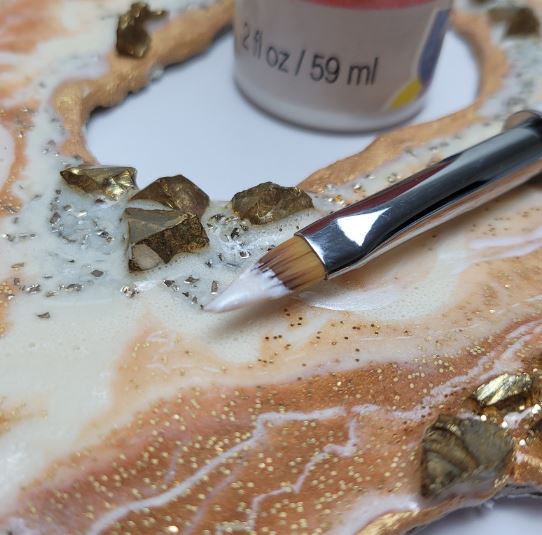
6. Use different sized paint brushes
Using different sized brushes can help you create a variety of effects on your resin projects. Small brushes are great for fine details and intricate designs, while larger brushes work well for filling in bigger areas or blending colors. Try switching between brush sizes as you paint to add depth and interest to your piece. Rinsing and drying your brushes between colors keeps your lines clean and your design looking sharp.
7. seal the surface
Sealing the surface before painting helps your colors stay bright and sit evenly on the resin. A thin coat of clear acrylic or a light layer of resin works well to create a smooth base for your paint. Let the seal coat dry completely before you start painting so the colors do not mix or lift. Adding a resin coating will also level out the surface which is especially important if you are painting on accents to things like epoxy resin flower trays.
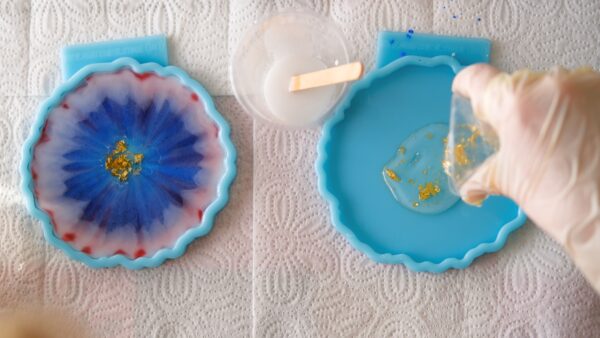
8. layering the paints
Layering technique for painting helps you build depth and create more dynamic designs on resin. Start with a base layer of color and let it dry before adding additional layers on top. You can use thin layers to blend colors or add details gradually without covering what is underneath. Working in layers gives you more control over the final look and makes your designs appear rich and vibrant.
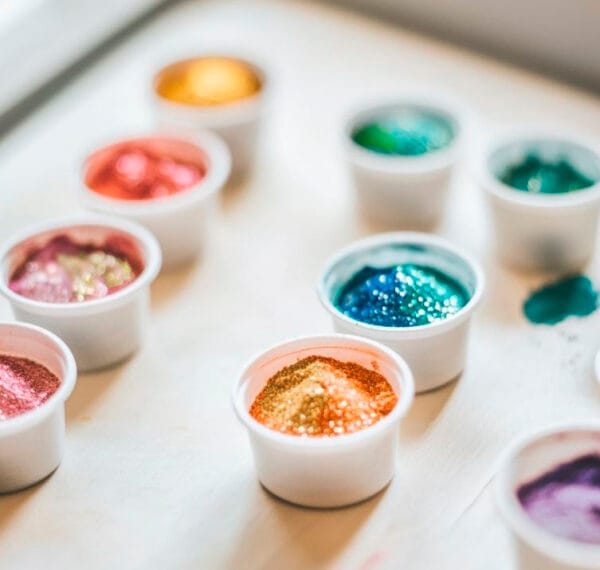
9. Experiment with mica
Experiment with mixing mediums for painting like mica powders to create unique effects on your resin projects. You can blend mica powders with acrylic paint or alcohol inks to add shimmer, depth, or subtle color shifts. Start with small amounts and mix gradually so you get the effect you want. Trying different combinations lets you discover new textures and finishes that make each piece stand out.
10. Let each layer dry and cure
Let each layer dry before adding more paint to your resin project. Giving the paint time to set keeps the colors from mixing together and helps each layer stay vibrant. Drying times can vary depending on the type of paint and the thickness of the layer, so be patient and check that it feels fully dry before adding the next. Also, you risk the resin not curing properly if you don’t let it dry first.
11. Paint thin layers
Paint thin layers on your resin projects to get smooth, even coverage without streaks or clumps. Thin layers dry faster, which makes it easier to add details or build up colors gradually. You can always add more layers if you want a richer look, but starting thin gives you more control over the design.
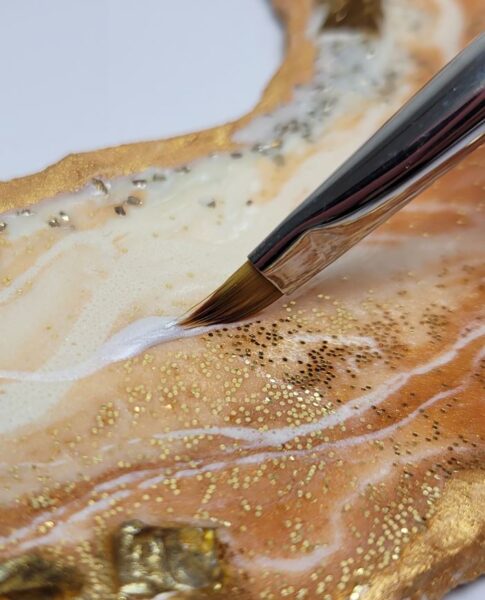
12. Experiment
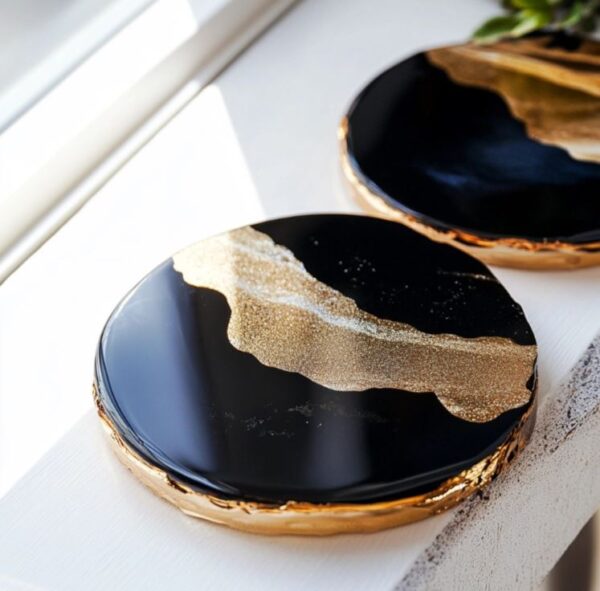
Experimenting with various materials in resin art is one of those things that are fun to do. You never know what you can really do unless you are constantly trying out new things. Sometimes it will work out, and other times not so much! One time, I was making geode resin art and I was trying to mix some gold paint into the resin. Well I added too much and it caused the resin to totally seize up. Now I make sure that I only add a bit at a time. Plus now, everything is written down in a planner so I can go back on notes.
13. Protect from dust
Protect your resin project from dust while it dries to keep the surface smooth and clean. You can cover it with a simple box, a plastic container, or a clean cloth that does not touch the paint. Keeping dust and small particles away helps your colors stay crisp and your designs look neat.
Painting On Resin FAQ
How do I prepare a resin surface for painting?
To prepare a resin surface for painting, start by making sure it is fully cured and hard to the touch. Wipe it gently with a soft cloth and a little rubbing alcohol or warm soapy water to remove dust, fingerprints, or oils. If you want the paint to stick even better, lightly sand the surface with fine grit sandpaper and wipe away any dust afterward. For extra smooth results, you can also add a thin seal coat of clear acrylic or a light layer of resin before painting.
How do I stop air bubbles
To stop air bubbles in resin, start by mixing your resin and hardener slowly and steadily to reduce the amount of air trapped in the mixture. After pouring, you can gently use a heat gun, torch, or even a toothpick to pop any bubbles that rise to the surface. Working in a warm, dust free space also helps bubbles escape more easily. Taking your time with mixing and pouring gives your finished piece a smooth, clear look without tiny pockets of air.
Thanks for reading through these tips on painting on resin! I hope they help you feel confident and inspired to try new techniques on your projects. With a little patience and practice, you can create designs that are bright, smooth, and full of depth. Have fun experimenting with colors, brushes, and textures, and enjoy bringing your resin art to life!
More epoxy articles