How To Use Mica Powders In Epoxy Resin
Here are the best tips about how to use mica powders in epoxy resin. Your complete guide to using mica powder in resin, epoxy resin and UV resin.
Have you ever gazed in awe at a sparkling gemstone? Marveled at the glint of sparkle in a piece of handmade jewelry? Or admired the glittery beauty of handmade tumbler with resin?
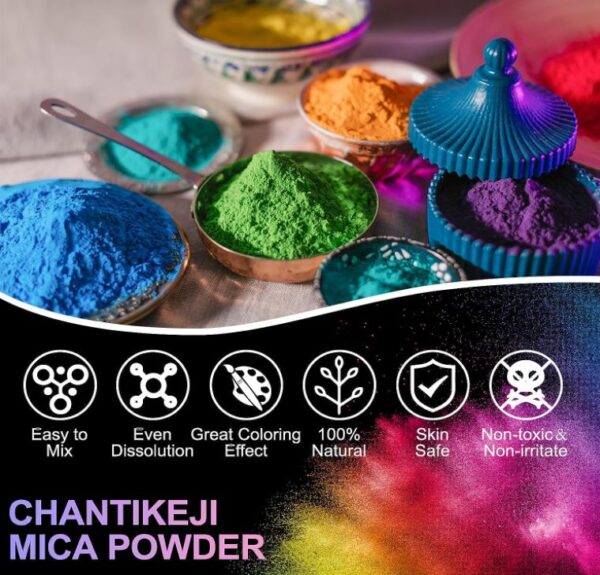
All these resin ideas share a common thread – mica. Mica powder, is a material that ads color to projects. It has found its way into not only makeup and nail polish but also in DIY projects, arts & crafts, and resin art.
Let’s go through this guide together so you can learn more about how to use mica powder in resin.
how to use mica powders in epoxy resin
1. What is mica powder?
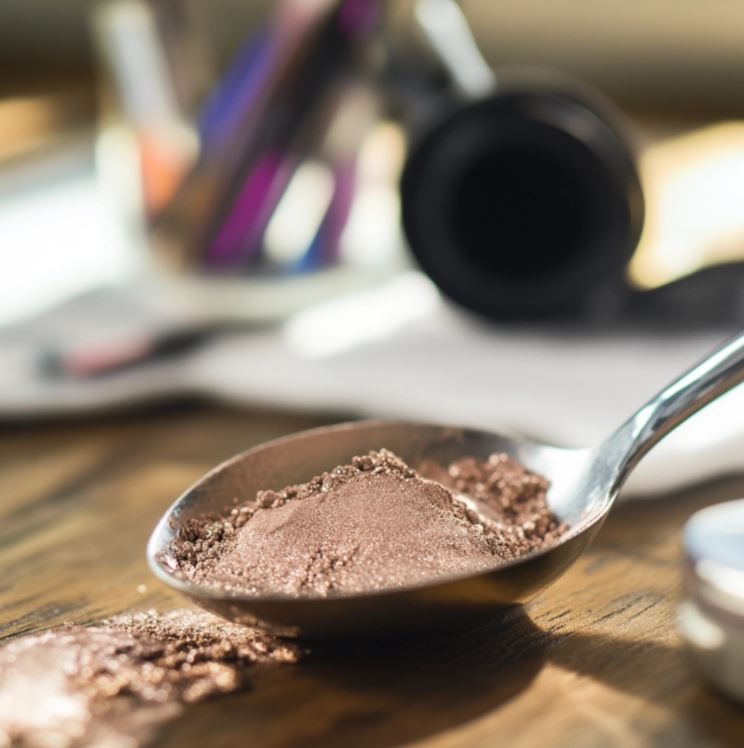
Mica powder is a finely ground form of mica. It’s a naturally occurring mineral often found in metamorphic and igneous rock formations.
It is composed of silicate minerals and is known for a shimmering, pearlescent appearance.
Mica powder is created by grinding mica into a fine, powdery consistency, which retains its reflective and light-scattering properties.
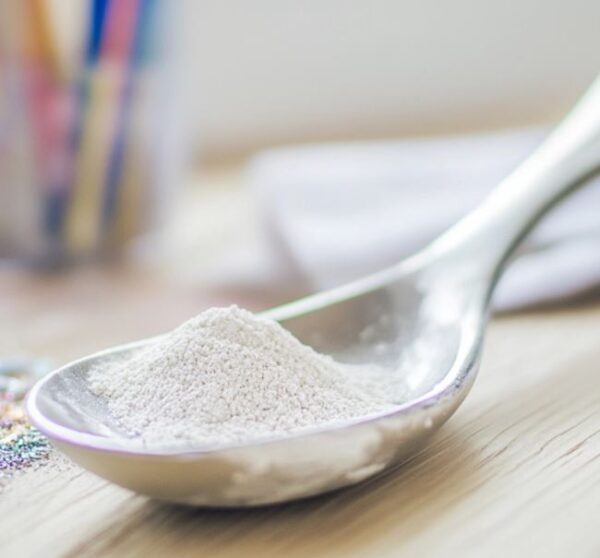
Its range of colors and exceptional shine make it a popular choice for crafts and woodworking.
2. uses of mica powder
Its most common uses for resin include adding color and shimmer to resin creations, epoxy resin jewelry, resin tumblers, river tables, and resin coasters. People also use them for pouring resin floors too.
Here are some popular resin ideas that use mica for colorant.
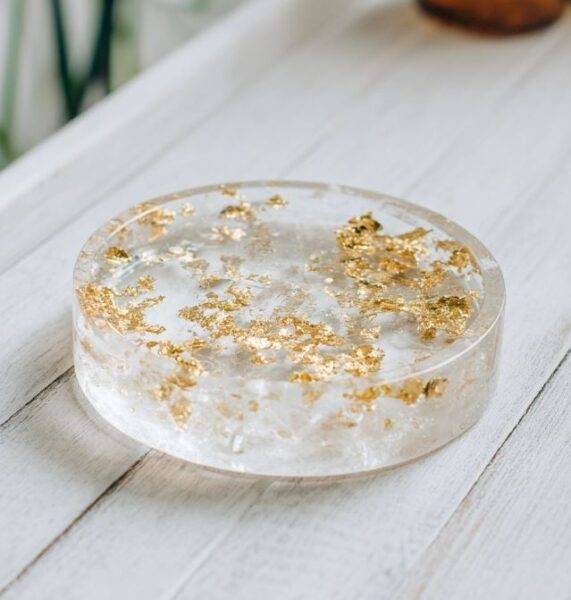
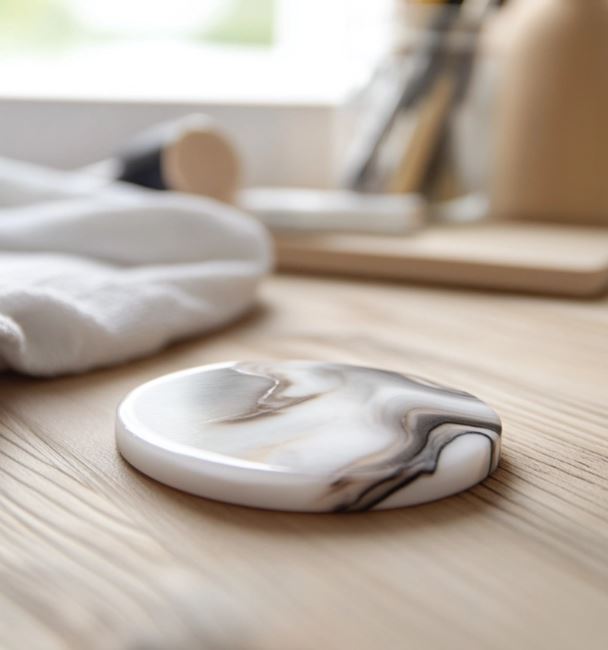
Mica Coasters
Create resin coasters by mixing mica powders into your resin. You can use a variety of colors and even incorporate other embellishments like dried flowers or glitter for added effect.
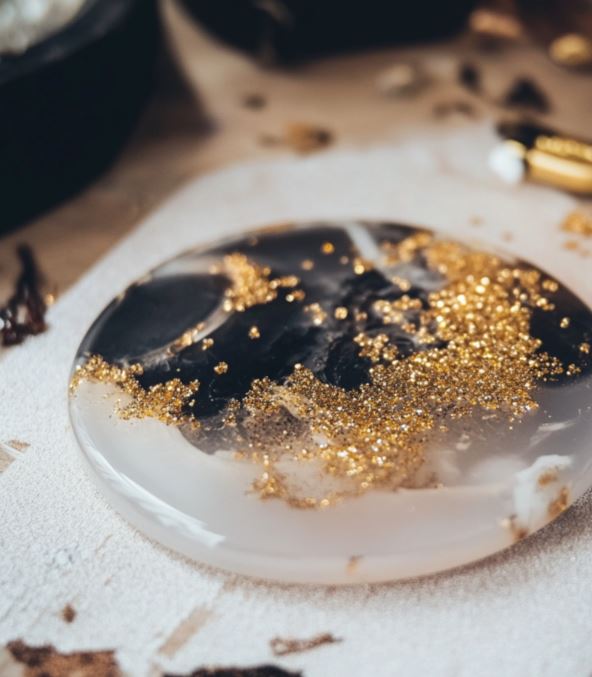
Mica Geode Art
Geode art pieces using layers of colored resin and mica powder. The natural shimmer of mica adds depth and realism to your geode creations.
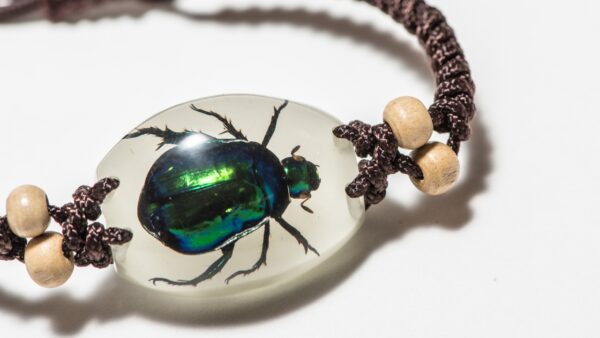
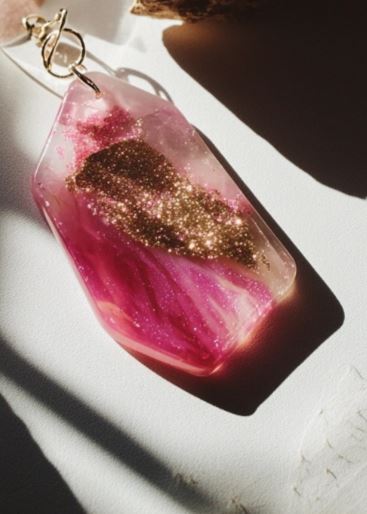
Mica Jewelry
You can design unique resin jewelry by adding mica for a subtle or dramatic color shift. It’s perfect for creating pendants, earrings, and bracelets.
Mica Resin Ocean Waves
Capture the beauty of ocean waves in your resin art by mixing blue and green mica with clear resin. Add a layer of white resin for foamy waves.
Mica-Infused Resin Keychains
Make your own custom keychains by blending mica powders with resin. You can personalize these with different colors and designs.
Mica-Coated Resin Tumblers
Upgrade your plain tumblers by applying a layer of resin mixed with mica powders. This gives a brilliant, iridescent finish. Check out these handmade resin tumblers on Etsy.
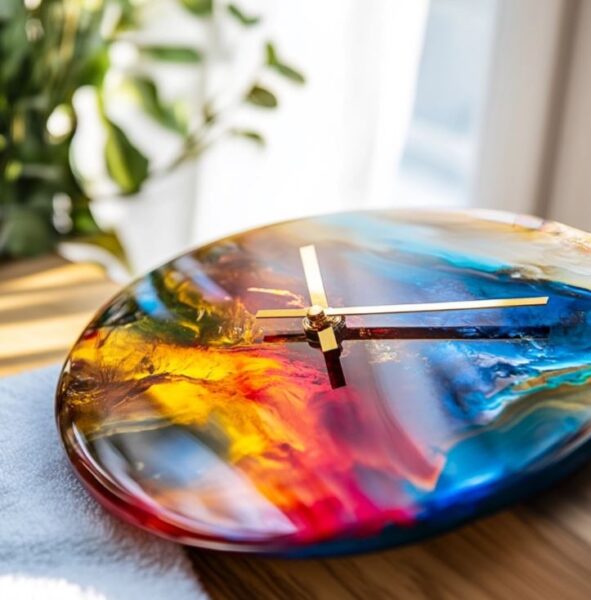
Mica Resin Clocks
Create resin clocks that not only tell time but also serve as unique décor pieces. Add mica to the clock’s face to create a shimmery effect.
Mica Resin Paperweights
Create beautiful and functional paperweights by combining mica powders with resin. These make for excellent desk decorations.
Mica Resin Wall Art
Produce vibrant wall art by embedding mica in resin. You can create abstract or structured designs with a range of colors.
Mica-Enhanced Resin Planters
Make your planters sparkle by incorporating mica powder into your resin. The shimmering effect can make your planters stand out as decorative elements in your home or garden.
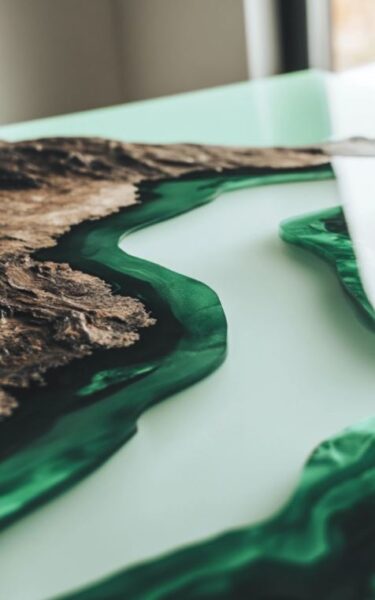
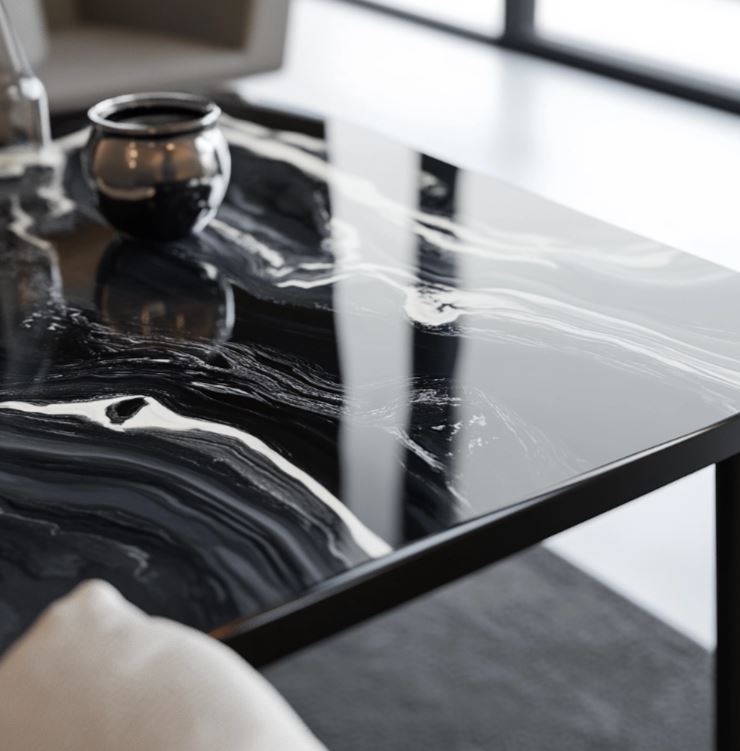
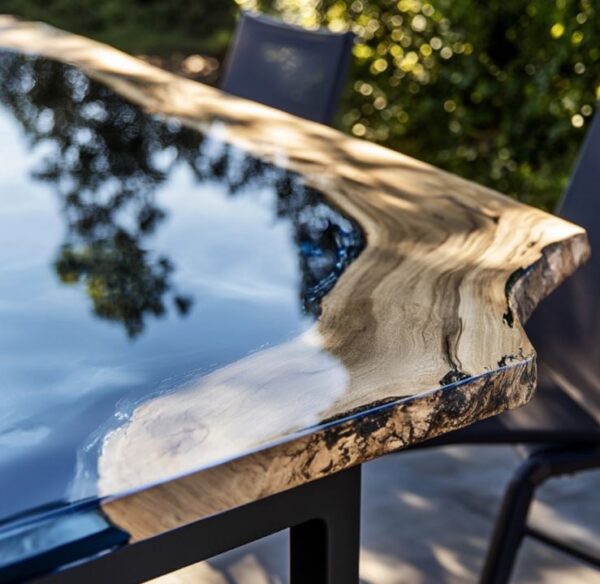
Mica River Tables
River tables are a popular type of furniture made from epoxy resin and wood. These tables typically have a river-like channel filled with resin that runs through the center of the table.
This is one of my favorite ways to use mica powders and I’ve made smaller river tables to sell at craft shows.
Mica powder can also be used for acrylic and watercolor paintings, polymer clay, candles, soap, and even nail art.
Due to its light-reflecting properties, mica powder can create metallic, and pearlescent effects. You can use it in a wide range of creative DIY projects.
When using mica powder, you might want to get a resin mixing machine for even resin mixing.
3. Different types of mica powder
There are various types of mica powder available, each with its unique characteristics. Some common types include natural mica, synthetic mica, and interference mica.
Natural mica has a classic, organic shimmer, while synthetic mica can have a more intense and vibrant color. Interference and holographic mica, on the other hand, reflects different colors depending on the angle of light.
The choice of mica powder depends on your project’s specific requirements and the effect you wish to achieve. It’s a good idea to experiment with different types to see which one works best for your needs.
When using mica in resin projects, do a test sample and keep it handy. You can go back to see what your favorite mica colors are. Also it’s good to know that mica and glitter are distinct in their composition and appearance.
If you are looking for glitter that is compatible with resin, we have a helpful article about the best glitters for epoxy & UV resin.
4. How to Mix mica powder into resin
Mixing mica powder into resin is a fun step. Here’s how to do it.
Gather Your Materials
Before you begin, gather all your materials. This includes epoxy resin, mica powder in your chosen colors, mixing cups, stirring sticks, a clean and level workspace, and any safety equipment such as gloves and a dust mask.
Proper Measurements
Measure your epoxy resin components accurately, following the manufacturer’s instructions.
Resin mixing ratios are typically one-to-one (equal parts resin and hardener). It may vary depending on the brand, so be sure to check the specific guidelines for your product.
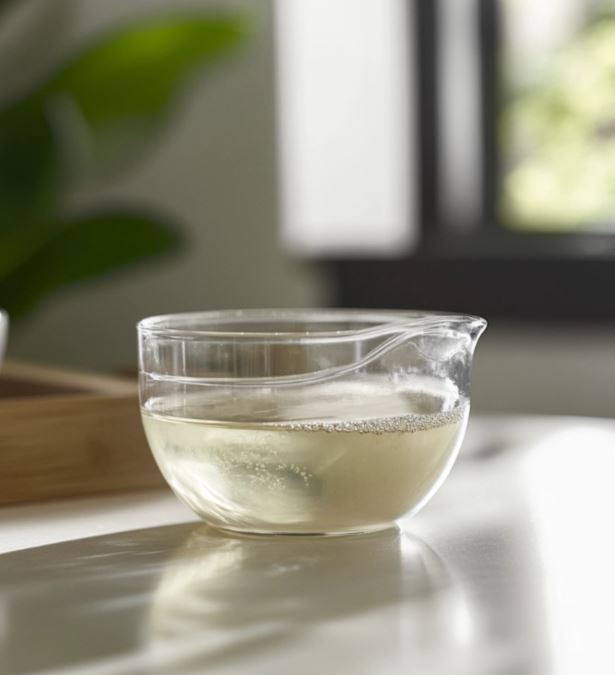
Stirring the Resin
Pour the resin and hardener into a mixing cup, and begin stirring slowly and thoroughly. Use a gentle, circular motion to blend.
See our guide on how to mix colorants into resin the right way.
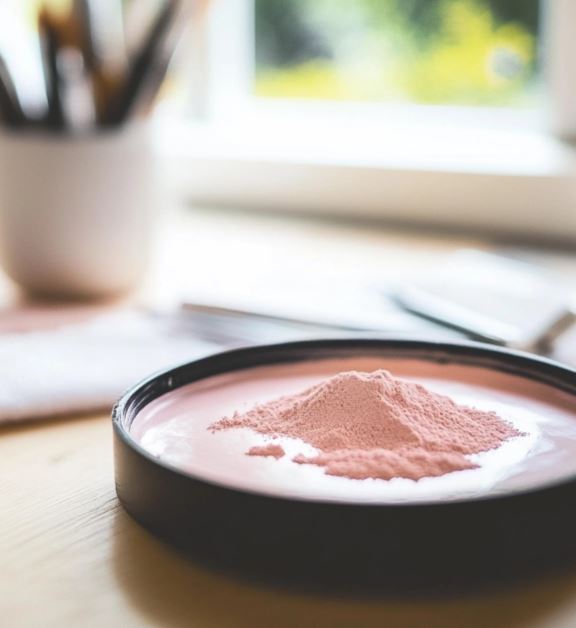
Mica Powder Addition
Once the resin and hardener are thoroughly mixed, it’s time to incorporate the mica powder. Add a small amount of mica powder to the mixture, and stir gently and evenly.
The amount of mica powder needed will depend on your desired color intensity, but it’s best to start with a smaller amount and add more as needed.
Thorough Mixing
Continue to stir the mica powder into the resin until you have a smooth and consistent color throughout the mixture.
Be careful in your mixing so that there are no streaks, clumps, or unmixed resin. Pay attention to the sides and bottom of the mixing cups.
Time Management
Keep in mind that epoxy resin has a pot life, which is the time during which it remains workable. The pot life varies by product but is generally around 20-30 minutes.
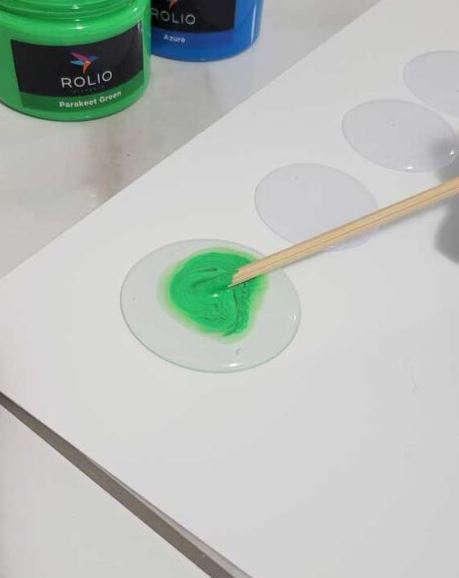
Test Your Color
To verify the color and appearance of your resin mixture, you can perform a small test pour into a separate cup or mold. This helps you to see the final color and adjust as needed.
Eliminating Air Bubbles
To remove air bubbles from mixing, you can use a heat gun or a torch. Pass the heat source gently over the resin surface to pop the bubbles. Be careful not to overheat or scorch the resin, especially if you’re using a torch.
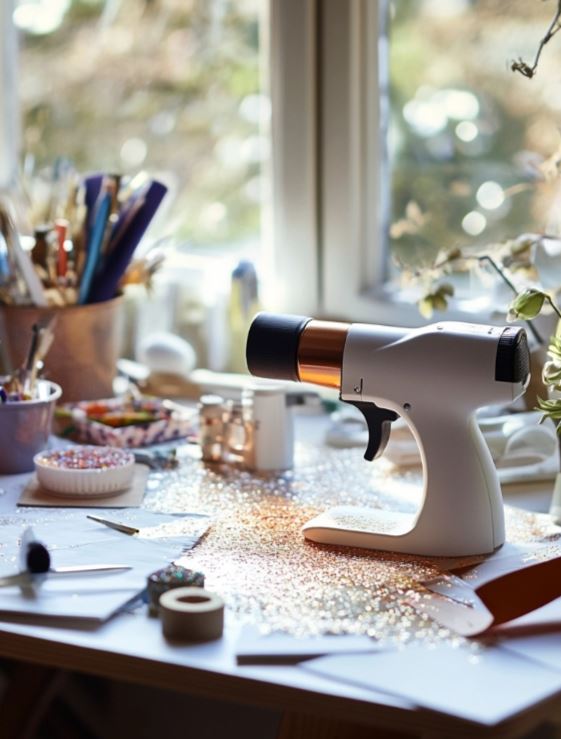
For smaller projects, use a bubble remover machine.
Pouring and Curing
Once you’re satisfied with the color and have removed the bubbles, you can pour your resin mixture into your project. Follow the specific curing and demolding times provided by your resin manufacturer.
5. three dimensional effects
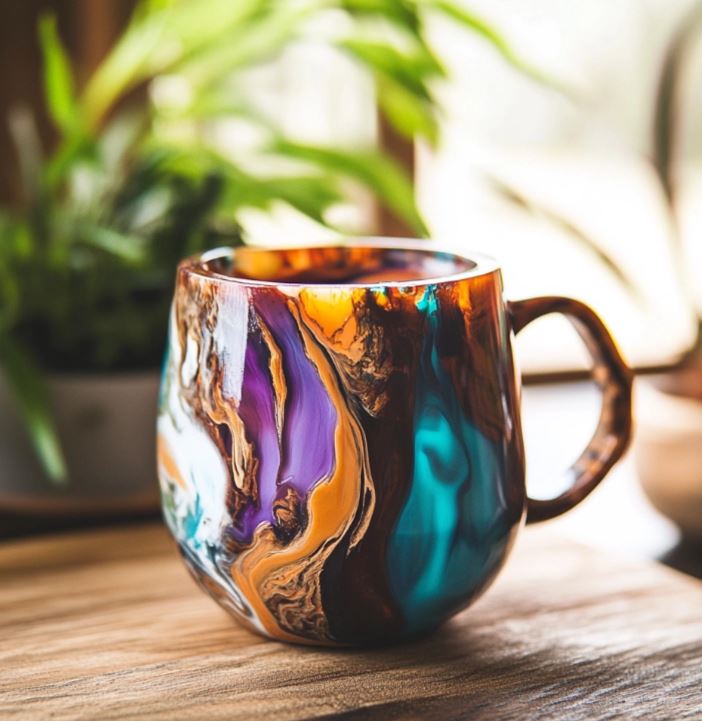
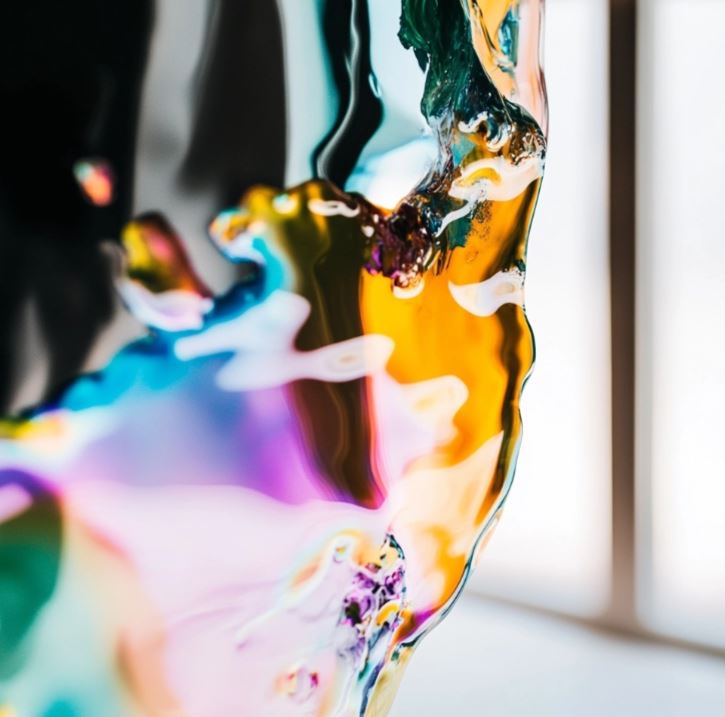
Mica powder can be used in epoxy resin to create mesmerizing three-dimensional effects in resin art. By putting mica powder into the resin, artists can give the illusion of depth and dimension within their artwork.
You can also use mica with other resin colorants like polymer clay embeds and paint.
Crafters can blend mica powder to look like shadows, highlights, and textures.
This give a lifelike quality to the resin piece, making it appear multi-layered.
There are many ways to create 3D effects with mica powder, allowing artists to make beautiful landscapes, ocean scenes, or abstract designs.
This technique takes time and practice because the way you apply the mica powder affects how the final piece looks.
With patience and attention to detail, artists can learn how to use mica powder to add depth and realism to their resin projects, making them unique and eye-catching.
6. how to Get a solid color
If you want to get a solid, opaque color with mica powder in your resin creations, you might need to use a larger quantity of mica powder. Or use a resin pigment paste.
Experiment with different ratios to find the right balance for your specific project. Keep in mind that getting complete opacity can be challenging, as mica powder’s natural shimmer may still be visible to some extent.
You might be wondering, can you add too much mica powder to resin? The answer is yes. Read this guide on how much pigments to use in resin.
Also, keep in mind that if you add too much mica powder in resin, the resin can seize up. If you are unsure, simply email the resin company and ask them about their recommendations. How much mica powder in resin will ultimately depend on the brand you are using.
They will provide that information for adding mica to resin as each brand has their own unique formula.
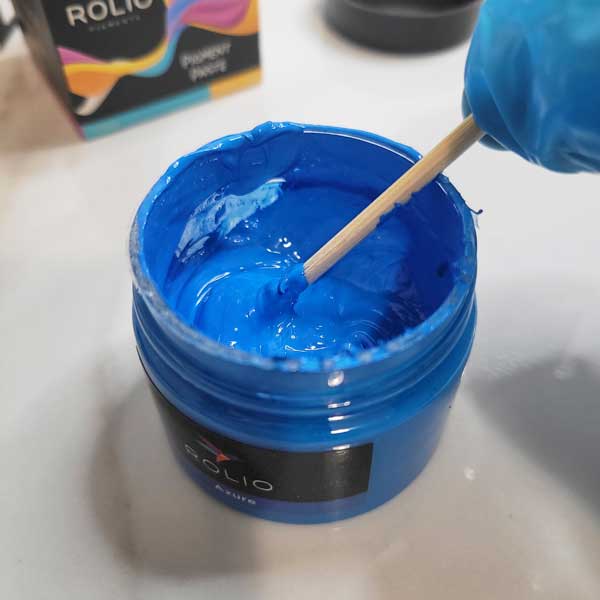
I got to try out some resin pigments and they were really opaque. Check out the Rolio pigment review to see how it works.

7. Mixing mica Powders
Mixing different mica powder colors to create custom shades is a fantastic way to get unique and personalized effects in your resin art, crafts, and other creative projects. Here’s how you can go about it:
Color Selection
Start by selecting the mica powder colors you want to combine to create your custom shade. Use a color wheel to help you choose complementary colors that will go together.
Keep in mind that some colors may intensify or mute each other. Experiment with small test batches.

Test Mixtures
Before applying the custom shade to your project, create test mixtures in small containers. Start with a base color, which is usually the dominant shade you want to create.
Gradually add small amounts of the secondary color (or colors) to the base color and stir thoroughly. Adjust the ratio to achieve the exact hue you’re aiming for.
Gradual Mixing
Mixing mica powder colors should be a gradual process. Add a little of the secondary color at a time, as you can always add more if needed.
It’s easier to darken a color than to lighten it. Keep track of the ratios and quantities used in your test mixtures, so you can replicate the custom shade in your final project.
Layering and Blending
If you need a multi-dimensional or gradient effect, you can layer the custom shade by adding it at various stages. This can create depth and complexity in your artwork. Use a palette knife or stirring stick to blend the colors.
Maintain Consistency
Use a precise measuring method when mixing mica powder with resin. Consider using measuring spoons, cups, or digital scales to maintain the correct proportions.
Label Your Mixtures
It’s a good practice to label your test mixtures and any custom shade creations. This way, you can replicate your custom colors in future projects.
Adjusting and Fine-Tuning
Be prepared to make adjustments as you work. If your custom shade isn’t turning out as expected, you can add more mica powder or resin to modify the color as you go.
By mixing different mica powder colors, you can create a wide range of custom shades.
8. preventing mica powder from settling
Here are some steps and tips to prevent settling:
Slow and Gentle Mixing
When incorporating mica powder into your resin, mix it slowly and gently to minimize the introduction of air bubbles.
Use a spatula or a stirring stick to blend the powder into the resin, avoiding vigorous stirring that can trap air. Slow and careful mixing also helps to prevent the mica particles from sinking to the bottom.
Use a Good Resin
Different resins have varying viscosities and curing times, which can affect how mica powder is suspended in the mixture.
Consider using a resin with a longer curing time like a UV resin, as it gives mica powder particles more time to remain evenly distributed. A thicker resin can also help prevent settling.
See these articles for using the best resin:
Best resin for making DIY jewelry
Layered Approach
Another technique is to pour your resin in layers. After pouring the initial layer of resin into your mold or project, sprinkle mica powder on top.
Let it settle and spread naturally before adding the next layer of resin. This helps distribute the mica powder evenly throughout the project.
Heat gun
During the curing process, air bubbles and mica powder particles may rise to the surface. Use a heat gun for this. This helps release trapped air bubbles and encourages mica powder to stay suspended within the resin.
Use a level
Make sure your project is level during the curing process. This helps mica powder particles stay in place and prevents them from sliding or settling in one direction. Use a leveling tool or check the level of your work surface to maintain even distribution.
Mixing Resin and Mica Powder in Stages
Instead of mixing all your mica powder into the entire batch of resin at once, mix up smaller batches with mica powder as needed.
Regularly Check for Settling
Periodically inspect your project as it cures. If you notice any signs of settling or uneven distribution, use a stirring stick or a tool to gently move the mica powder back into place.
Be careful not to disrupt the curing process too much to avoid introducing new air bubbles.
9. Outdoor projects
While mica powder can be used outdoors to some extent, it’s important to understand some things for when resin art is placed outside.
UV Exposure
One of the primary concerns with outdoor resin art is prolonged UV (ultraviolet) exposure from sunlight.
Over time, UV rays can cause the colors in mica powder to fade or lose their vibrancy. To help this issue, you can use UV-resistant clear resins.
Keep in mind that even with UV-resistant coatings, some color changes may still occur, particularly in intense sunlight.
Substrate and Mounting
The type of surface or substrate on which you mount your resin art can also affect its durability. Choose substrates and adhesives that are weather-resistant, as well as resistant to expansion and contraction due to temperature changes.
Periodic Maintenance
Regularly inspect and clean your outdoor resin art to remove dust, dirt, and debris. Occasional touch-ups may be necessary to maintain its appearance, particularly if it’s exposed to harsh weather conditions.
To get the best results, invest in high-quality, UV-resistant materials, do proper sealing and protection, and be prepared for periodic maintenance.
10. Preventing air bubbles
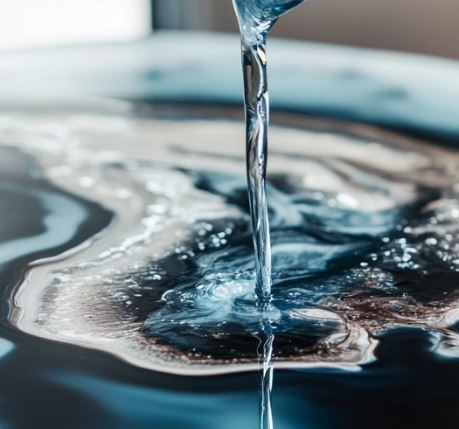
To minimize the presence of air bubbles, start by pouring the resin into the cups slowly, Then stir the mica powder into the resin gently, using a spatula or stirring stick.
Avoid vigorous or fast stirring, which can introduce air into the mixture. In this test piece, I was using UV resin and getting it ready to test some pigment.
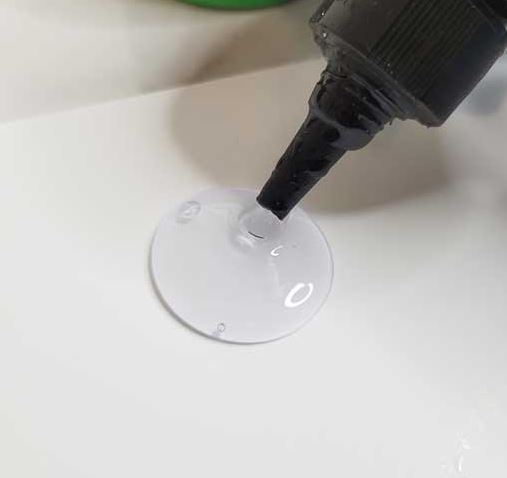
It’s helpful to let the resin-mica mixture sit for a minute or two after stirring to allow any tiny bubbles to rise to the surface.
If you’re using a heat gun or a torch to remove bubbles from the resin, do so carefully and from a distance to avoid overheating the mica powder, which can lead to discoloration.
11. Ombre Effects
To create a beautiful gradient or ombre effect with mica powder in resin art, follow these steps:
Choose Your Colors
Select the mica powder colors you want for your gradient or ombre effect. For a smooth transition, choose shades that blend well together, such as different tones of the same color or complementary colors.
Create Gradations
Divide your mixed resin into separate cups or containers, one for each color in your gradient. For the ombre effect, you might need more containers to represent each color transition.
Add Mica Powder
Gradually add the appropriate amount of mica powder to each container of resin, starting with the lightest shade. Stir thoroughly until the mica is fully incorporated. You can adjust the intensity of color by adding more or less mica powder.
Layer and Blend
To achieve the gradient or ombre effect, begin by pouring the lightest color into your project area. Then, gradually layer the subsequent colors, transitioning from the lightest to the darkest.
You can use a stirring stick or a palette knife to blend the colors at their meeting points, creating a seamless transition.
Manipulate and Cure
Use tools like a heat gun or a torch to gently remove any surface bubbles. Allow the resin to cure as per the manufacturer’s instructions.
Be sure to level your project and periodically check for any bubbles that may rise to the surface during the curing process, removing them as needed.
By following these steps, you can get a gradient or ombre look with mica powder in your resin art.
12. apply mica powder directly to cured resin
You can apply mica powder directly to the surface of cured resin as a finishing touch to enhance your resin art. Here’s a step-by-step guide on how to do it:
Gather Your Materials
To begin, gather the materials you’ll need, including your cured resin piece, mica powder in the desired color, a soft brush or makeup applicator, and a clear resin sealer (optional).
Prepare Your Resin Piece
Make sure that your resin piece is clean and free from any dust or debris. Wipe it gently with a soft, lint-free cloth or use a can of compressed air to blow away any particles that may be present.
Apply Mica Powder
Dip your soft brush or makeup applicator into the mica powder. Gently tap the brush to remove any excess powder.
Then, lightly and evenly dust or brush the mica powder onto the surface of your cured resin piece.
Start with a small amount, as you can always add more if needed. This will give your piece a shimmery, metallic, or iridescent finish.
Blend and Customize
You can vary the intensity and distribution of the mica powder to create the desired effect. Blend different colors of mica powder if you want a unique and custom finish. Experiment with various brush strokes or techniques to get the look you envision.
Optional Sealing
You can apply a clear resin sealer over the mica powder. Follow the manufacturer’s instructions for the sealer, allowing it to cure properly.
Final Inspection
After sealing (if you choose to do so) and allowing everything to cure, inspect your resin piece for any touch-ups or adjustments. If you notice any imperfections, you can repeat the application process with more mica powder as needed.
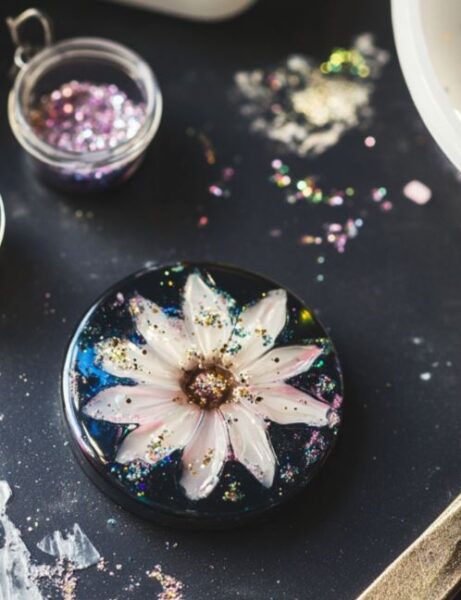
13. creative techniques
To get unique textures and patterns with mica powder in resin art, you can employ various creative techniques and tools that add depth and visual interest to your projects.
Dry Brushing
Dry brushing is a cool technique to try. After mixing your mica powder with resin, let it thicken slightly. Use a dry, soft brush to gently apply the mixture to your cured resin piece.
This creates raised textures and highlights. You can experiment with different brush sizes and patterns to make a variety of effects.
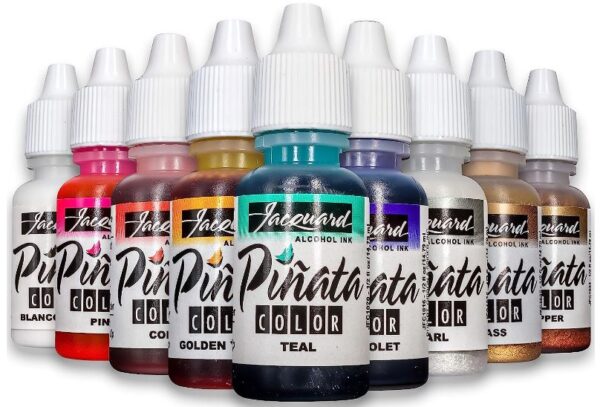
Alcohol Inks
Combining alcohol inks with mica powder can result in stunning patterns and textures. After your resin has partially cured, apply alcohol inks to the surface, allowing them to spread and blend organically.
While the inks are still wet, dust mica powder over the top to create shimmering and intricate patterns. You can manipulate the inks with tools like straws or droppers to guide the flow and create unique designs.
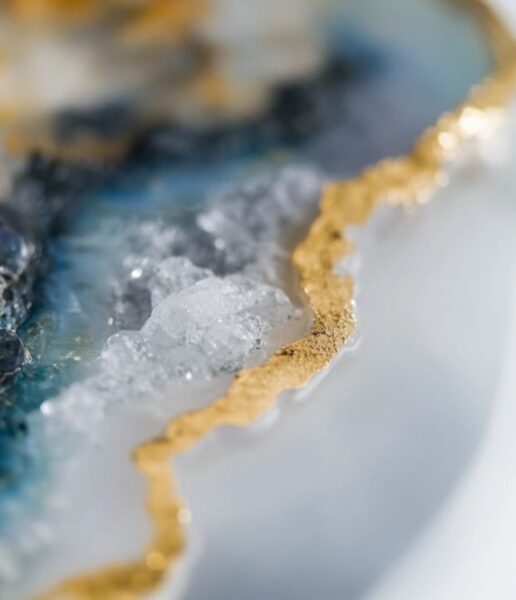
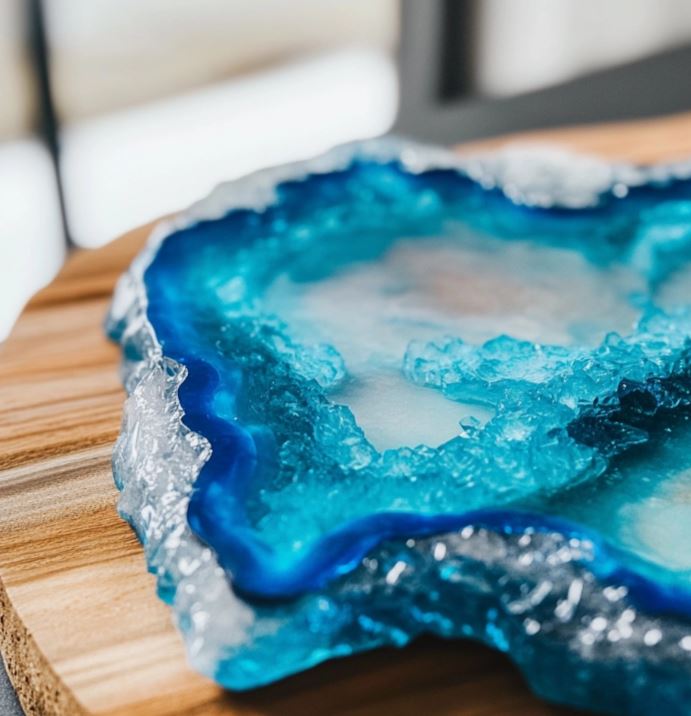
Resin Geodes and Agate Designs
To mimic the appearance of geodes or agate slices, create a transparent resin base layer. Once partially cured, apply mica powder in concentric circles or irregular patterns, emulating the natural lines and hues of geodes.
Use a heat gun or a torch to encourage the powder to flow and blend, forming organic, colorful rings. This technique allows you to craft stunning geode-inspired pieces with mesmerizing patterns.
These are just a few creative techniques and tools to explore when applying mica powder to resin for unique textures and patterns.
Don’t hesitate to experiment with different methods and combinations of mica powder, resins, and other materials to discover your signature style and achieve captivating, one-of-a-kind results in your resin art.
14. Maintaining mica vibrancy
Here are some tips to help the mica stay vibrant.
Use High-Quality Mica Powder
Start with high-quality, lightfast mica powder. Cheaper, lower-quality mica may lose its vibrancy over time, so invest in a reputable brand for the best results.
Avoid Abrasives
Be cautious when cleaning or dusting your resin art. Use a soft, lint-free cloth or a can of compressed air to gently remove dust and debris. Avoid abrasive materials or harsh cleaning agents that could scratch or damage the surface.
Proper Storage
If you need to store your resin art, keep it in a cool, dry place, away from extreme temperature fluctuations. Use protective coverings to prevent dust and scratches during storage.
15. Mixing with other mediums
Mica powder can enhance a variety of art mediums. To use it with acrylic paint, mix the desired color of mica powder with a small amount of water or a paint medium to create a metallic or shimmering paint.
For polymer clay projects, knead the mica powder into the clay before shaping and baking it. This versatile mineral-based powder can bring a touch of magic to a wide range of art forms.
16. Safety Precautions
Using a proper resin respirator when working with mica powder is important.
Mica particles can be small enough to penetrate deep into the lungs, potentially leading to respiratory issues if inhaled over an extended period.
When selecting a respirator for mica powder work, it’s important to get a respirator that is rated for particulate matter, such as an N95 respirator.

These respirators are designed to filter out small airborne particles. Proper fit and sealing are equally important. Make sure that the respirator fits snugly on your face, forming a secure seal to prevent particles from entering your respiratory system.
Work in a well-ventilated area or use a dust extraction system to further minimize the dispersion of mica powder in the air.
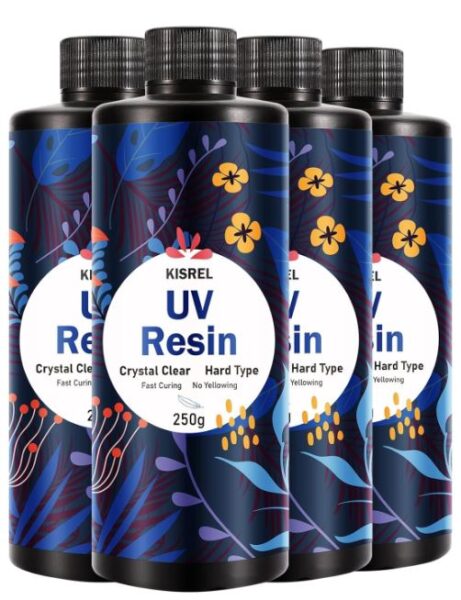
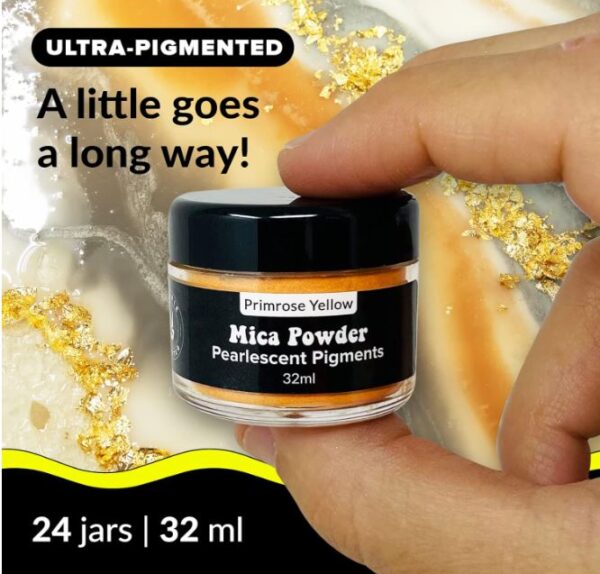
17. Where To get Mica For Resin?
If you’re an artist, crafter, or resin user looking for the best mica powder to add shimmer, depth, and vibrant color to your resin creations, here are my top choices.
We also have a helpful article that lists all of the brands that have the best mica for resin.
In Conclusion: Thanks for reading, leave your tips or favorite brands in the comments.