Casting resin guide: best Casting resins to use + Tips
Welcome to our guide on the best resins for casting. If you’re new to resin casting, this will help you learn about casting resins and helpful tips on how to use them.
Casting resins, also known as deep pour resins are pourable, self leveling and will normally come with a hardener and resin that you mix together.
In this article, we’ll show you the top-notch options, and answer all of your common questions about casting and deep pour resin to help you make an informed choice for your projects.
So, let’s get started on finding the perfect resin for your casting needs!
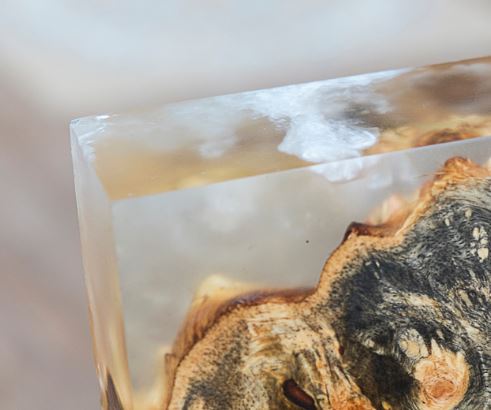
From clarity to curing time, each resin for casting has its unique attributes that cater to different casting needs. So, join us as we show you first, the resins that are available. Then we’ll go into your questions.
What Is Casting Resin?
Casting resin is a type of liquid polymer that, when mixed and poured into molds or into wooden river tables, solidifies to form a durable, transparent and glossy material.
Widely used in various crafting and artistic applications, deep pour epoxy casting resins offer the ability to capture intricate details and produce smooth, bubble-free surfaces.
These resins typically consist of two main components, a resin and a hardener, which, when combined in the correct proportions, initiate a chemical reaction causing the liquid mixture to solidify over time.
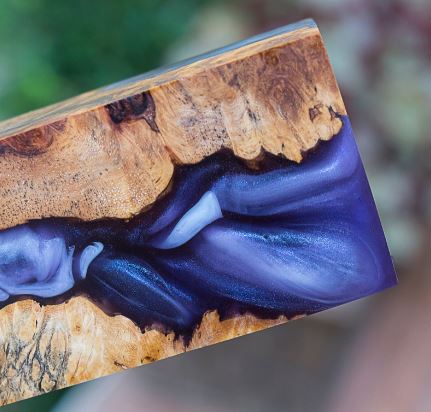
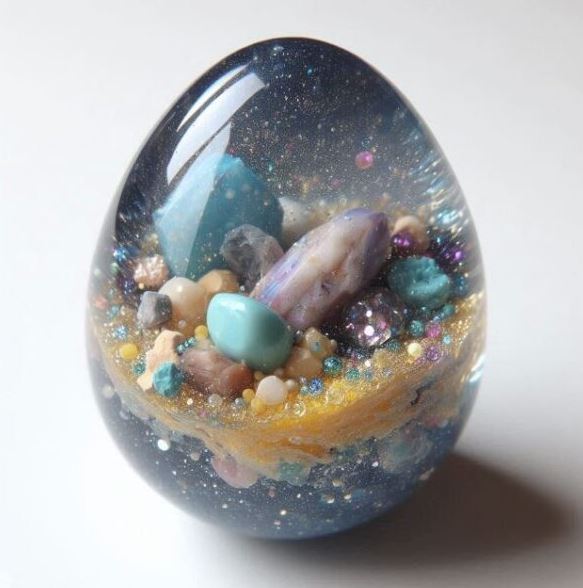
Deep pour epoxy resins are liked for their versatility. You can go from making items such as epoxy resin eggs & decorative pieces to making a river table.
Best Casting resins
1. Naked Fusion Casting Resin
2. Let’s Resin Casting Resin
3. NICPRO Casting Resin
4. Alumilite Pro Casting Resin
5. Teexpert Crystal Casting Resin
6. Kisrel Casting Resin
7. CraftResin Casting Resin
8. Art N Glow Casting Resin
9. JDiction Deep Pour Resin
10. Let’s Resin Casting Resin With Pumps
11. Magic resin Casting Resin
Deep Casting resin FAQ’s
How thick can you pour casting resin?
The thickness you can pour deep pour epoxy resin largely depends on the specific product you are using, as different formulations have different curing properties and limitations.
However, deep pour epoxy resins are generally designed to be poured in thicker layers than standard epoxies. Here are some general guidelines:
Manufacturer’s Recommendations
Always refer to the manufacturer’s guidelines for the specific product you are using. They will provide the maximum recommended thickness per pour.
Typical Thickness Range:
Most deep pour epoxy resins can be poured to a thickness of 1 to 2 inches per pour. Some high-performance products may allow for even thicker pours, up to 3 to 4 inches, but these are less common.
Temperature and Environment:
The ambient temperature and the temperature of the materials being used can affect the maximum pour thickness.
Higher temperatures can cause the epoxy to cure too quickly, which can lead to excessive heat buildup in the resin and potential cracking. Cooler temperatures may allow for thicker pours but can also extend curing times.
Layering for Greater Thickness:
For projects requiring greater thickness, pour in multiple layers. Allow each layer to cure adequately before pouring the next layer. This helps manage the heat buildup for a strong, even cure.
Heat Management:
Excessive heat buildup can cause issues such as cracking, resin yellowing, or incomplete curing. In thicker pours, heat dissipation is something to keep an eye on, and some epoxies are formulated to better manage heat during the curing process.
Additives and Modifications
Some epoxy resins can be modified with additives to allow for thicker pours, such as heat-dissipating fillers or slow-curing hardeners. Consult the manufacturer or product specifications for recommendations on these options.
How do I prevent air bubbles in my resin castings?
When you cast epoxy resin, mix the resin and hardener thoroughly but without introducing excess air. This will help minimize air bubbles.
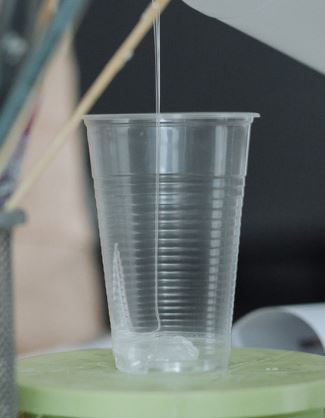
Pour the mixture slowly and in a thin stream, and use a heat gun or torch to carefully remove bubbles that rise to the surface. Additionally, allowing the mixed resin to sit for a few minutes before pouring can help air bubbles escape. Check our guide: Bubbles In Resin
Can I speed up the curing process of casting resin?
While it’s tempting to expedite the curing process, altering the recommended curing time can compromise the quality of your castings. Our guide on the best pressure pots for resin will help you with curing the resin.
Follow the manufacturer’s instructions for the specific resin you’re using. Increasing temperature slightly in your working environment may speed up curing within the recommended limits, but exceeding those limits can lead to incomplete curing.
How do I achieve a crystal-clear finish with casting resin?
To get a clear finish in epoxy castings, start with a clean working environment and molds. Measure and mix the epoxy resin for casting hardener & resin properly, and avoid over-mixing to minimize introducing air bubbles.
If clarity is what you want, choose a casting resin specifically formulated for transparent results. The best clear epoxy resin for casting will usually have casting resin or deep pour resin right on the bottle.
What safety precautions should I take when working with casting resin?
Always follow safety precautions and use proper personal protective equipment (PPE) when working with epoxy resin, like a proper resin mask. Read up on the proper safety precautions when working with resins.

Can I color casting resin?
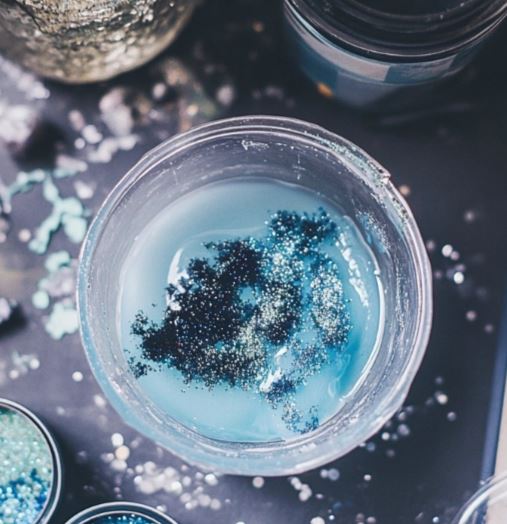
Yes, you can color casting resin using specially formulated resin pigments or liquid dyes. These additives are designed not to interfere with the resin’s curing process.
Add pigments or dyes in small increments, mix thoroughly, and test the color in a small batch before pouring it into your main project.
Remember that some additives may affect curing time, so follow the manufacturer’s recommendations for the specific coloring product you choose.
Our guide How To Choose Colorants For Resin covers basics.

Casting resin vs epoxy resin
You may be wondering if casting resin is the same as epoxy? Epoxies and casting resin are both types of synthetic polymers, but they have distinct characteristics and applications.
Epoxy Resin
Versatility:
Epoxy resin is commonly used for a variety of applications, including coatings, adhesives, and laminates. It is fantastic for crafts as well as larger projects like wooden resin tables.
Curing Time:
Epoxy often has a shorter curing time compared to casting resin. This makes it more suitable for quick projects when you need the resin to cure more quickly.
Usage:
Ideal for projects like coating surfaces, crafting, jewelry making, and small-scale projects. Epoxy resin will usually cure to a hard like state within about 24 hours.
Flexibility:
Epoxy can be more flexible when cured, which can be an advantage in certain applications. Like making resin flowers where you need to be able to bend the petals.
Casting Resin
Specialized for Casting:
It’s a type of resin is specifically formulated for casting and molding purposes, ideal for creating intricate and detailed pieces.
Curing Time:
It typically has a longer curing time compared to epoxy resin, allowing for the capture of fine details.
Applications:
Casting resin is commonly used for crafting sculptures, figurines, and larger molds due to its extended working time. It can also be used for casting resin art. Art casting resin is used to make a glossy surface over a canvas painting.
Viscosity:
It tends to have a lower viscosity, allowing it to flow more easily into molds and capture intricate details.
While both epoxy resin and casting resin are types of polymers, epoxy is more versatile and has a quicker curing time, whereas casting resin is tailored for intricate moldings and offers a longer working time.
It’s not uncommon to see products labeled as “epoxy casting resin” or similar terms on Amazon and other platforms. In many cases, these products are formulated to combine the properties of both epoxy resin and casting resin, offering a balance between versatility and detailed casting capabilities. They are both pourable epoxy resins.
These hybrid resins aim to provide the best of both worlds, allowing users to undertake a variety of projects, from coating surfaces to crafting detailed castings.
Carefully read the product descriptions, specifications, and customer reviews to understand the specific characteristics and recommended uses of each product. If you are just getting started, you might want to try a complete clear resin casting kit.
The choice between the two depends on the specific requirements of your project. See our guide Best Epoxy Resins For Crafts.
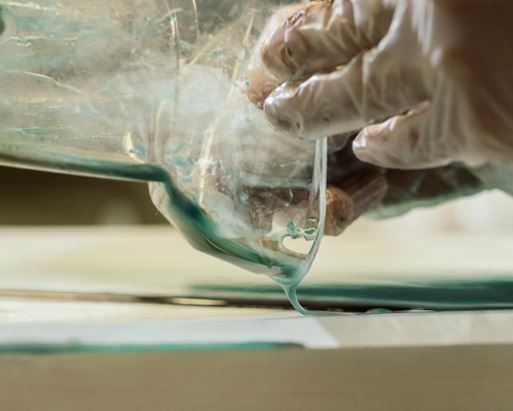
Tips For Using Casting Resin
Understand Your Project Needs:
Before choosing a casting resin, consider the specific requirements of your project. Different resins have varied curing times, levels of transparency, and intended uses.
Whether you’re creating intricate jewelry, artistic sculptures, or functional prototypes, understanding your project needs is important for selecting the most suitable brand to use.
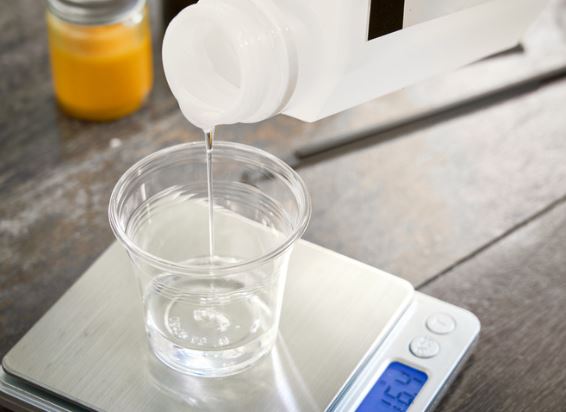
Follow Mixing Ratios Precisely:
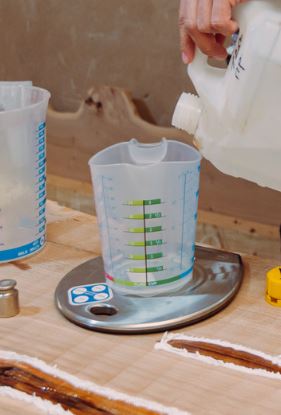
Casting resins typically consist of a resin and a hardener that must be mixed in specific ratios.
Deviating from the recommended ratios can result in incomplete curing, affecting the strength and appearance of your cast.
Use precise measuring tools and take the time to mix the components thoroughly for optimal results.
Work in a Well-Ventilated Area:
Many resins emit fumes during the curing process, which can be harmful if inhaled.
Always work in a well-ventilated area.
Use a respirator mask, especially if you’re working on larger projects or in confined spaces, to minimize exposure to potentially harmful vapors.
Experiment and Test:
Before diving into a significant project, it’s advisable to conduct small-scale experiments and test different resins.
This allows you to familiarize yourself with the material, understand its curing characteristics, and identify any specific challenges it may present.
Invest in Quality Molds:
The quality of your molds can significantly impact the final outcome of your castings. Invest in high-quality molds that are suitable for your chosen resin and project type.
Consider factors such as mold flexibility, ease of demolding, and the level of detail they can capture in epoxy castings.
Well-crafted molds contribute to achieving professional-looking results and can be reused for multiple projects, making them a valuable long-term investment.
Casting Resin Uses
Jewelry:
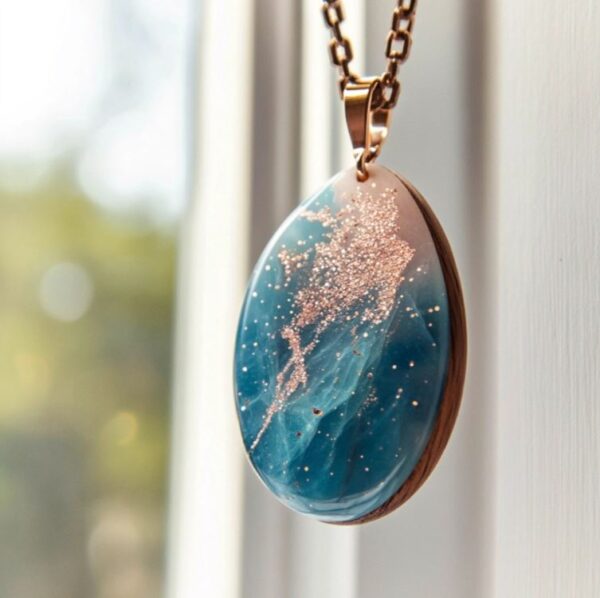
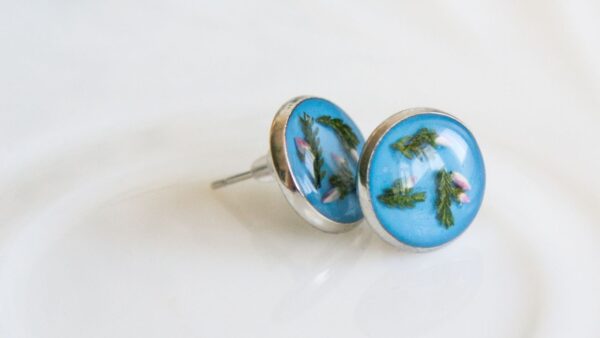
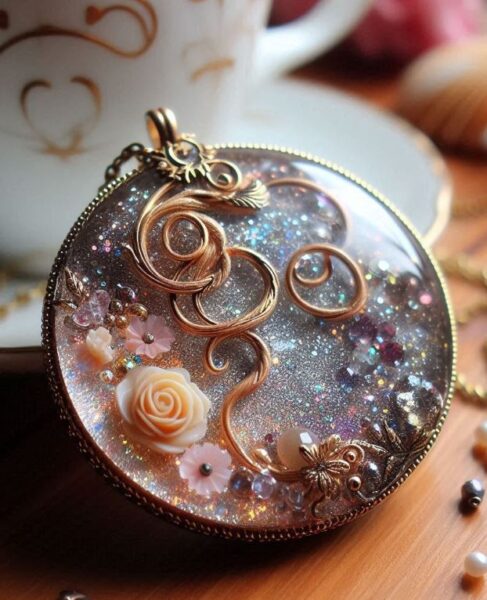
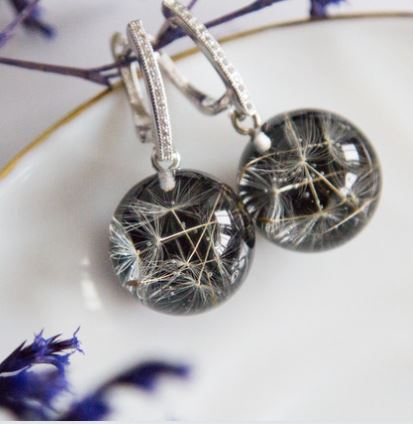
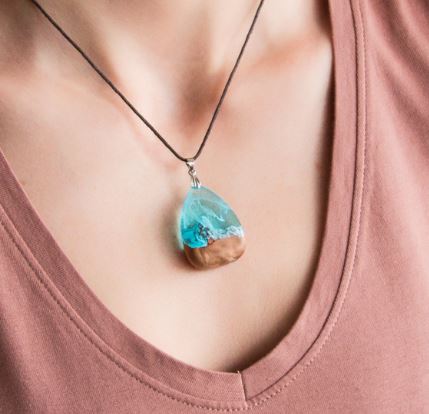
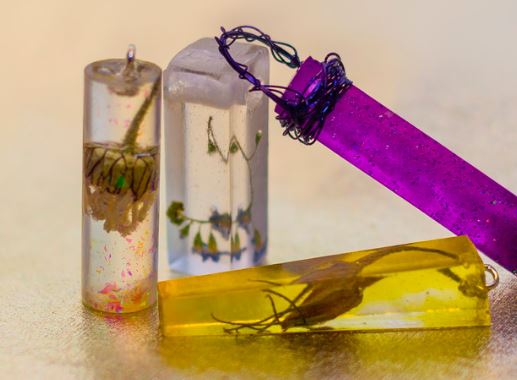
Crafters can make stunning, custom jewelry pieces by pouring the resin into molds designed for rings, flower pendants, earrings, and bracelets.
Resin allows for the incorporation of colors, glitter, and even embedded objects for unique and personalized designs. For this you can use epoxy or UV resin for instant cure.
Home Decor:
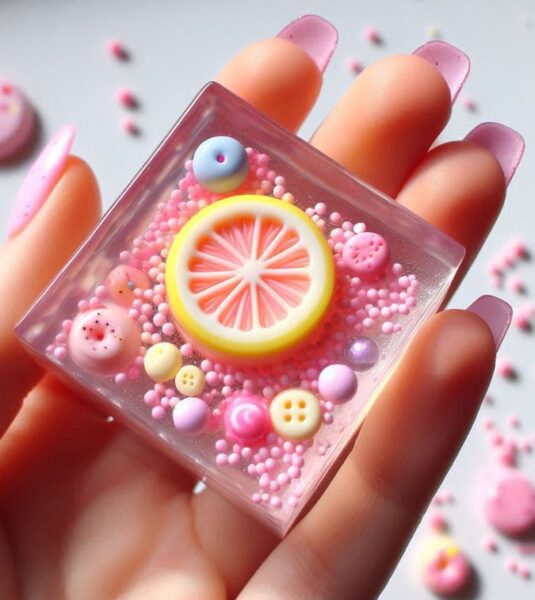
From decorative coasters and paperweights to intricate figurines and sculptures, casting resin is popular for making a range of home decor items.
Crafters can experiment with different molds and pigments to achieve various textures and finishes.
Artistic Pieces:
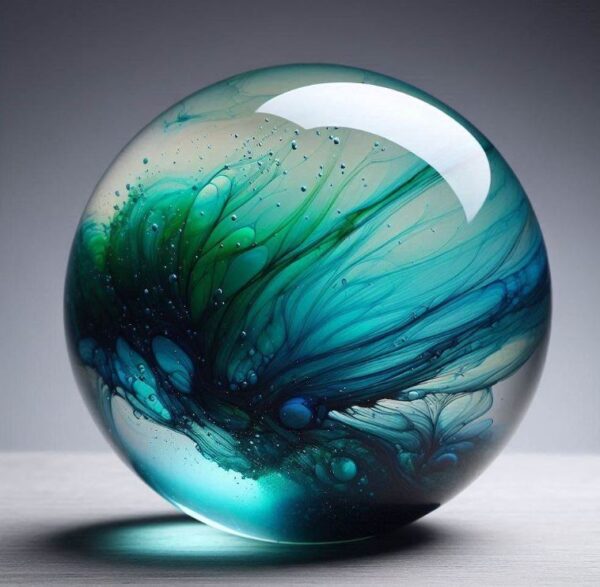
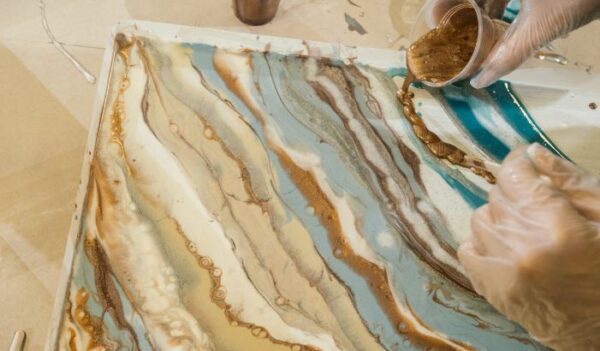
Resin casting is a favorite among artists for creating abstract and contemporary art pieces. It enables the encapsulation of pigments, metallic flakes, or even small objects within the resin to achieve visually stunning effects.
Keychains and Accessories:
Crafters often use this type of resin to make personalized keychains, zipper pulls, and other accessories. Small molds allow for detailed designs and the addition of embellishments like flowers, beads, or charms.
Model Making and Prototyping:
Resin casting is commonly employed in model making and prototyping for its ability to produce detailed and accurate replicas. Hobbyists and professionals use it to create miniature models, architectural prototypes, and scale replicas.
Embedded Designs:
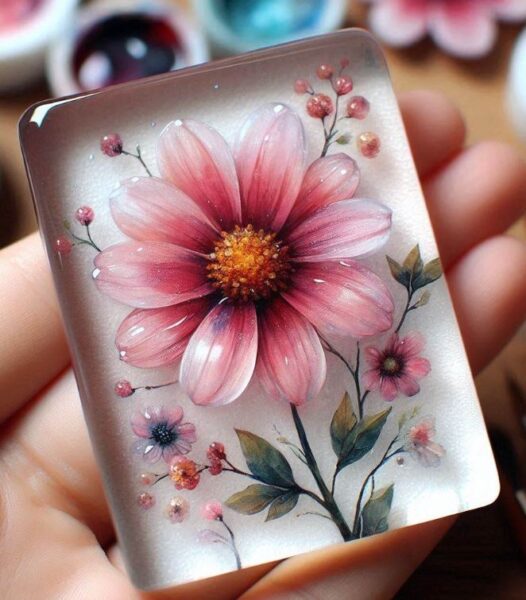
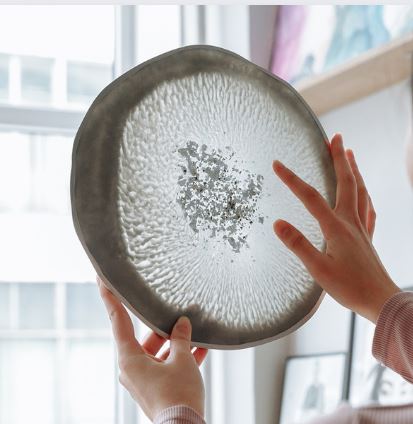
Crafters embed various items within resin to create intriguing designs. This can include flowers, insects, coins, or even photographs. The transparent nature of resin allows for the preservation of these items while adding a creative touch to the final piece.
Customized Gifts:
Crafters use this type of resin to make personalized gifts such as custom keychains, photo frames, dice, and keepsakes. The ability to embed meaningful objects or images makes these gifts unique and sentimental.
DIY Coatings:
Some crafters use resin as a protective coating for surfaces like tabletops, countertops, and artwork. It provides a clear and durable finish that enhances the visual appeal while offering protection against wear and tear.
Inlay Designs:
Crafters often create intricate inlay designs by pouring colored resin into engraved or carved surfaces. This technique is commonly used in woodworking to add a pop of color and interest to items like cutting boards, furniture, and ornaments.
Sculptures and Figurines:
It’s an ideal medium for crafting small sculptures, action figures and figurines. Artists can experiment with molds of various shapes and sizes to bring their creative visions to life in a durable and visually appealing way.

Troubleshooting Casting Resin
1. Air Bubbles:
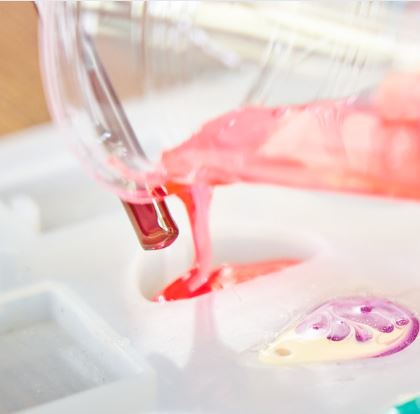
Issue: The presence of air bubbles in your resin castings can be a common challenge. These bubbles can create unsightly imperfections in the final product.
Troubleshooting: To minimize air bubbles, do thorough mixing of the resin and hardener. Do so gently to avoid introducing excess air. Pour the mixture slowly and in a thin stream.
Using a heat gun or torch, carefully pass over the surface of the resin to pop and remove any visible bubbles.
Allowing the mixed resin to rest for a few minutes before pouring can also help air bubbles rise to the surface.
2. Incomplete Curing:
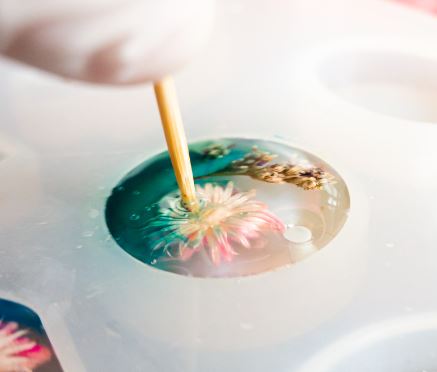
Issue: If your resin doesn’t fully cure, it can result in a tacky or soft finish, compromising the durability of your project.
Troubleshooting: Confirm that you’re following the recommended mixing ratios provided by the resin manufacturer.
If incomplete curing persists, consider using a UV lamp or heat source to assist the curing process. Be cautious not to exceed the resin’s recommended limits.
3. Cloudiness or Hazing:
Issue: Resin castings may sometimes exhibit cloudiness or haziness, affecting the clarity of the final product.
Troubleshooting: Cloudiness can result from improper mixing, inaccurate measuring, or using contaminated tools.
Use clean and dry tools, and avoid introducing moisture or foreign particles.
Consider using a resin specifically formulated for transparent results and take precautions to maintain a clean working environment.
Remember to refer to the specific instructions provided by the resin manufacturer, as different products may have unique considerations for troubleshooting and optimal results.
In Closing: Thank you for taking the time to explore the world of resin with us. Whether you’re a seasoned crafter or just starting on your creative journey, we hope these insights and tips prove valuable in your endeavors.
The possibilities are endless, and we appreciate you joining us in the pursuit of crafting beautiful, personalized, and unique creations. Happy crafting, and thanks for reading!

