Top 7 Epoxy Resins For Countertops [+ Pro Tips ✅]
Welcome back to another helpful resin article where we talk about the best resins for countertops. You have landed at the right place because we use resin here all the time and have tips for using resin on your countertops.
Choosing the right resin for DIY countertops in epoxy can be hard because there are just so many epoxy resins out there now. With the right resin, you can create durable surfaces that not only look great but also stand up to daily wear and tear.
On the other hand, if you don’t use the right epoxy for countertops, then you will have the biggest mess on your hands and that is no fun at all!
In this article, we’ll tell you about the top resins available for countertops, highlighting their unique benefits and helping you make an informed decision for your next project.
Here’s the ones that are recommended, then scroll to the bottom for tips.
best resins for countertops
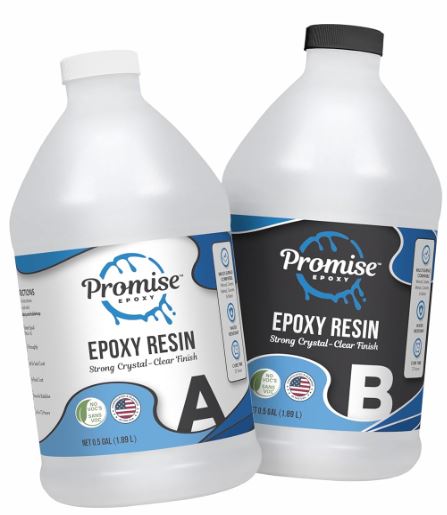
1. promise epoxy for countertops
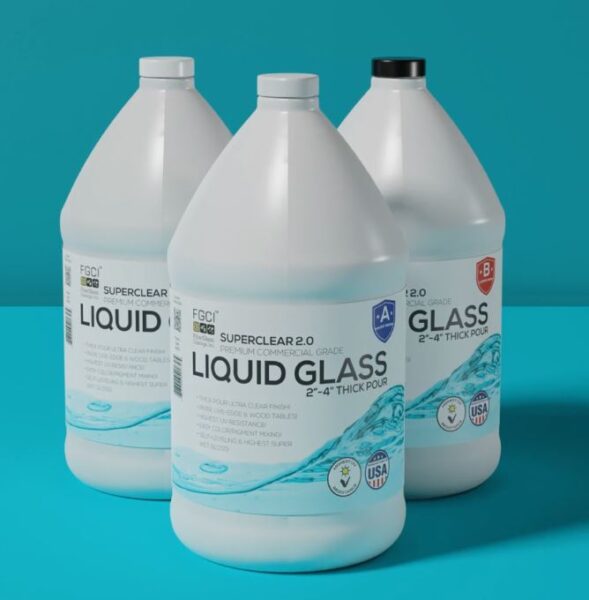
2. FCGI Superclear resin
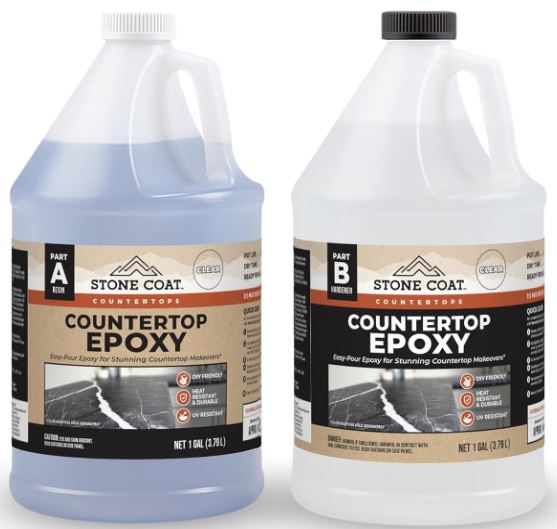
3. Stone Coat countertops epoxy
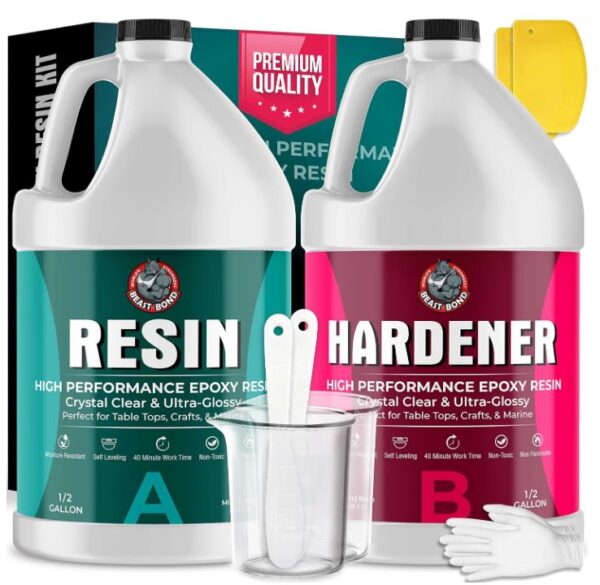
4. Beast Bond Epoxy Resin
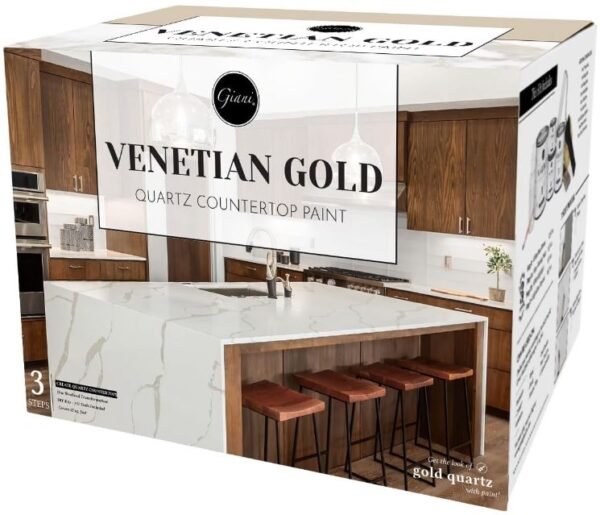
5. Giani epoxy countertop kit
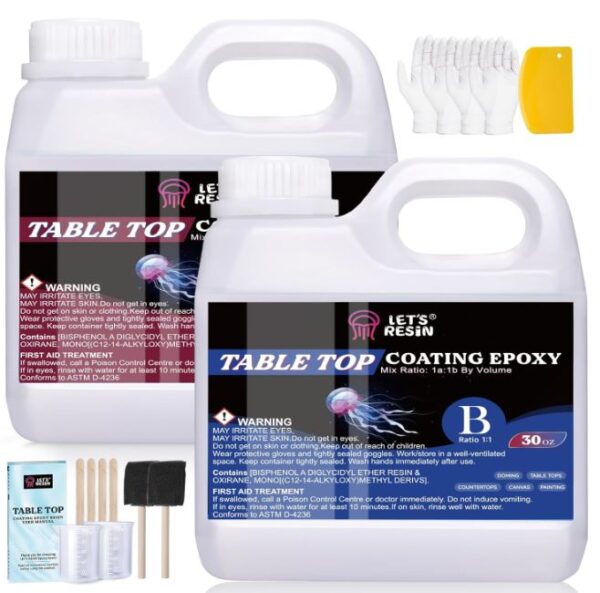
6. Let’s resin countertop resin coating
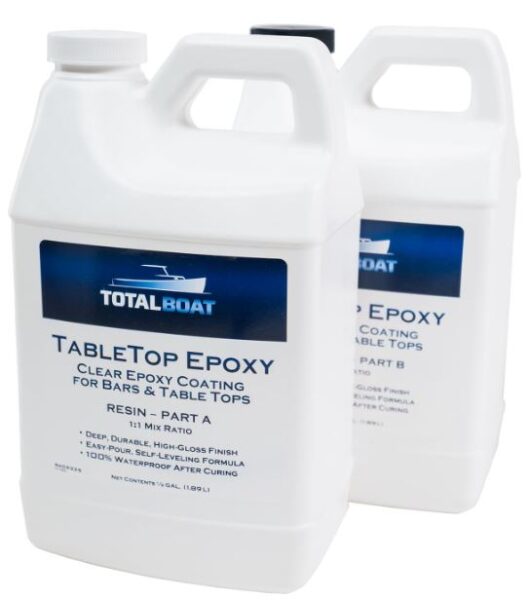
7. TotalBoat epoxy resin
epoxy resin for countertops tips
Be aware of yellowing over time
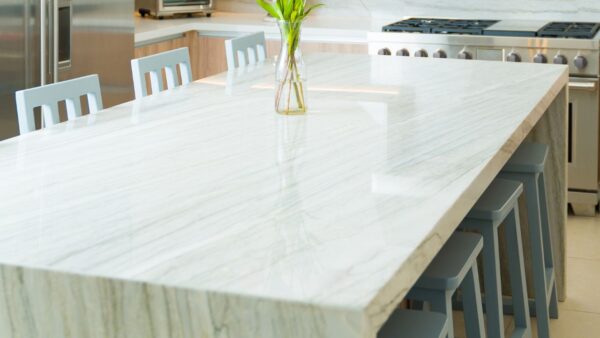
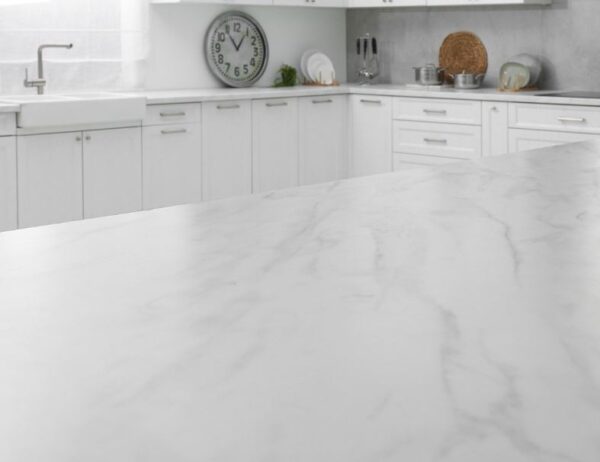
So you just poured your new white faux marble countertop and it looks amazing. Fast forward 4 years and it could possibly start to turn yellow. Trust me when I say that when resin turns yellow, it looks absolutely terrible!
When picking out the best resins for countertops, even if it has yellow stabilizers in it, eventually it still might turn yellow.
There’s many reasons why resin might start yellowing and we have complete guide that you might want to read before going ahead with a white colored countertop.
Guide: Why my resin countertop is turning yellow
Prepare your surface properly
Before you start applying resin, make sure your countertop surface is clean, smooth, and free of any dust or debris.
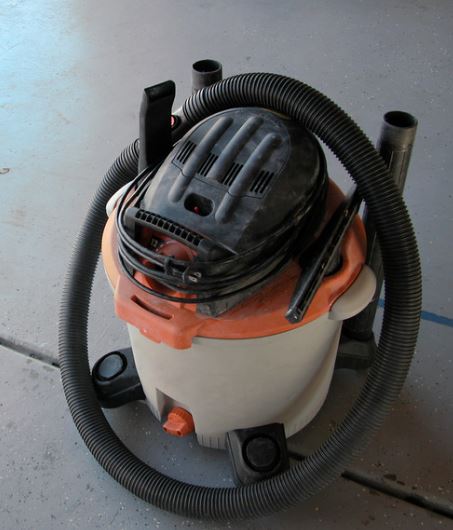
Sand the surface lightly to create a good bond between the resin and the countertop. Wipe it down with a damp cloth and let it dry completely. If you have a lot of dust and debris, use a shop vac to make sure everything is pristine.
Any imperfections or contaminants on the surface can cause the resin to not adhere properly, leading to bubbles, an uneven finish or cloudy resin. Taking the time to prep the surface ensures a flawless end result.
Mixing the Resin Correctly:
Resin typically comes in two parts: the resin and the hardener. It’s very important to mix these components in the exact ratio specified by the manufacturer. If find that the easiest resins for countertops will have a 1:1 ratio. Then you just buy it by the gallon, mix and pour.
Some are 1:1 ratio and others are 2:1 so make sure you read the instructions.
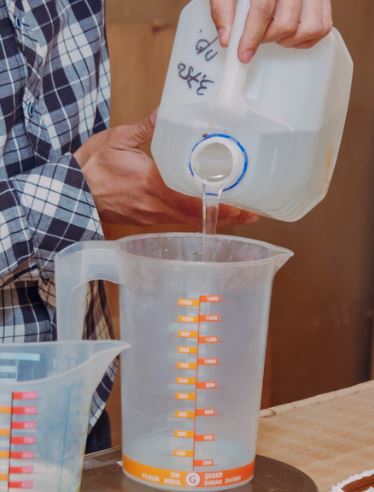
Use separate measuring cups for each part to avoid contamination, then combine them in a clean container.
Stir the mixture slowly and thoroughly for at least 2-3 minutes to avoid introducing air bubbles. Improper mixing can result in sticky or improperly cured resin, which can ruin your countertop project.
Pouring and Spreading the Resin Evenly:
When pouring the resin onto the countertop, start in the center of the countertop and work your way outwards.
Use a plastic spreader or a notched trowel to spread the resin evenly across the surface. Make sure to cover all edges and corners to create a consistent layer.
Eliminating Air Bubbles:
After pouring the resin, air bubbles will form and get trapped in the mixture. To remove these bubbles, gently use a heat gun or a propane torch over the surface.
Move the heat source in a sweeping motion, maintaining a safe distance to avoid scorching the resin.
This process helps the bubbles rise to the surface and pop, ensuring a crystal-clear, glass-like finish. Be cautious not to overheat, as this can cause the resin to yellow or warp.
See our complete article about common problems with resin bubbles.
Allowing Adequate Curing Time:
Once you’ve applied the resin, let it cure undisturbed for the full recommended time, which can vary from 24 to 72 hours depending on the product.
Make sure the area is dust-free and maintain a stable room temperature to prevent imperfections in the finish.
Some people will totally close off the area to prevent dust or lint from settling on the resin. This is a good idea and it’s highly recommended. One you get hair or something in the resin after it cures, you are most likely have to live with it. Especially if it sank in.
Avoid using the countertop or placing any objects on it during this period. Proper curing is a must for achieving the resin’s maximum hardness and durability.
ways to use epoxy for countertops
Embedded Objects:
One of the most unique aspects of epoxy is its ability to encapsulate objects, making your countertop a conversation piece.
You can embed items like seashells, coins, bottle caps, or small decorative stones in the epoxy.
Arrange the objects on the countertop surface before pouring the epoxy and make sure they are small enough so that they don’t stick up and can be fully covered with the epoxy resin.

This technique not only adds a personal touch but also creates a stunning 3D effect that is both functional and artistic.
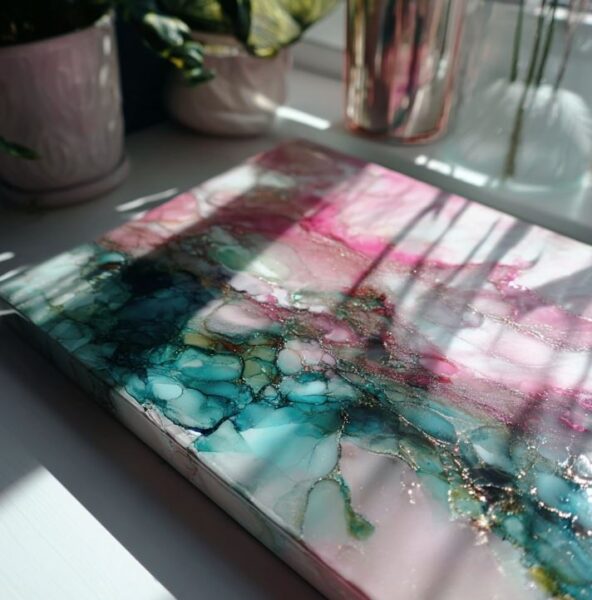
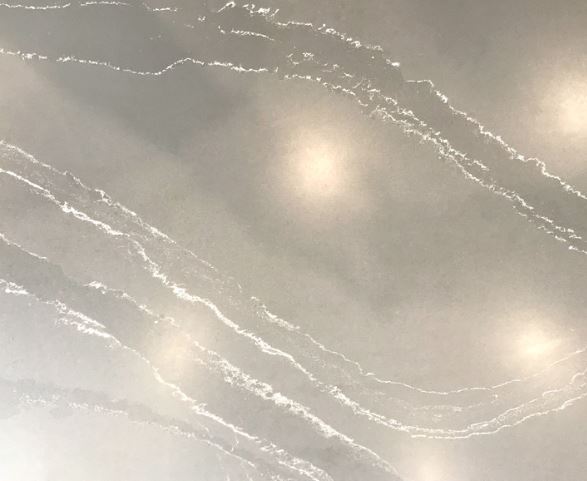
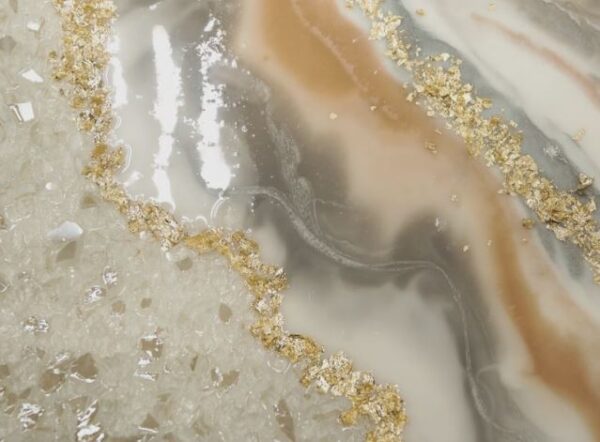
Color Swirls and Marbling:
Create a luxurious, high-end look by mimicking natural stone with epoxy. Mix different pigments and dyes into the epoxy to create color swirls and veins that resemble marble or granite.
Pour the colored epoxy in various patterns and use tools like a heat gun or a hairdryer to move the colors around and blend them.
This method allows you to customize the color scheme to match your décor while achieving a sophisticated and elegant finish.
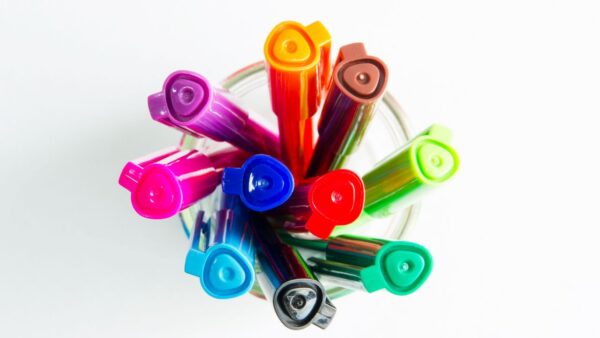
See our articles about colorants for resin and mica powders in resin.
Glow-in-the-Dark Accents:
Add a magical touch to your countertops by incorporating glow-in-the-dark pigments or powders into the epoxy.
These materials absorb light during the day and emit a soft glow at night, creating a unique and eye-catching effect. You can mix the glow powder directly into the epoxy or create specific patterns and designs.
This is perfect for adding a bit of whimsy and surprise to kitchen or bar countertops, especially for evening gatherings.
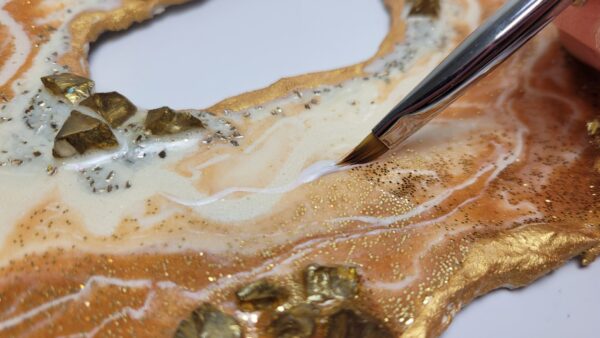
Geode-Inspired Designs:
Geode designs are a popular trend in epoxy countertops, offering a striking, gemstone-like appearance. Use vibrant, metallic colors and fireglass or glitter to create the look of a geode.
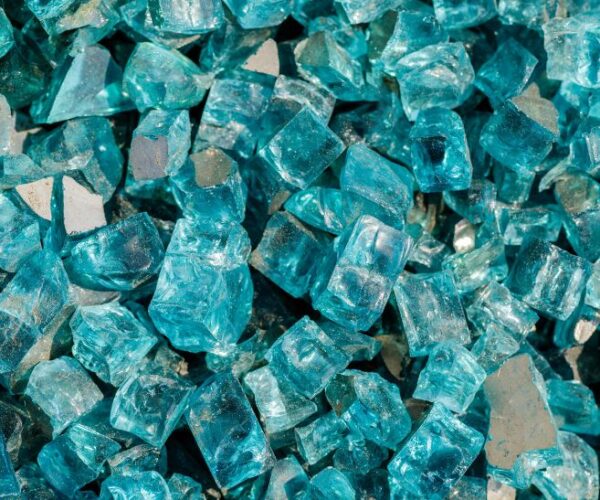
Layer different colors in a radial pattern to mimic the natural formation of geodes, and add a bit of shimmer with metallic powders. This technique results in a dazzling, one-of-a-kind countertop that can be the focal point of any room.
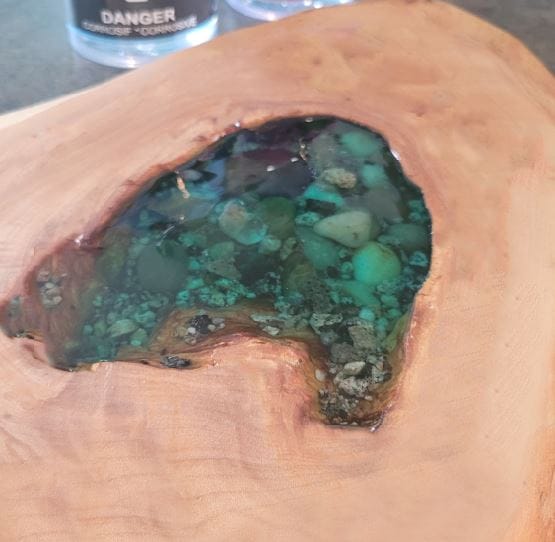
River Tables:
Transform your wooden countertop into a river table by creating a “river” of epoxy flowing through a wood slab.
Cut a channel or gap in the center of the wood, then pour colored epoxy into the void to create the appearance of a flowing river.
You can enhance the effect by adding stones, pebbles, or even small pieces of driftwood to the epoxy.

This combination of natural wood and vibrant epoxy creates a breathtaking and functional piece of art that brings a touch of nature indoors.
coating countertops faq
How durable is an epoxy countertop?
Epoxy countertops are highly durable and resistant to a variety of common kitchen hazards.
They are heat resistant, scratch resistant, and non-porous, making them ideal for food preparation areas.
However, it’s still advisable to use trivets for hot pots and pans and to avoid cutting directly on the surface to maintain the countertop’s pristine condition.
Can I apply epoxy over existing countertops?
Yes, you can apply epoxy over existing countertops made from materials like laminate, wood, concrete countertops or tile.
Proper surface preparation is essential for a successful application. Clean the countertop thoroughly, sand it to create a rough surface for better adhesion, and ensure it is dry and dust-free before applying the epoxy.
How do I avoid air bubbles in my epoxy countertop?
To minimize air bubbles, mix the epoxy slowly and thoroughly to avoid introducing excess air.
Once poured, use a heat gun or propane torch to gently pass over the surface and help release trapped bubbles.
You might have to check on the epoxied countertop over the next 30 minutes to an hour and get the rest of the bubbles that rise to the surface.
Additionally, ensure the room temperature is stable and within the recommended range, as temperature fluctuations can cause bubbles.
How long does it take for epoxy countertops to cure?
The curing time for epoxy countertops typically ranges from 24 to 72 hours, depending on the specific product used and environmental conditions.
It’s important to follow the manufacturer’s instructions for curing times and to keep the area dust-free and undisturbed during this period to achieve the best results.
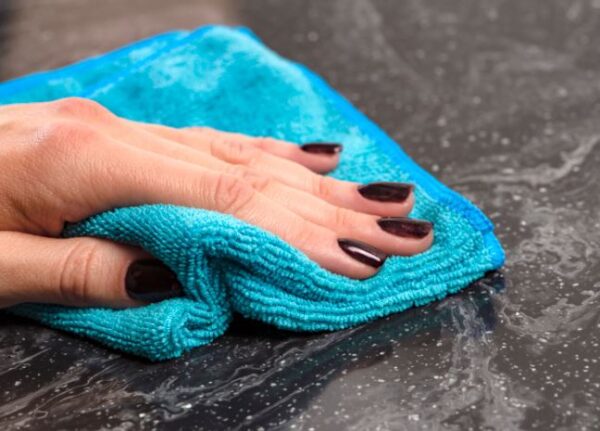
How do I maintain and clean my epoxy countertop?
Epoxy countertops are easy to maintain. For daily cleaning, use a soft cloth or sponge with mild soap and water.
Avoid abrasive cleaners or scrubbing pads, as they can dull the finish. Regular cleaning will keep your countertop looking new and maintain its glossy finish.
will my epoxy countertop scratch?
Yes, while epoxy countertops are highly durable and scratch-resistant, they are not completely scratch-proof. Over time, especially with heavy use, they can develop scratches.
Here are some tips to minimize and manage scratches on epoxy countertops:
Avoid Abrasive Cleaners:
Clean your countertop with non-abrasive cleaners and a soft cloth or sponge. Abrasive cleaners or scrubbers can scratch the surface over time.
Use Coasters and Trivets:
Place coasters under glasses and trivets under hot pots and pans. This not only protects the surface from heat damage but also reduces the risk of scratches from sliding items.
Regular Maintenance:
Periodically buffing the surface with a polishing compound designed for epoxy can help maintain its shine and reduce the appearance of minor scratches.
troubleshooting issues for epoxy countertops
air bubbles:
Issue: Air bubbles can get trapped in the resin during mixing or pouring, resulting in an uneven finish.
Tip: Mix the resin slowly to minimize the introduction of air. After pouring, use a heat gun or a propane torch held a few inches above the surface to gently eliminate bubbles.
Move the heat source in a sweeping motion to help bubbles rise and pop without overheating the resin.
Sticky or Soft Resin:
Issue: The resin doesn’t cure properly and remains sticky or soft, often due to incorrect mixing ratios or inadequate mixing.
Tip: Always measure the resin and hardener accurately according to the manufacturer’s instructions.
Mix thoroughly, scraping the sides and bottom of the container to ensure the components are fully blended. If the resin remains sticky, you may need to scrape it off and reapply a correctly mixed batch.
Uneven Surface:
Issue: The cured resin surface is wavy or uneven.
Tip: Ensure the countertop is level before pouring the resin. Pour in thin, even layers, and use a spreader to distribute the resin evenly. If the surface cures unevenly, you can sand it down with fine-grit sandpaper and apply another thin coat of resin to achieve a smooth finish.
Discoloration or Yellowing:
Issue: The resin develops a yellow tint over time or appears discolored.
Tip: Choose a high-quality, UV-resistant resin to prevent yellowing. Avoid exposing the resin to direct sunlight for extended periods.
If discoloration occurs, you can sand the surface lightly and apply a new coat of UV-resistant resin to restore clarity if the yellowing is not deep within the countertop.
Cracks or Chips:
Issue: The resin cracks or chips, often due to impact or temperature fluctuations.
Tip: Prevent cracks by ensuring the resin is fully cured before use and avoiding heavy impacts.
For minor cracks or chips, clean the damaged area and fill it with fresh resin, allowing it to cure completely.
For larger repairs, you might need to sand the area down and apply a new layer of resin to restore the surface.
Pros to having a resin countertop
Durability:
Benefit: Resin countertops are highly durable and resistant to everyday wear and tear. They can withstand heat, scratches, and stains, making them ideal for high-traffic areas like kitchens and bathrooms.
This durability give you a long-lasting surface that maintains its appearance over time with minimal maintenance.
Customization:
Benefit: Resin offers a high degree of customization. You can mix colors, add pigments, and create unique designs that mimic natural stone, wood, or even abstract art.
This flexibility allows homeowners and crafters to create a personalized and one-of-a-kind countertop that perfectly matches their aesthetic preferences.
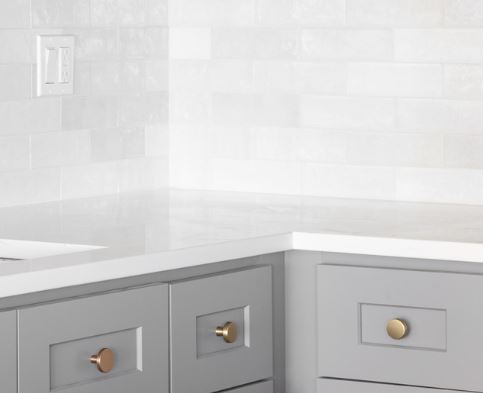
Seamless Surface:
Benefit: When applied correctly, resin creates a smooth, seamless surface without joints or grout lines.
This not only enhances the visual appeal but also makes cleaning and maintenance easier. The seamless finish prevents dirt and bacteria from accumulating in cracks.
One of the reasons why I’m switching to a resin countertop is because I have a seam right beside my sink and I’m constantly trying to get the gross stuff out of it.
Waterproof and Non-Porous:
Benefit: Resin countertops are non-porous, meaning they do not absorb liquids or harbor bacteria.
This property makes them resistant to stains and easy to clean, as spills can be wiped away without leaving a mark.
The waterproof nature of resin also makes it an excellent choice for areas prone to moisture, such as bathrooms and kitchens.
Easy Repairs:
Benefit: If a resin countertop does get damaged, it can often be repaired relatively easily. Small scratches and chips can be buffed out or filled with additional resin, restoring the surface to its original condition.
This ability to repair rather than replace the countertop extends its lifespan and offers cost savings over time.
Cons for an epoxy resin countertop
Susceptibility to UV Damage:
Drawback: Resin countertops can yellow or discolor when exposed to direct sunlight over time. That’s why the above resins were chosen because they are the best non yellowing epoxy for countertops due to their formulas.
Even though some resins are UV-resistant, prolonged exposure to UV rays can still cause them to degrade. This makes resin less ideal for outdoor applications or areas with significant sunlight exposure.
Potential for Scratches:
Drawback: While resin is durable, it is not entirely scratch-proof. Heavy use, cutting directly on the surface, or dragging heavy objects across the countertop can result in scratches.
To maintain the appearance, it’s necessary to use cutting boards and avoid placing sharp objects directly on the countertop.
Complex Application Process:
Drawback: Applying resin requires careful preparation, precise mixing, and proper curing conditions. Mistakes in any of these steps can lead to issues such as sticky or uneven surfaces, bubbles, or improper curing.
The complexity of the process can be challenging for beginners and may necessitate professional assistance for the best results.
Heat Sensitivity of resin:
Drawback: Although resin is somewhat heat resistant, it can still be damaged by extremely hot items.
Placing hot pots and pans directly on the surface can cause burns or marks. Always use heat pads is to protect the countertop from heat damage.
Using epoxy resin safely
Using resin safely is important to ensure a successful project and to protect your health. When working with resin, always prioritize proper ventilation to avoid inhaling potentially harmful fumes.
Wearing protective gear, such as gloves, long sleeves, safety goggles, and a mask or respirator, helps shield your skin and respiratory system from exposure.

Follow the manufacturer’s instructions meticulously, especially regarding mixing ratios and curing times, to minimize risks.
Additionally, handle resin in a well-ventilated area or use fans to disperse fumes. Double check with the manufacturer of the resin to make sure it is non-toxic and food safe before using it on your kitchen countertops.
Learn about how to work with resin safely and our guide about is resin toxic.

In conclusion, while resin countertops offer versatility, durability, and aesthetic appeal, they also come with considerations that should be weighed carefully.
Understanding both the advantages and potential drawbacks of using resin can help you make an informed decision for your kitchen or bathroom surfaces.
By properly preparing the application area, following manufacturer instructions diligently, and taking necessary precautions during installation, you can mitigate many of the challenges associated with resin countertops.
We hope you have found the best epoxy to use for countertops.
Next, check out who made our list of the best epoxy adhesives for fixing and filling.