How To Fix Epoxy resin dimples & Pits [2026]
This is a guide on how to fix dimples in epoxy resin. If you’ve ever poured epoxy resin, you might have noticed little dimples or dents showing up on the surface after it starts to cure. In this post, I’m going to talk about how to fix resin dimples so your coasters, trays, and jewelry come out smooth. I’ll share simple tips and tools that make it easier to get rid of those tiny imperfections without stressing over your projects. These tricks work for small and medium pours and can save you time and frustration while you craft.

A lot of us have been there, finishing a coaster or a tray and spotting a few dimples that weren’t in the design. I know how annoying it feels, but the good news is that fixing them is easier than you think. With a few simple steps, you can smooth out the surface and get your resin looking just the way you want.
How To Fix Dimples And Pits In Resin
1. Sanding and Polishing To fix dimples
Sometimes a way to fix resin dimples is by sanding, which is great for smoothing out any imperfections in cured resin. To do this, start by sanding the dimpled areas with sandpaper, beginning with a coarser grit to remove the dents and gradually moving to finer grits to even out the surface.
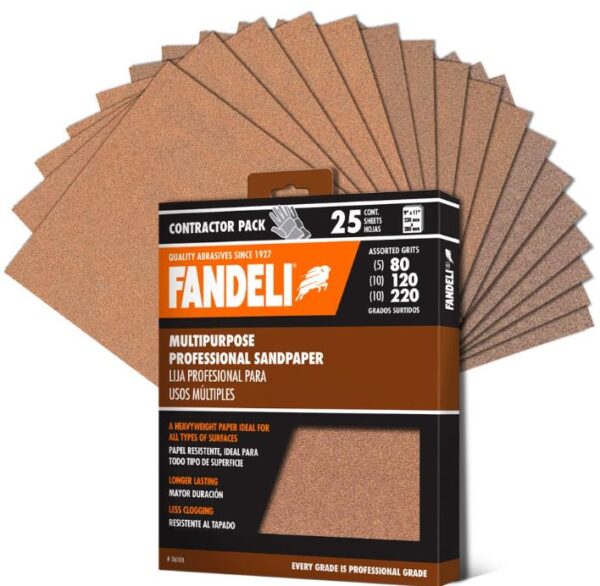
Take your time with this step, and you’ll see the dimples start to disappear as the surface becomes smooth. Once you’ve finished sanding, you can polish the resin using a resin polishing compound to bring back that glossy shine. It doesn’t always work, especially if you have big pits, but for small dimples you can get most of them out. You can use this method to fix different things like tables or fixing dimples in countertops.
2. Pour Another Resin Layer
Another way to fix dimples in your resin is by pouring a thin layer over the cured piece. Before you start, make sure the first layer is completely cured and the surface is clean of dust or debris. Mix your resin carefully so that you don’t have resin air bubbles that can create more pits. Then pour slowly over the areas with dimples so the resin fills them evenly. You can gently tilt the piece or use a small spatula to help guide the resin into low spots.
After pouring, use a heat gun for epoxy to pop any air bubbles on the surface. This not only fills the dimples but also blends the repair with the rest of your project, keeping the edges smooth and the surface glossy.

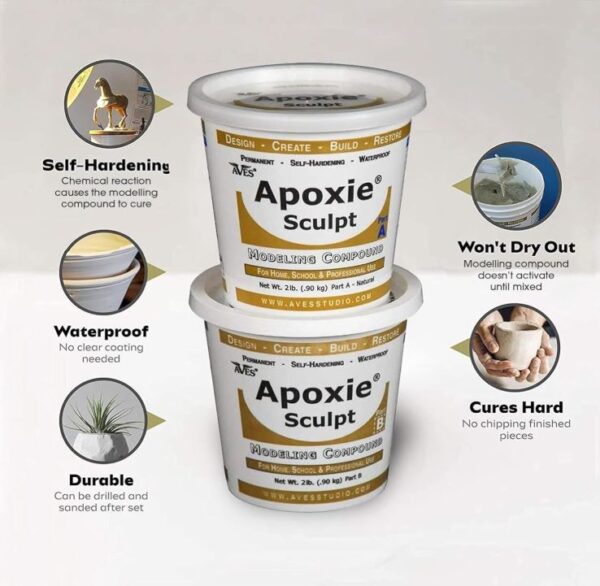
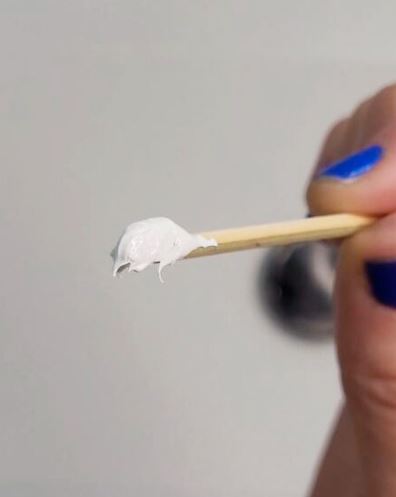
3. Epoxy Putty To Fix Resin Dimples
Epoxy putty is another great option for fixing dimples in your resin projects, especially if the dents are deeper or in small areas. To use it, take a small amount of putty and knead it according to the instructions until it’s soft and workable. Press it gently into the dimple, shaping it so it’s level with the surrounding resin surface. Once the putty cures, you can sand it smooth and polish it to match the glossy finish of your project. This works really well for small repairs or areas where pouring another layer of resin isn’t practical, like corners of trays or detailed jewelry pieces.
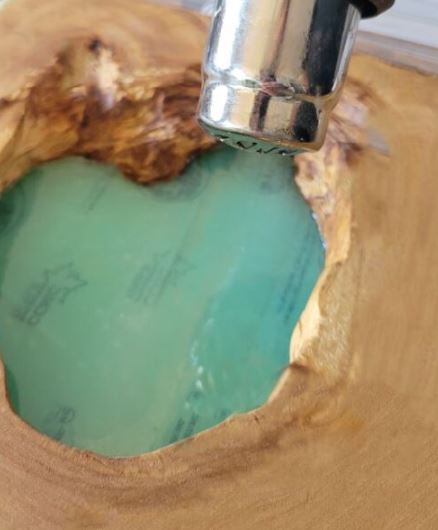
4. Gently Heat Up The Resin
If you notice dimpling while your resin is still curing, gently heating the surface can help smooth it out. This works best for pinholes or small dimples in resin that isn’t fully hardened yet. I often use a heat gun or a torch when working with resin, and a little controlled heat can help the surface self level and fill in tiny dents or bubbles. To do this, move the heat source in a gentle, sweeping motion over the area. As the resin warms up, it becomes softer and may naturally settle into a smoother surface. Just remember, this only works while the resin is still soft and curing.
Causes Of Dimples & Pits In Resin
Bubbles In Resin
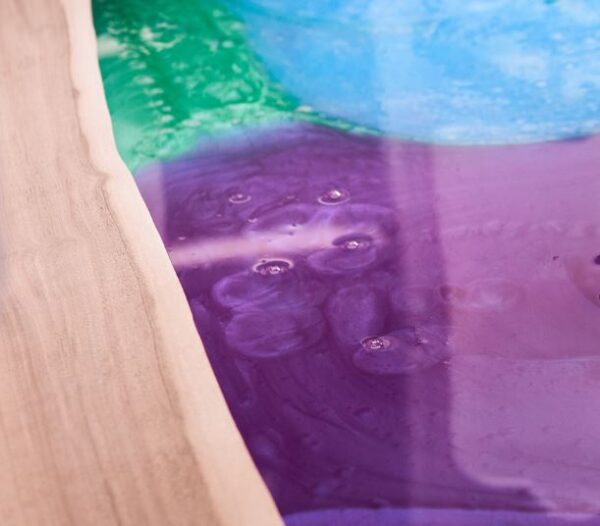
So what can cause pits in resin? Bubbles in resin can form dimples on the resin’s surface while it’s curing. When resin is mixed, poured, or manipulated, it can trap air bubbles. As the resin begins to cure and harden, these trapped air bubbles become semi permanent features within the resin.
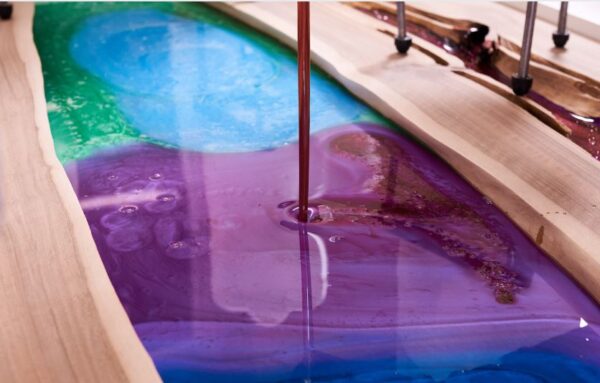
While it’s curing, the resin begins to solidify, locking the air bubbles in place. When the surrounding resin hardens, it can create a visual indentation or dimple around the trapped air bubble. Techniques like vacuum degassing, careful mixing, and pouring the resin carefully and in thinner layers when needed can help reduce the risk of bubble formation. You can also try using bubble remover machines depending on what you are working on.
Contaminants and foreign particles in resin
Contaminants and foreign particles in resin are just unwanted stuff that gets into your mixture, like dust, lint, or tiny bits of debris. When these end up in your resin, they can cause dimples, cloudy spots, or uneven textures on the surface. If there’s too much of this in your finished piece, fixing the dimples can be really tricky, and sometimes the only option is to start over.
Temperature & Humidity
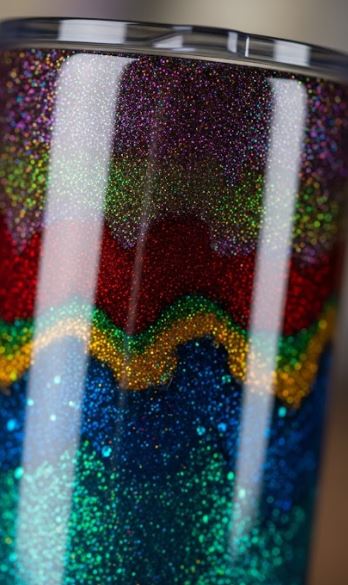
If you make tumblers, you might be asking yourself, why does my epoxy tumbler have dimples? Changes in temperature and humidity can really affect how resin cures and are often the reason these little imperfections show up. Resin is sensitive, so if it’s too hot or too cold while curing, it can cure unevenly, warp, or even look cloudy. High humidity can also cause moisture to form on the surface, which may lead to dimples or a frosty, hazy finish. Keeping your workspace at a stable temperature and lower humidity can help prevent these issues.
Inconsistent curing
Inconsistent curing can give you imperfections, including dimples in the cured resin. This happens when the resin does not harden or solidify uniformly across the entire surface. It has happened to me a few times over the years, or when I have used cheap epoxy.
When some areas of the resin cure faster or slower than others, it can cause dimples, uneven textures, or cloudiness. To prevent inconsistent curing, make sure you are mixing the resin thoroughly. Stick to the manufacturer’s recommended curing conditions. A cold garage for example can make your resin dimple as it cures.
Fix Resin dimples by Mixing properly
Mixing errors in resin crafting can give you a ton of problems, including dimples in the cured resin. Improper mixing can give you several issues, like uneven distribution of the hardener, not enough blending of the components, or stirring in a lot of air bubbles.
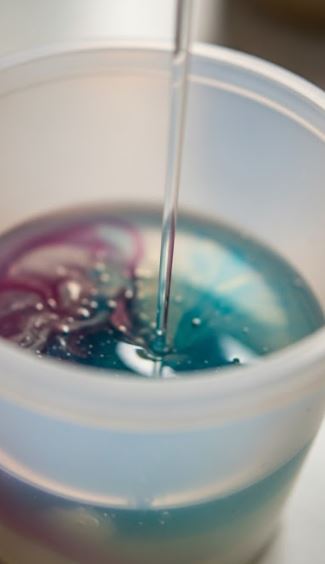
When the resin and hardener are not mixed right, the curing process becomes inconsistent. This can cause dimples, streaks, or cloudiness in the finished piece. Follow precise measurement ratios. To also help, mix the components slowly. Use proper techniques like scraping the sides and bottom of the mixing container.
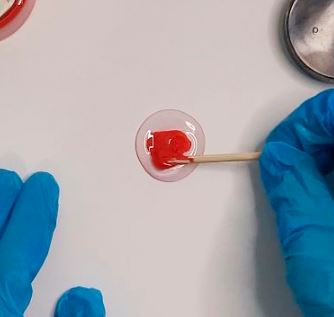
Too much Colorant has been added
Using too much color in resin can cause little bumps, dimples, or other uneven spots. Colorants come in different types like liquid dyes, powders, or mica powders. Adding too much can make your resin thicker and harder to work with. When the resin gets too thick, it won’t spread or level out properly. This can leave some areas with too much color that don’t cure the same as the rest, making the surface uneven. Don’t go overboard, or your resin won’t turn out smooth. Read up on how to add color to epoxy resin.
Resin Has Expired
Using old resin can cause bumps, dimples, or other imperfections in your finished piece. Resin has a shelf life, and over time it can start to break down. When resin gets old, it doesn’t cure as well and can be less reliable. This can make the surface uneven or leave spots that don’t look right.
The resin may also become more prone to the formation of air bubbles, which can result in dimples. Check the product’s expiration date, store resin according to the manufacturer’s recommendations. Resin should be used up before it has expired. Read up on how to tell if resin has expired to learn more.
Poor Quality Resin
Poor quality resin can indeed contribute to a range of imperfections in resin crafting, including dimples on the finished piece. The quality of resin can vary depending on factors like the manufacturer, the formulation, and the ingredients used. You might think you are saving money buy grabbing the cheap stuff, but you are going to be not only annoyed that your piece didn’t cure right, you will be spending even more money to get the good stuff that you should have bought in the first place.
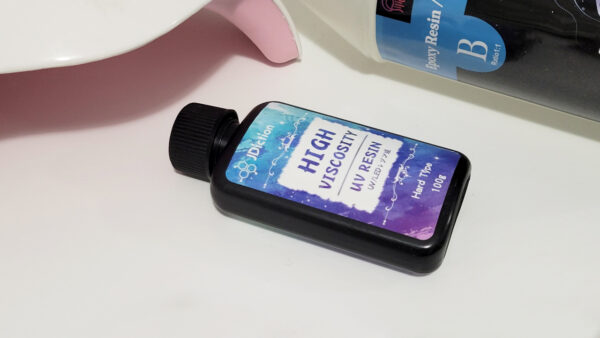
Here is an epoxy resin that is good quality and give great results. I’ve used this one quite a bit.

Using the right resin for each project makes everything so much easier. UV resin is great for small pieces because it cures fast under a UV light. Epoxy works well for most crafts like coasters, trays, and art since it gives you more working time. Deep pour resin is best for thick pours like river tables and big molds because it cures slow and stays clear. When you pick the resin made for the job, your project turns out smoother and you deal with fewer problems.
Read up on resin safety precautions to learn more about using resin safely.