How To Use UV Resin Like A Pro
If you’re curious about UV resin and how to use it, you’re in the right place. This article will walk you through everything you need to know about how to use UV resin.
From what it is to how you can use ultra violet resin in your projects, you will find all of the info you need right here on this resin blog. If you’re new to resin or looking to try something different, I’ve got tips to help you get started using this type of resin.

So, grab your supplies and get ready to dive into the world of UV resin crafting! In this article I will teach you what to know about UV resin and how to use it.
how to use uV resin
1. What is UV (Ultra Violet) Resin?
You might be wondering how does UV resin work? UV resin is a type of resin that cures and hardens when exposed to ultraviolet (UV) light.
What is the difference between epoxy resin and UV resin? Unlike traditional epoxy resins that require mixing and take hours to cure, UV resin is a single component product that cures quickly under a proper light, usually within minutes.
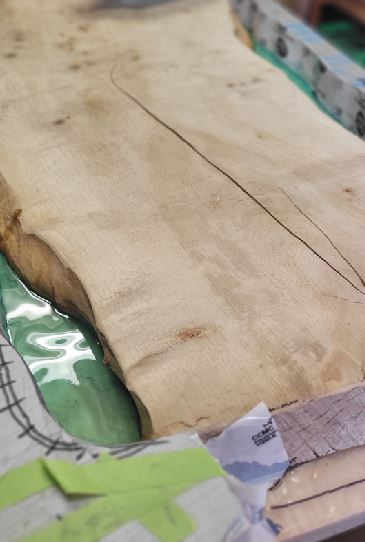
This makes it a great choice for small, detailed projects where precision and speed are important. I usually use UV resins when making small pendants or to cover DIY magnets. Another way I like to use this type of resin is to fill cracks when I’m making a resin table.
See the differences of UV resin vs. Epoxy resin
Crafters love UV resin because it’s easy to use and give you a crystal clear finish, making it perfect for jewelry, charms, and small decorative items.
What is UV resin made of? UV resin is made from a liquid mixture of chemicals, primarily composed of oligomers, monomers, and photoinitiators.
The oligomers and monomers help create the resin’s structure, while the photoinitiators are what make the resin harden when exposed to the light.
When UV light hits the resin, it triggers a reaction that turns the liquid into a solid, creating a durable, clear material.
So, you just have to stick it under your UV lamp and it will harden. It really is that easy. That’s one of the reasons why beginners like to start with it, because you don’t have to do any mixing.
The instant curing process also means there’s less waiting time, so you can see your finished product right away.
Just remember that UV resin is not the same casting epoxy, so for any project that is deeper than 1/4 inch, use epoxy resin instead because the UV resin might not cure properly. And that’s going to leave you with a sticky mess.
2. Choosing the Right UV Resin
When selecting a brand it’s important to consider the type of projects you plan to work on.
Some UV resins are designed specifically for jewelry making and offer a higher level of clarity and gloss, while others may be better suited for crafting larger items or adding layers to a project.
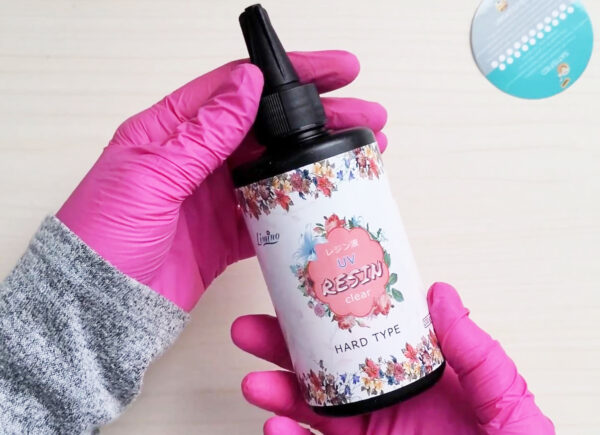
Three of my favorite brands are Sanaaa, Let’s Resin and Limino. They can be used with pretty much any small project. I’ll show you some ways to use them below.
Always check the product’s viscosity, as this will affect how it flows and fills your molds or settings. Viscosity is how thick the resin is. Some are high flow and then others are very thick. Here’s an article I wrote on the best low viscosity resins for good flow.
Check the curing time and the type of UV light needed. Some UV resins cure faster with stronger lamps, while others might take longer or require a specific wavelength.
Reading product reviews and recommendations can also help you find a brand that meets your needs and gives you the best results for your crafting projects. Some UV resins are just garbage and I’ve used many brands over the years.
See this article about the best UV resins for beginners for even more options. I have some really great info there.
3. UV Lamp for Curing Resin
The lamp is a tool you need when working with this type of resin, as it provides the light needed to cure and harden the resin.
If you are wondering how long does UV resin take to cure, well that depends. Thinner projects will usually cure very fast in about 1-2 minutes.
Deeper pours can take up to 4 minutes of curing. UV resin is usually used for thinner pours and jewelry making. If you need to do a deep pour, then switch to epoxy resin instead.
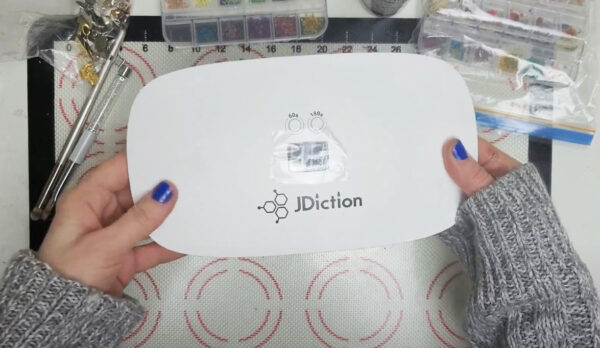
These lamps come in different sizes and power levels, typically measured in watts. For most small to medium-sized projects, a small UV lamp is totally fine to use, like this one from JDiction.
It gives you enough wavelengths to cure the resin within a minute or two. Sometimes I use this one for really small items like mini’s and jewelry. It has a beginner friendly price if you are just starting out.
I also like a larger lamp for faster curing times, especially when working with thicker layers of resin. Professional nail lamps will cure your project very fast. Some lights that will give you a super fast cure are the Melody Susie lamps.
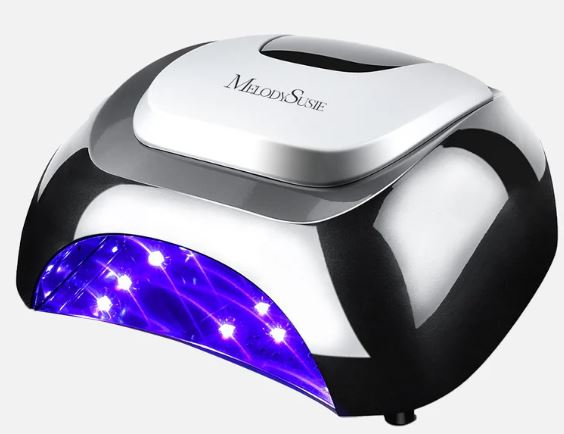
When choosing a UV lamp, consider the size of your projects and your workspace. Compact lamps are good for small projects like jewelry, while larger lamps can accommodate bigger items or multiple pieces at once. These are good if you are selling your resin art.
It’s also important to make sure the lamp emits the correct wavelength of UV light, usually around 365-405 nanometers, as this is the range that most UV resins require for proper curing.
Here’s another article with more lamp options: Best UV lamps for resin.
4. Tools and Supplies for Projects
To get started with UV resin, you’ll need a few tools and supplies. Besides the lamp to cure the resin, you’ll need some other things too. Here is a list of some tools to help get you started:
Molds, bezels, or domino blanks, as well as mixing tools like silicone cups and stirring sticks.
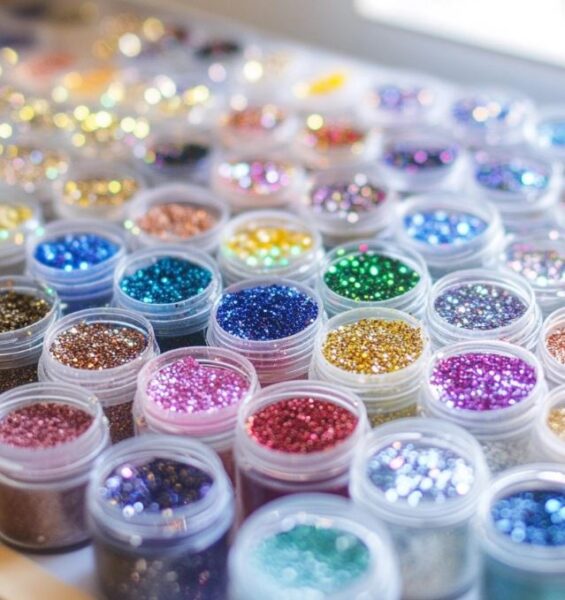
In addition to the basics, you might want to gather some decorative elements like glitter, pigments for resin, dried flowers, or charms to embed in the resin.
Having gloves and a large silicone mat or tray to protect your workspace is also important, as UV resin can be sticky and difficult to remove once it hardens.
5. uV resin safety
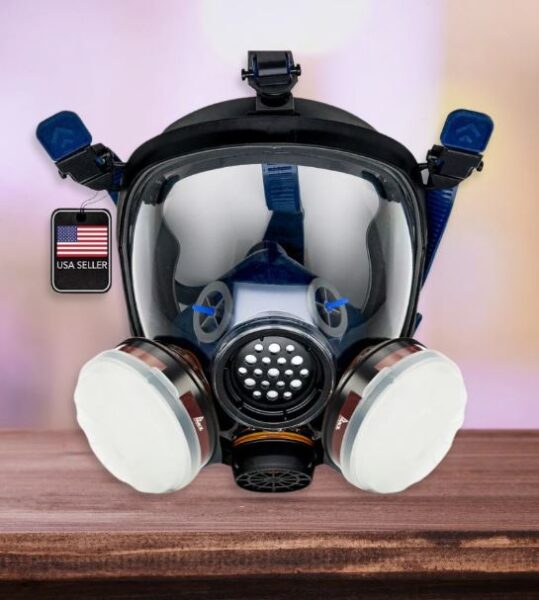
It’s important to use a respirator when working with any type of resin because it helps protect your lungs from harmful fumes. Years back I made the mistake of not protecting myself when using resin. So now I make sure I have all of my PPE handy for resin making.
Read all about resin safety before starting with resin.
6. How to Prepare Your Workspace
Before you start working with UV resin, make sure you have some time to spend by yourself without any interruptions from kids or pets. If this is your first time, you will want to give yourself lots of time to get to know how resin works.
Prepare your workspace so that things are not all over the place. I know that craft rooms can get messy fast. And when working with resin, it’s even more important to keep organized so that sticky resin does not get on everything.
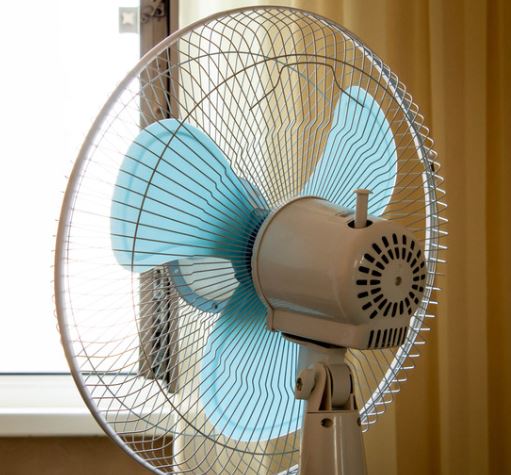
Choose a well ventilated area, as resin can emit fumes, especially during curing. In addition to wearing my PPE, I also open my window and have a fan blowing to the outside.
Cover your workspace with a silicone mat or wax paper to protect surfaces from spills and drips, which can be difficult to clean once the resin hardens.
Gather all your materials and tools within easy reach so you can work efficiently without interruptions. Make sure your workspace is free from dust and debris, as these can easily get trapped in the resin and spoil your project.
With a clean, organized workspace, you’ll be able to focus on your creativity and avoid common resin mishaps.
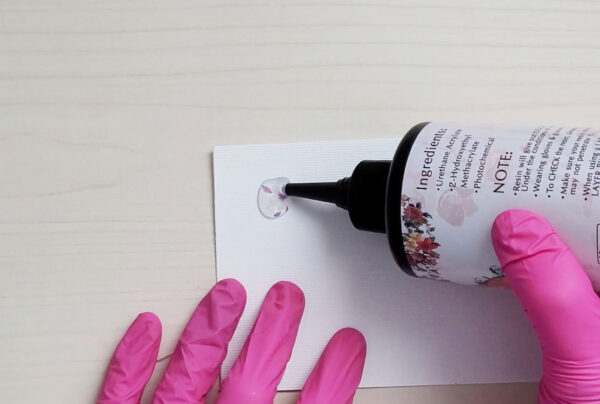
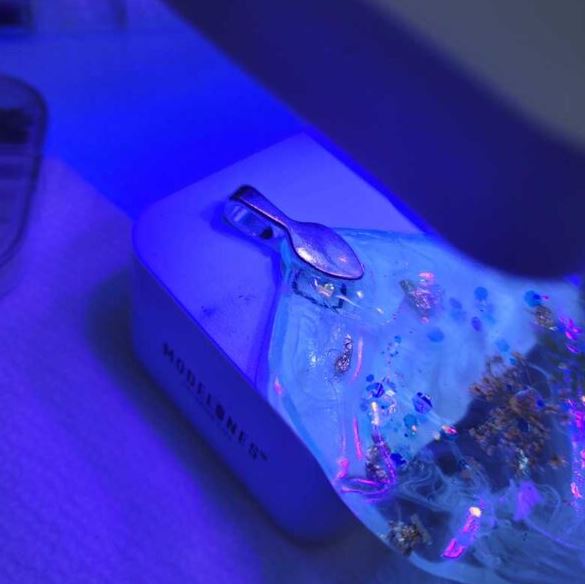
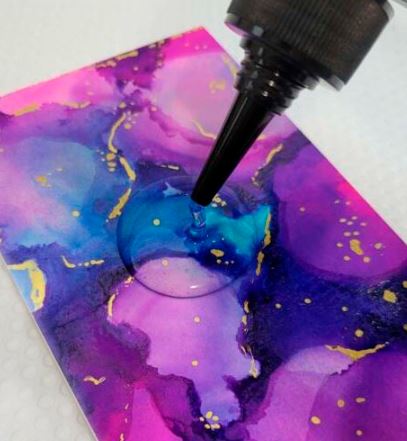
7. How to use UV resin in molds or On Dominoes
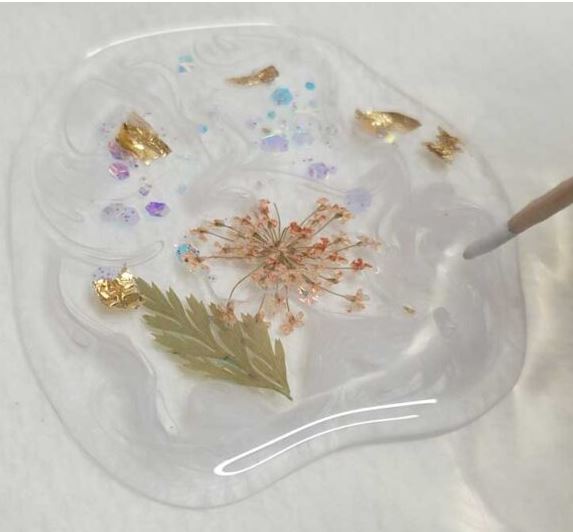
Start by placing your mold or domino on a flat, protected surface. If you’re adding decorative elements like glitter or dried flowers, you can position them in the mold before pouring the resin or mix it right into the resin.
Slowly pour the resin, making sure it fills all the spaces without overflowing.

Use a toothpick or silicone stick to gently spread the resin and pop any air bubbles that may form with a resin heat gun or resin torch.
Once the resin is in place, cure it under a UV lamp for the recommended time, usually a few minutes. Make sure the resin is fully cured before removing it from the mold to avoid any sticky or tacky spots.
So that things don’t get too messy, I put mine into a heavy cardstock paper and slide it under the lamp.
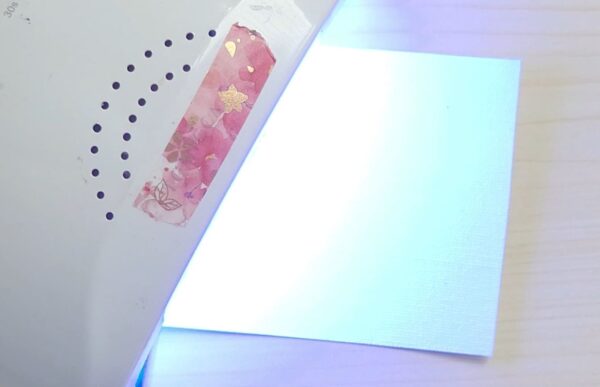
After curing, you can leave as is, or polish the resin to make it even more shiny.
8. how to cure resin with A UV light
Curing UV resin properly is key to getting a strong, clear finish. Start by placing your resin project under a UV lamp, making sure that the entire surface is exposed to the light.
The curing time can vary depending on the thickness of the resin and the strength of your UV lamp, but typically ranges from two to five minutes. If you’re working on a thicker piece or a project with multiple layers, you may need to cure each layer separately.
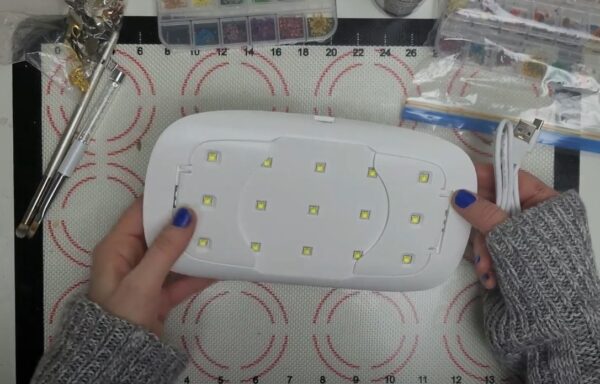
You can see underneath the lamp that there are several small lights. These are for curing the resin evenly.
See this guide about common UV resin problems and how to fix them.
If you find that the surface is still tacky after the initial curing time, try curing it for a bit longer or using a stronger UV light. Proper curing makes it so that your UV resin project is fully hardened and durable, ready to be enjoyed or displayed.
9. Curing UV resin without a light
You might be wondering how to cure UV resin without a UV light? You can cure UV resin under bright sunlight for projects that are not too thick. But do note that it will cure extremely fast in the sun.
With thicker pours, this will cure eventually but the time it may take could possibly ruin your project. The item must be completely underneath the bright sun and during that time, something may get on to the surface your thing, like a bug, pollen or other stuff floating in the air.
10. Tips for Avoiding Common Mistakes
Working with UV resin can be straightforward, but there are a few common mistakes to watch out for. One of the biggest issues is air bubbles, which can get trapped in the resin and ruin the clarity of your project.
To avoid this, pour the resin slowly and use a toothpick to release any bubbles that appear before curing. Here’s a complete guide on how to get rid of resin bubbles.
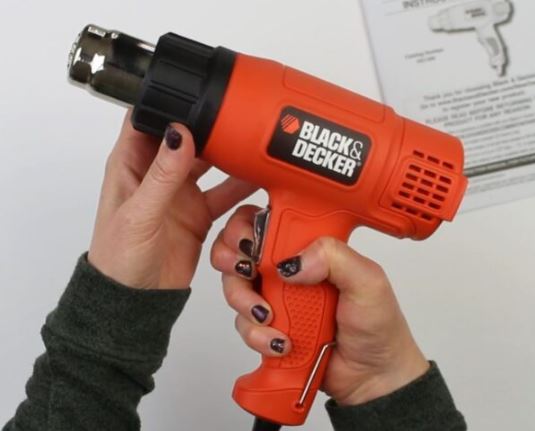
If you are really looking to dive into resin, you might want to get a resin bubble remover. But for beginners, just use a resin heat gun because the bubble removers are pricey and you will want to make sure you actually like resin before purchasing one.
Another common mistake is under curing the resin, which can leave it sticky or soft. Make sure to cure the resin under a UV lamp for the full recommended time. Remember, UV resin is not for deep pours because the light has to see it to cure it.
Lastly, be mindful of overfilling molds, bezels or even artwork, as this can lead to overflow and messy edges.
11. What is UV resin Used For?
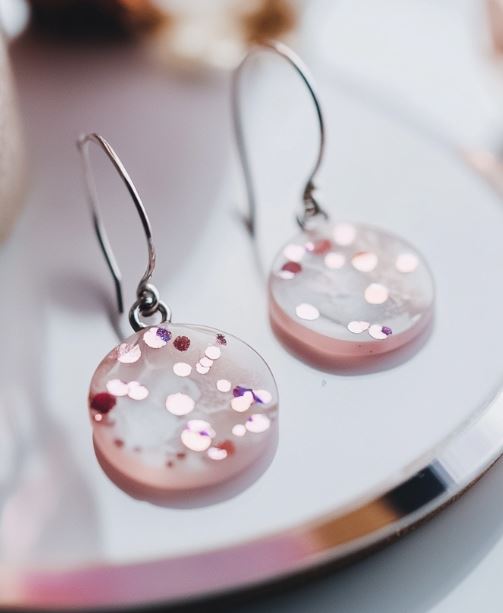
UV resin can be used in many ways, opening up a world of possibilities. One popular project is making jewelry, such as pendants, resin earrings, or rings.
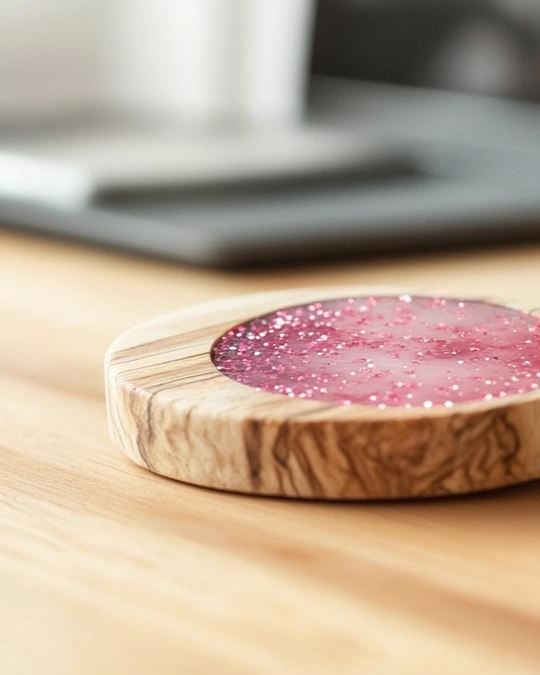
You can embed tiny charms, dried flowers, or glitter in the resin to create unique and personalized pieces. UV resin is also great for creating small decorative items like keychains, resin coasters, or even custom buttons.
Beyond jewelry, UV resin can be used to coat or finish other crafts, like wood or paper, giving them a glossy, protective layer. And like mentioned above, it’s great for filling small cracks in wood before pouring epoxy resin.
You can also use it to create resin art, such as mini paintings or mixed media projects. The quick curing time and ease of use make UV resin a fantastic medium for experimenting and bringing your creative ideas to life.
When working on a really large surface, you might want to switch to epoxy resin. But UV resin is great for miniatures or ACEO cards for your journals.
12. Cleaning and Storing Your UV Resin Supplies
Cleaning your UV resin supplies properly after each use is important. You don’t want sticky resin on anything before you put it away.
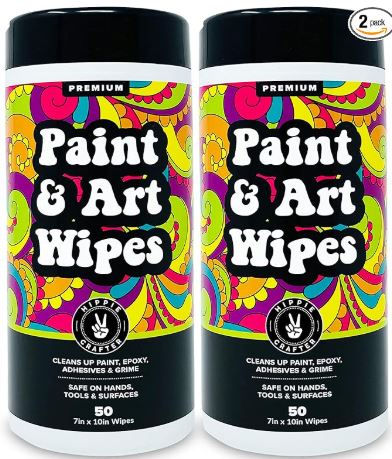
Start by wiping down any tools, like mixing sticks or molds, with a paper towel to remove excess resin with a wipe.
For more stubborn residue, use a resin wipe to clean the surfaces. Make sure they’re fully dry before storing them.
When storing UV resin, keep it in a cool, dark place away from direct sunlight to prevent premature curing.
Make sure the cap is tightly sealed to avoid any leaks or spills. Proper storage not only keeps your resin fresh but also helps that your tools and supplies are ready to use for your next project.
13. Troubleshooting UV Resin Issues
Even with careful planning, issues can sometimes arise when working with UV resin. If your resin isn’t curing properly, it could be due to insufficient UV light or the thickness of the resin.
Try curing it for a longer time or using a stronger UV lamp. If your project is still sticky after extended curing, it may be necessary to scrape off the uncured resin and reapply a new layer.
Another common issue is yellowing over time, which can happen if the resin is exposed to too much UV light or heat. If you encounter bubbles that you can’t remove, consider using a heat gun or lighter to pop them before curing.
14. how to use UV resin for jewelry
If you are ready to go ahead and use this type of resin, I have an easy tutorial for beginners making a jewelry domino pendant. Try it out, it’s a good one for beginners.
15. How long does UV resin Last?
UV resin can last a long time if stored properly. In an unopened bottle, it usually stays good for about a year.
Once opened, it may start to thicken or harden in six months to a year, depending on storage conditions. Keeping it in a cool, dark place helps it last longer.
16. What does resin feel like?
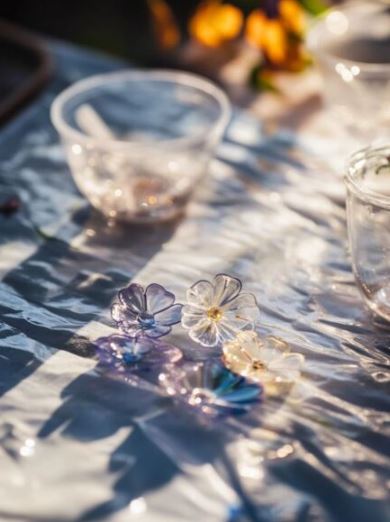
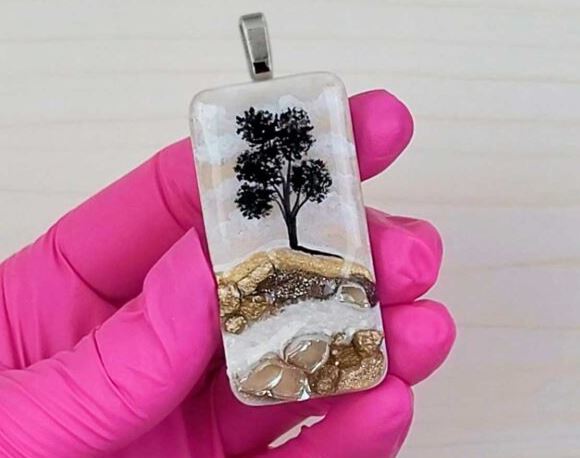
Resin feels smooth and hard when it’s fully cured. If it’s not cured all the way, it can feel sticky or soft. When you first mix resin, it’s usually thick and a bit gooey. Once it dries, it has a glossy and glass-like texture. This is a DIY resin charm that I made and it feels very smooth.
What does resin feel like when it’s dry? It feels more like plastic when it’s fully cured. It’s hard and smooth, but not as brittle or cold as glass. It has a slight flexibility compared to glass, making it less likely to shatter. The surface can be glossy, similar to glass, but the overall feel is closer to plastic.
See this article: How to tell if resin is expired.
Thanks for reading this UV resin guide! I hope you found it helpful and feel more confident in your crafting journey. Happy crafting!
Next, check out this tutorial on covering a painting with resin.