25 Tips For How To Use Epoxy Resin
Here is how to use epoxy resin and UV resin for beginners. Learning how to use epoxy resin can feel exciting when you have clear and simple tips to follow. Epoxy resin is a popular craft material for making jewelry, home decor, and art projects at home. With the right epoxy resin tips for beginners, it’s easier to understand mixing, pouring, and curing. In this post, I’m sharing helpful tips for using epoxy resin so beginners can start creating.

If you’re just getting started, you’re probably picturing all the things you want to make with epoxy resin. Maybe you’ve saved ideas, watched videos, or picked up your first resin kit and can’t wait to try it. Using epoxy resin is such a fun way to slow down and create something with your own hands. This guide is here to help you feel comfortable and ready as you start your first projects.
How To Use Epoxy Resin
1. Choose The Right Epoxies
The success of your resin project begins with getting the appropriate epoxy resin. Take the time to research and choose a resin that works with your specific project requirements. Understanding the unique characteristics of your chosen resin will set the foundation for a successful outcome. So how does resin work? For instance, the best resin for flowers or epoxy resin for general crafting projects might be different from the needs of someone who has a project with deep pours.

And if you are using resin to cover artwork to make it glossy, the right resin will be UV resistant. Some of the easiest resin for beginners is UV resin. For jewelry, you might want epoxy resin, but there are also UV resin for jewelry making that might work better since it cures under a lamp.
- Best resin for jewelry making
- Epoxy to use for deep pours
- Epoxy for flower crafts
- Best epoxy resin for crafts
2. Measure Epoxy resin Accurately
Measuring epoxy resin the right way is one of the first steps beginners should focus on. Silicone measuring cups are great to use because cured resin peels right out, which makes cleanup easy. Always read the label on your epoxy resin, since not all resin uses a 1 to 1 mix and pouring the wrong amounts can cause sticky spots. Measure slowly and double check the lines before you mix so you start with the right amounts.
3. Mix Epoxy resin Thoroughly
Mixing epoxy resin all the way through is just as important as measuring it. Scrape the sides and bottom of your mixing cup as you stir so no unmixed resin is left behind. A helpful tip is to stir slowly for the full time listed on your resin, then pour the mixture into a second cup and stir again. This helps stop soft or sticky spots in your finished piece. I was pouring a small table and after it cured it had soft spots. I’m pretty sure this was because the epoxy was not mixed properly. I know a lot more over the years of using epoxy.
4. Use A Clean Workspace
Setting up a clean workspace makes working with epoxy resin much easier. Cover your table with a silicone mat, parchment paper, or plastic sheeting to catch drips and spills. Keep your tools, molds, and mixing cups organized and wipe up any dust or debris before you start. We all know how resin attracts dust and lint!

5. Temperature Matters
Epoxy resin works best at the temperature listed on the instructions. Pouring resin in a cold room or garage can slow down the curing process and cause the resin to stay sticky for longer. If your space is too cold, use a space heater or wait for a warmer day to get the best cure. Keeping the temperature in the right range helps the resin flow and harden as it should. This is one of the reasons why your resin gets dimples or does not cure properly.

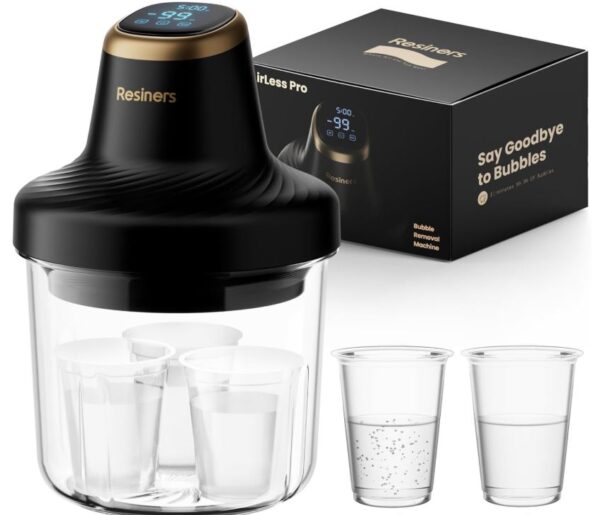
6. Prevent Air Bubbles
Air bubbles can get trapped in resin if you pour too quickly or stir too vigorously. To reduce bubbles, stir slowly and steadily, scraping the sides and bottom of your cup. You can also let the mixed resin sit for a few minutes before pouring to let bubbles rise to the surface. After pouring, using a heat gun for epoxy crafts or torch lightly over the resin helps pop any remaining bubbles for a smooth finish.
You can also use a bubble remover chamber for resin to help remove the bubbles on smaller items. Here is an article dedicated to how to remove bubbles from resin with helpful tips.
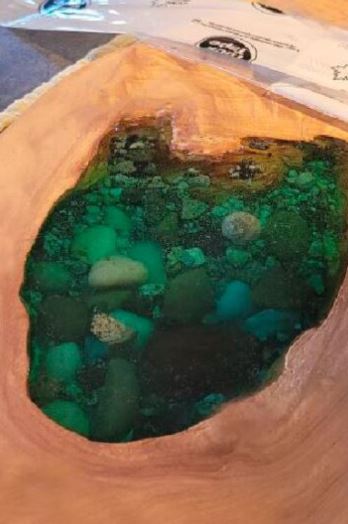
7. Stabilize Wood Before Epoxy Application
When working with porous materials like wood, take the extra step to stabilize the surface before applying resin. This will help it so air bubbles do not escape through the wood during curing. One of the most popular brands is Cactus Juice. It will stabilize resin nd harden soft woods, making them more durable and resistant to moisture.

8. Create A Level Surface
Before pouring epoxy resin, check that your table or countertop is completely level. Even a slight tilt can cause the resin to pool unevenly or flow off the edges. Use a level tool to adjust your workspace, and place small shims or blocks under uneven spots if needed.

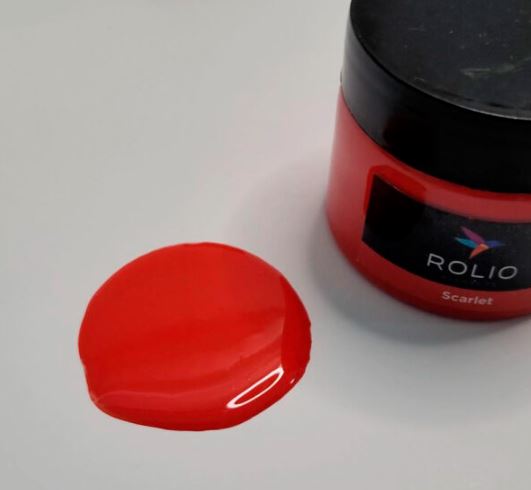
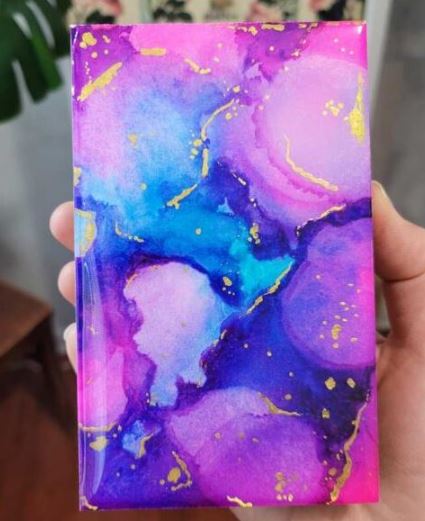
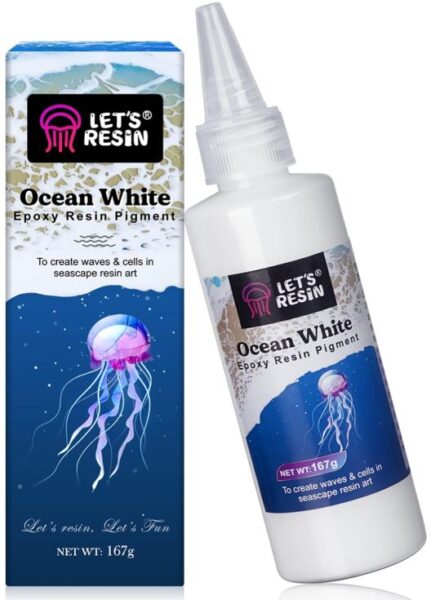
9. Add Pigments And Dyes Slowly
When coloring your epoxy resin, start with a small amount of pigment or dye and mix it in gradually. It’s easier to add more color than to try to fix resin that’s too dark. Stir the pigment in completely before deciding if you want to add more, and test a small pour if you’re trying a new color. Adding color slowly helps you get the shade you want without overdoing it.
- Proper ratios of powdered pigments to resin
- Best colorants for resin
- How to use mica powder in resin
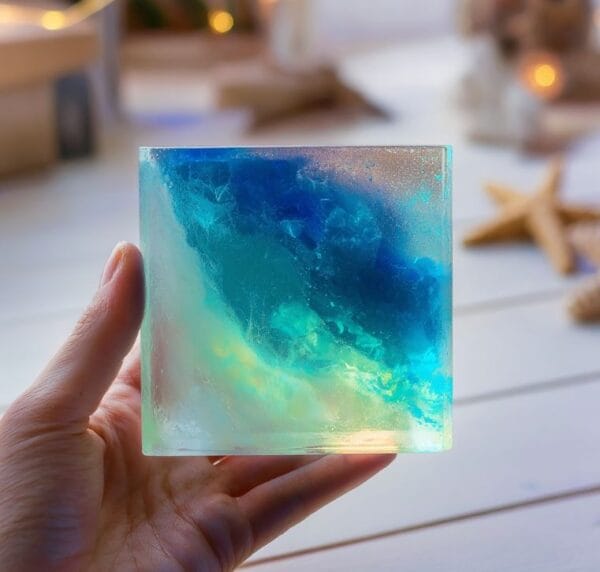
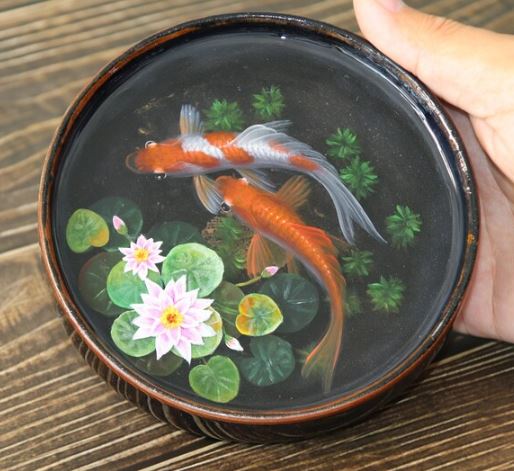
10. Experiment With Resin Layering
Layering resin is a great way to add depth and dimension to your projects. Pour your first layer and let it partially or fully cure before adding the next one. You can add different colors, glitter, or small inclusions in each layer to create unique effects. This artist paints the most beautiful koi in the resin layers.
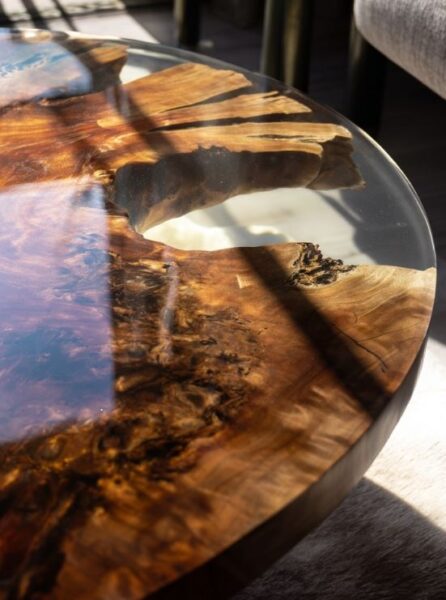
11. Epoxy Pouring Temperature Range
When working on bigger projects, like river tables or large countertop sections, it’s best to use deep pour epoxy resin. Deep pour resin is formulated to handle thicker layers without overheating or curing too fast. Make sure your workspace stays within the temperature range recommended on the resin label. Here’s a guide about why resin is getting hot.

12. Use Silicone Molds And Forms
Molds and forms make it easier to shape your epoxy resin projects. Small silicone molds are great for jewelry, coasters, and other crafts because resin peels out easily once it cures. For larger projects like tables or countertops, use sturdy forms or barriers to hold the resin in place and prevent leaks.

If you are having problems with resin sticking or not releasing from the mold properly, check out these hacks on how to get resin out of molds.
13. Cover Your Work
Covering your resin project while it cures prevents dust, pet hair, and other particles from landing on the surface. Use a box, plastic container, or tall cover that won’t touch the resin. Make sure the cover is stable so it won’t fall or shift during curing. This keeps your surface free from debris while the resin hardens.
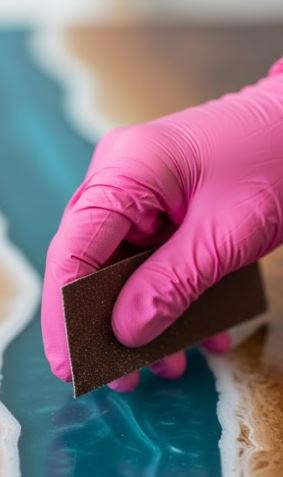
14. Sand Between Layers
Sanding between resin layers helps each new layer stick better and creates a smooth finish. Use fine-grit sandpaper and gently sand the surface once the previous layer has fully cured. Wipe away any dust with a soft cloth before pouring the next layer. This step is especially useful for projects with multiple layers or embedded items, keeping the surface even and ready for the next pour. Here is how to sand epoxy resin.
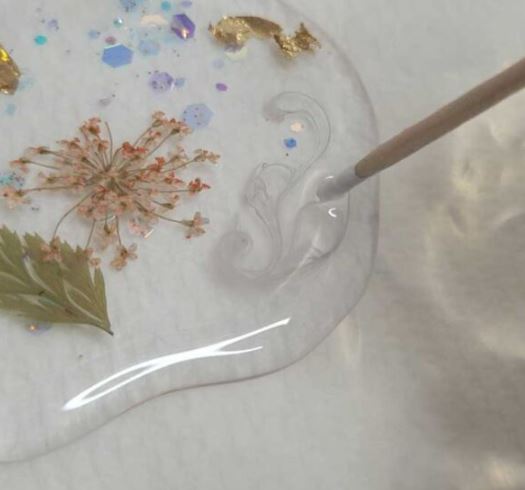
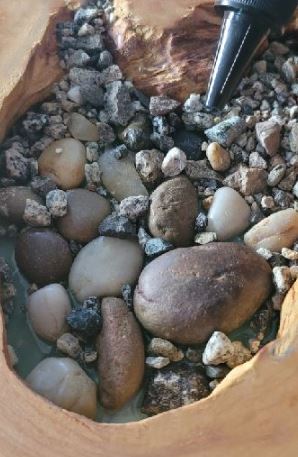
15. Add Inclusions Creatively
Inclusions are objects you can embed in resin to make your projects unique. You can add dried flowers, glitter, beads, charms, or even coins and polymer clay for smaller pieces. For larger projects like resin tables, you can glue down rocks or other heavy items with UV resin first so they don’t move when you pour the epoxy.
16. Plan For Drying Time
Epoxy resin needs time to cure fully, so it’s important to plan your project schedule around drying time. Most resin takes at least 24 hours to harden, and larger or thicker pours can take several days. Make sure your workspace stays undisturbed during this time to avoid dust, bumps, or spills.

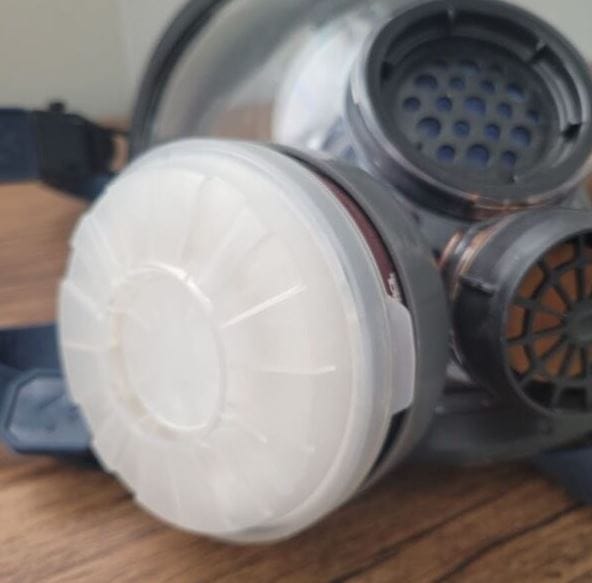
17. Protect Yourself
Working with epoxy resin is fun, but it’s important to know how to stay safe. Always read the safety instructions on your resin and use gloves and a well ventilated area. There are lots of guides on the blog that go over safety tips, like how to handle spills, protect your skin, and avoid fumes. Learning the basics of epoxy safety helps you enjoy crafting without any issues.
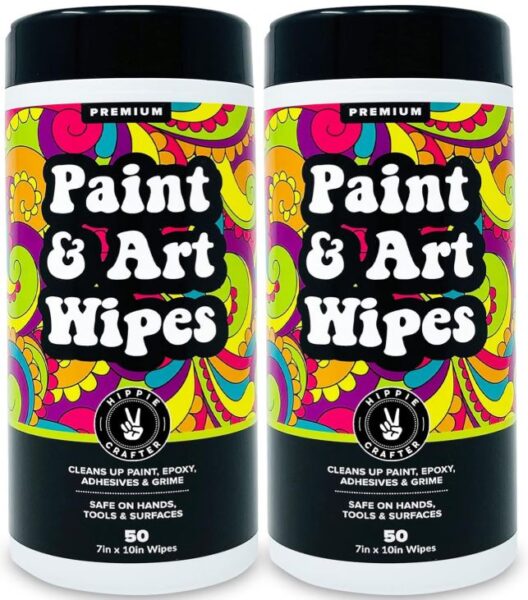
18. Clean Up Spills Immediately
Keep paper towels, disposable resin wipes, or a plastic scraper handy while you work. For uncured resin, use resin wipes or warm soapy water to remove it from surfaces. Acting quickly makes cleanup much easier before it get’s all over everything. The very first time I used epoxy, I literally had it all over the bottles and my glitter containers. I’ve gained quite a bit of experience over the years and it’s just way easier to keep the resin wipes handy to wipe stuff off as I go.
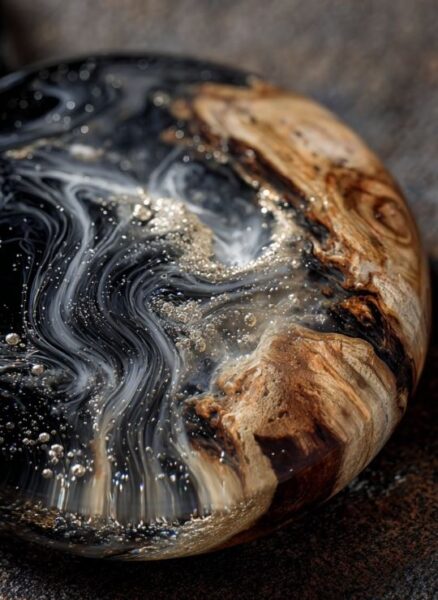
19. Experiment With Textures
Adding texture to your epoxy resin projects can make them more interesting and unique. One popular technique is creating a wave effect by blending white epoxy colorant into black or clear resin. You can use a spatula, heat gun, or even a brush to move the resin and form patterns. Trying different textures lets you see how resin flows and helps you create dynamic, eye-catching designs. You can also use up leftover resin pieces that have cured to embed into different resin projects.
20. Protect Epoxy from Light
Epoxy resin can yellow over time if it’s exposed to direct sunlight or strong UV light. To slow this down, keep finished pieces out of prolonged sunlight or use a UV resistant resin for projects that will be exposed. Storing resin crafts in a shaded or indoor area helps them stay clear and vibrant longer.

Generally speaking, it’s best to keep resin creations out of direct sunlight, but that’s not always possible. Especially when working with a resin countertop or table that might get sunlight during the day. This is one of the reasons why I would never suggest a white epoxy countertop. It will look amazing but eventually can start turning yellow, especially if it get’s lots of light.
21. Practice Patience With Large Pours
Large epoxy resin pours take longer to settle and cure than smaller projects. Pour slowly and give the resin time to level out before adding more layers or decorations. Don’t tough or move the piece while it’s curing, even if it seems like it’s taking a long time. Being patient helps the resin set evenly and reduces the chance of uneven surfaces or bubbles.

For large projects, you will need at least 1 gallon of epoxy resin. Some of the brands that offer epoxy resin 1 gallon kits are Let’s Resin and Beast Bond 1 gallon resin.
22. Check For Imperfections
After your resin has cured, take time to carefully look over your project for any bubbles, dust, or uneven spots. Small imperfections can be fixed by lightly sanding the area and adding a thin layer of resin on top. Using a bright light or tilting the piece helps you spot areas that need to be fixed up.
23. Clean Tools Immediately
Cleaning your resin tools right after use makes them much easier to reuse. Wipe off excess resin with resin wipes, and wash cups, spatulas, and brushes with warm soapy water. Waiting too long can let resin harden on your tools, making them difficult or impossible to clean. Keeping tools clean helps you stay ready for your next resin project.
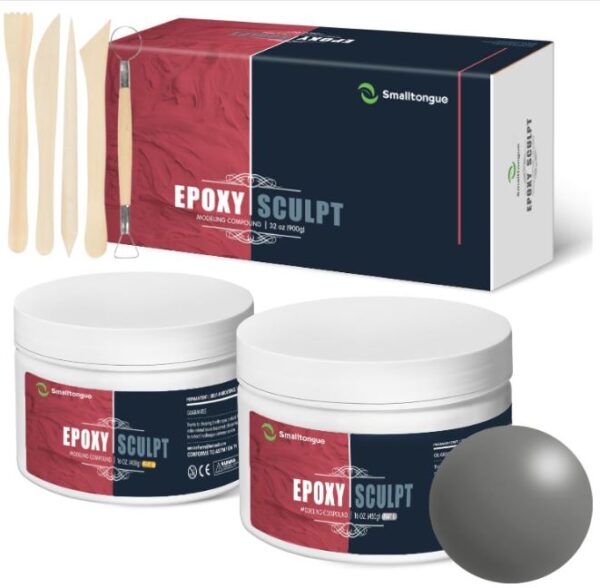
24. Experiment With Epoxy Clay
Epoxy clay is a fun way to add shapes and details to your resin projects. You can mold it into small decorations, textures, or raised designs before pouring resin over or around it. Make sure the clay is fully cured before adding another layer of resin to avoid soft spots. You can also use resin with polymer clay too.
25. Write Down Things That Work
Keeping notes on your resin projects helps you remember what techniques and combinations give the best results. You can jot down the types of resin, colorants, pour methods, and curing times you used for each project. This makes it easier to repeat designs you like or improve on them next time.

These epoxy resin tips for beginners are meant to help you learn how to use epoxy resin step by step. If this guide helps you feel ready to start your first epoxy resin project, please share this article with a friend who wants to try resin crafting. Sharing really helps this blog grow and helps more beginners feel confident using epoxy resin at home.