12 Common Epoxy Resin Problems [And Fixes]
Here are some of the most common epoxy resin problems and how to fix them. Epoxy resin can be tricky. You might see bubbles, sticky spots, or uneven curing. These issues often come from mixing mistakes, the wrong temperature, or moisture in your materials. Knowing the common problems and how to fix them can save your project and make your resin work look professional.

Working with epoxy resins does take some practice. I’ve had my share of resin problems too. From cloudy pours to tacky finishes, I’ve been there. It’s all part of learning, and once you know what’s going on, it gets a lot easier to get the results you want.
Common Epoxy Resin Problems
1. Resin Is Not Curing
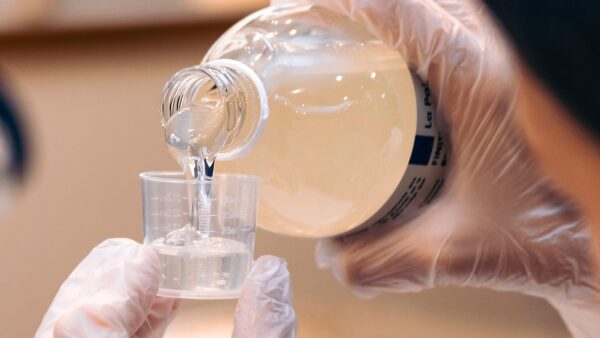
Resin that won’t cure can be frustrating, especially after waiting the full time. This often happens when the resin and hardener weren’t measured in the correct ratio or weren’t mixed well enough. Using the wrong type of resin for your project can also cause issues, as each formula has its own curing needs.
To fix this, always follow the exact mixing ratio listed by the manufacturer, mix thoroughly for the recommended time, and make sure you’re working within the right temperature range. Using fresh resin from a trusted brand also helps it cures properly because it will be formulated properly.
Thoroughly mix the resin and hardener, making sure to scrape the sides and bottom of the mixing container. If the temperature in your garage or craft room are affecting the curing process, then try moving the project to a warmer area.
If you are constantly having troubles with your resin not curing properly, read this article about the top reasons why your resin is not curing properly. I go into the main reasons in more details.
2. Resin Is Yellowing
Yellowing is something that happens to epoxy resin when it’s been in the sun or under UV light for too long. The UV rays cause a change inside the resin, and over time, it starts to take on a yellow tint. This can make the resin lose its clear look, changing how it first appeared. How quickly or badly it yellows depends on the type of resin you used, its quality, and how much UV light it’s been exposed to.

To help stop yellowing, try a UV-resistant resin or UV-stabilized epoxy resin. Store or display any finished projects away from direct sunlight to preserve the resin’s color. Here’s a complete guide: Why resin is yellowing and how to fit it.
3. Epoxy Resin Is Getting Hot
When epoxy resin starts getting too hot, it’s usually because the chemical reaction is moving too fast. This can happen if you mix too much resin and hardener at once, work in a space that’s too warm, or pour it in thick layers. As the resin cures, it gives off heat, and if there’s too much of it in one spot, that heat can build up fast.
This can lead to warping, cracks, or even smoke. Keeping your workspace cooler, mixing smaller batches, and pouring in thin layers can help control the temperature.
Resin getting too hot can cause all kinds of problems and we go over the top 10 reasons why resin is getting hot to help you troubleshoot this problem and fix it.
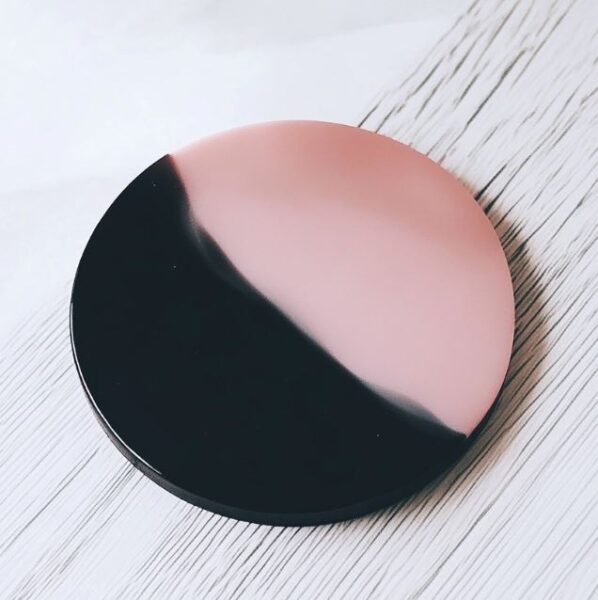
4. Cured Epoxy Resin has Imperfections
When cured epoxy resin has imperfections, it usually means something went wrong during the mixing, pouring, or curing stages. You might see bubbles, dust, dents, or uneven spots. This can happen if the resin wasn’t mixed well, if the surface wasn’t clean, or if the curing area had too much dust or temperature changes.
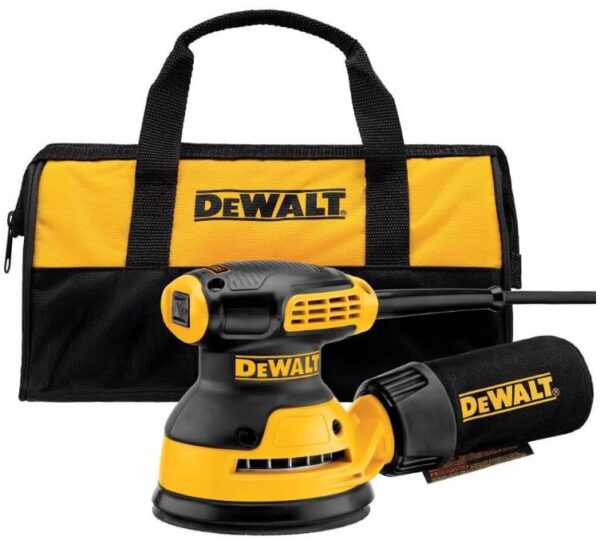
Sometimes, working too fast or touching the resin before it’s fully cured can also leave marks. I was working on a resin table and after it had cured, I had some divots in the top that had to be sanded down with an orbital sander.

The good news is that many of these imperfections can be fixed up with some gentle sanding. To fix it, you can sand the surface smooth and add a fresh, thin coat of resin to bring back that glossy finish. Start with a lower grit sandpaper and then progressively move to higher grits for a finer finish.
To learn how to fix imperfections in resin, here is how to sand epoxy resin.
5. Resin Is Causing Paper Colors To Bleed
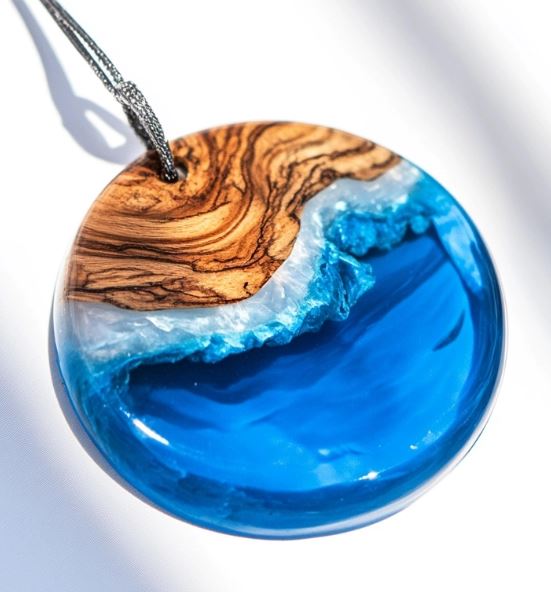
Using epoxy resin to make jewelry is something I have done many times over the years. When resin makes paper colors bleed, it’s usually because the paper wasn’t sealed before pouring. Crafting papers, like scrapbook sheets or printed images, can soak up resin and cause the inks or dyes to spread. This leaves blurry edges and faded spots instead of crisp, clean designs.
To stop this, always seal your paper first with a clear-drying sealer like Mod Podge or spray acrylic. Let it dry fully before adding resin so your colors stay sharp and vibrant. Another brand I like to use is Annie Howes glamour seal from Etsy. They have a pendant sealer that has really worked great for my jewelry over the years.
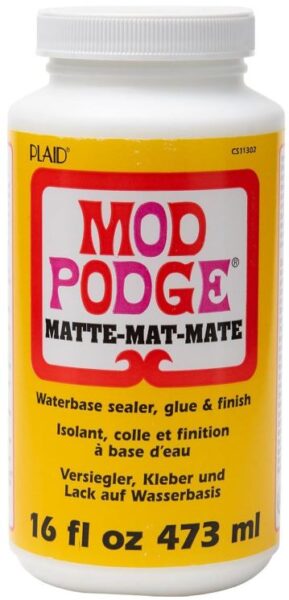
For future projects, seal the paper before applying resin. Use a clear sealant or mod podge on both sides of the paper and allow it to dry thoroughly before using it into your resin project.
This creates a protective barrier, preventing the resin from penetrating the paper and causing bleeding. This article about how to properly seal paper for resin goes through everything you need to know.
6. Epoxy Resin Is Cloudy
This is one of the most common epoxy problems that can happen. Cloudy epoxy resin usually happens when the resin wasn’t mixed, poured, or cured under the right conditions. It can be caused by under-mixing, moisture in the resin or on the surface, or pouring in layers that are too thick.
Temperature plays a role too, if the resin is too cold while pouring, it can look hazy. To fix it, make sure to mix thoroughly, keep your workspace warm and dry, and pour in thinner layers if needed.

There are many reasons on why your resin is cloudy or turned opaque and I discuss it all in this article why resin is cloudy and how to fix it.
7. Resin Has Seized
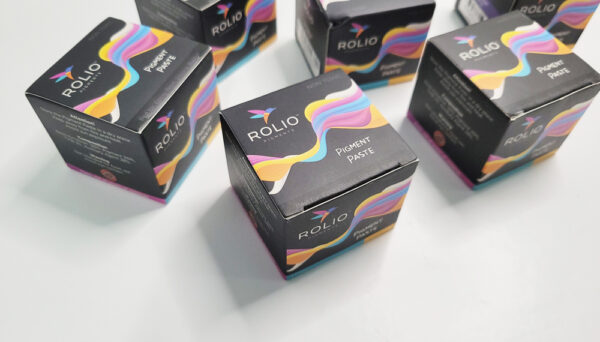
Resin can seize and get thick or sticky if too much colorant is added, but it can also happen if the resin or hardener has been sitting too long, or if the temperature is too cold. Once resin seizes up, you can’t use it anymore, so it’s important to keep an eye on your mix and work in the right conditions. Work with colorants that are actually made for resin, like Unity Resin’s pigment pastes.
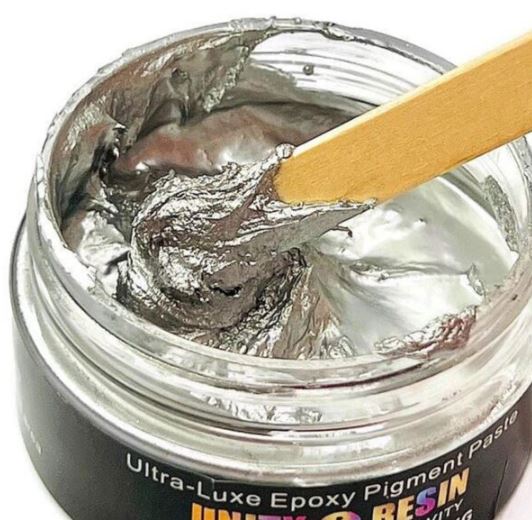
Add colorants gradually, follow the manufacturer’s mixing instructions, and make sure your workspace is at the right temperature. Keeping your resin fresh and properly stored can save a lot of frustration. In some cases, you might need to check to see if the resin has expired.
If seizing happens all of the time with the resin you are using, consult the manufacturer’s instructions or contact their customer support for tailored advice. Or just switch brands to a higher end epoxy.
Here’s an article about adding the proper amounts of colorants to resin.
8. Resin Flowers Have Turned Moldy
Discovering mold on resin flowers can be disheartening, and it typically occurs when moisture is trapped during the curing process. Never use fresh flowers in resin. Resin flowers can sometimes turn moldy if moisture gets trapped during the curing process or if the flowers weren’t completely dry before embedding.

To prevent this, make sure any natural materials are fully dried and avoid adding water based products near your resin. Working in a low humidity environment also helps keep your pieces clear and mold free. If mold does appear, unfortunately the piece can’t be saved, so prevention is key.
This article goes over all of the proper ways to dry flowers for resin. And if you don’t want to dry them yourself, here are the best dried flower kits for resin that already have dried flowers.
So it’s super important to make sure your flowers are completely dried. Especially if you are doing a business on preserving wedding flowers.
9. Epoxy Resin Is Full Of Bubbles
Epoxy resin can get full of bubbles if it’s mixed too quickly or poured too fast. To avoid this, stir slowly and let the resin sit for a few minutes so air bubbles can rise to the surface. You can also use a craft heat gun or torch lightly over the resin to pop any remaining bubbles. For larger projects, pouring in thinner layers helps reduce trapped air and keeps the finish smooth.

If bubbles persist, you might just have to keep checking on your piece, popping the bubbles as they rise to the surface.
Alternatively, tapping the sides of the container or gently stirring with a toothpick can help release trapped air. This guide on how to remove bubbles in resin has expert tips.

10. Resin Has Dimples
Dimples in resin usually happen when bubbles or tiny particles get trapped on the surface as it starts to cure. To fix this, gently pass a heat gun or torch over the resin right after pouring to smooth out the surface. Make sure your workspace is clean and dust free, and don’t stir too vigorously. Pouring in thinner layers can also help prevent dimples from forming in larger projects. Read about how to fix resin dimples.
11. Resin Adhesion Problems
Resin doesn’t stick to every surface, and adhesion problems can be frustrating if your piece peels or separates. Some materials, like certain plastics, silicone, and oily or waxy surfaces, won’t bond well with epoxy. For a full list of surfaces that resin won’t stick to and tips for prepping surfaces, Check the list of the top surfaces resin will not stick to. Making sure your surface is clean, dry, and properly prepped will save you a lot of trouble.
12. Can’t Get Resin Out Of Molds
Sometimes resin just doesn’t want to come out of a mold, and it can be tricky to get it out without damaging your piece. Flexible silicone molds usually make this easier, but rigid molds can be stubborn. You can try gently twisting or flexing the mold to help the resin release. I have a list of the best silicone molds for epoxy to help you out with some mold ideas.
Read this article about how to release resin from molds without wreaking them.
Thank you for taking the time to learn about these common resin problems and fixes. Working with resin can sometimes feel tricky, but most problems have a simple fix once you know what’s causing them. From bubbles to uneven cures, each issue is just part of the learning process.
The more you work with resin, the more you’ll start to spot and prevent these problems before they happen. Keep your tools clean, measure carefully, and work in the right conditions, and you’ll notice a big difference in your results.
Don’t get discouraged if a project doesn’t turn out the way you hoped because every pour teaches you something new. With patience, practice, and the right techniques, you’ll be creating resin pieces you’re proud of in no time.
Next, learn how to paint on resin with these top tips.