Resin for beginners | how to get started
Here is what to know about resin for beginners and how to get started if you are brand new to epoxy or UV resin crafts. Resin is fun, creative, and full of possibilities once you learn the basics. This guide walks you through resin types, the supplies you’ll reach for most, and simple steps to help you pour your first pieces. You’ll see how resin works, how it cures, and what to try first. It’s all about helping you feel ready to start your first project.
When I first stepped into resin crafting, I felt excited to try all the colors, molds, and ideas I had. I remember opening my first bottle and feeling so excited to make something. The more I played with it, the more I loved seeing each project come to life. I know you’ll enjoy that same feeling as you learn and explore resin at your own pace.
Resin for beginners Guide
1. what is resin?
Resin is a liquid craft material that hardens into a solid, glossy finish when mixed or cured with light. Most beginners start with epoxy resin or UV resin, both of which can be poured into molds, layered with colors, or used as a clear topcoat. It starts as a smooth liquid, and once it cures, it becomes strong, shiny, and very hard.

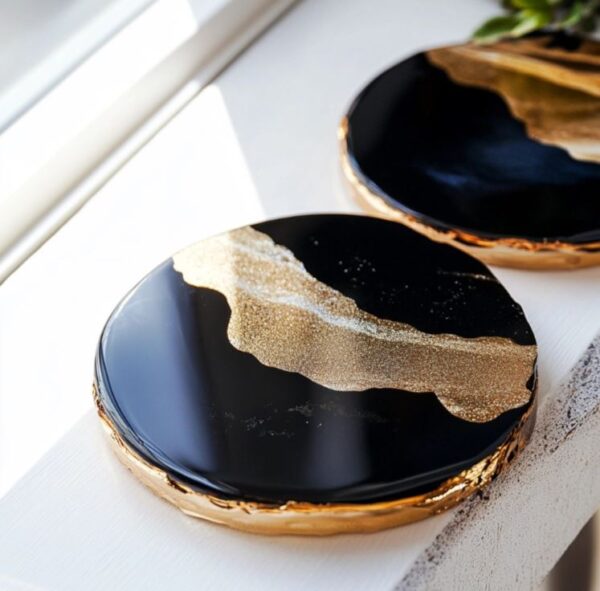
Resin is popular for coasters, keychains, trays, art pieces, and many other creative projects because it gives a glass like look that’s easy to personalize. It’s a liquid that when mixed with a hardener, cures into a solid, durable form. It also comes in a pre-mixed resin form, like UV resin.
2. Popular Types of Crafting Resin
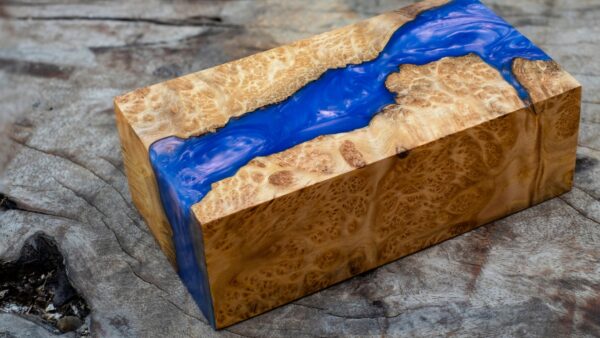
Epoxy Resin: This is one of the most common types to use for crafts. You mix epoxy resin by combining the resin and hardener, which activates the curing process and turns the liquid into a clear, strong finish. It’s popular for so many things, like epoxy cups, river tables, coasters, trays, and wall art. Once cured, it has a glass like look.
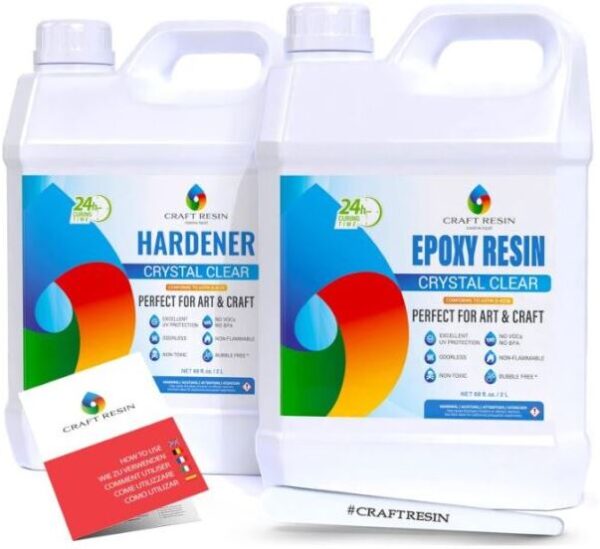
Epoxy resin can also be shaped or sculpted while it’s still in its liquid or semi-cured state. This means you have a window of time where the resin is soft enough to mold but not yet fully hardened. During this stage, you can manipulate it to create custom shapes or textures. Once it starts to set and becomes tacky but not completely hard, you can use tools like spatulas or sculpting tools to refine your design. Here’s my list of the top selling epoxy resins for this year.
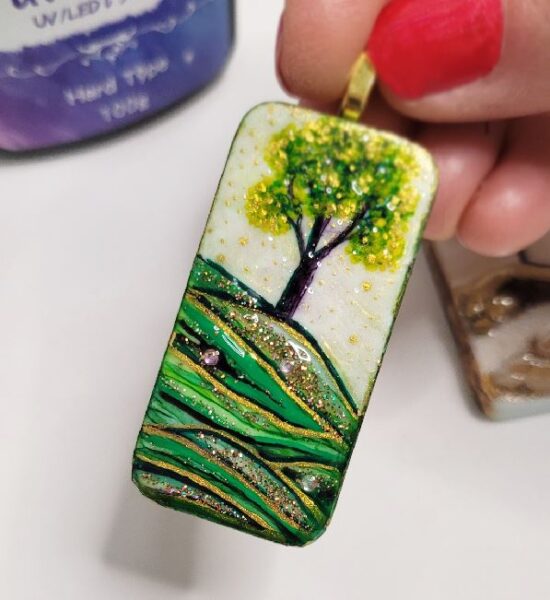
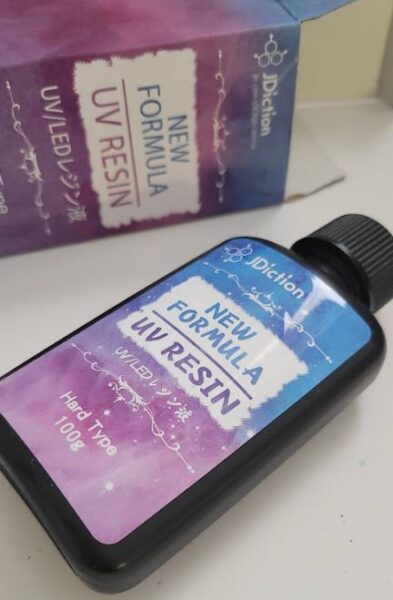
UV Resin: This is one of the best resin for beginners to use. I use this type all the time for all kinds of things. One thing I absolutely love about this is that it stays liquid until you cure it under It’s perfect for small projects and repairs, as it sets in minutes. One project I used this for was to glue down shells on a river table I was making. It made everything stay put for when I poured the epoxy layer.

UV resin requires a UV lamp or direct sunlight to cure properly. This is the type of resin to use when making small pieces like resin earrings or tiny inclusions. I have a helpful article how to use UV resin for beginners to get started with UV resin. And here are some resin kits for beginners for those who need everything.
3. Tools and supplies
Getting started with resin is a lot easier when you have the right tools and supplies on your table. There are a few things you’ll reach for every time, like mixing cups, stir sticks, gloves, and good molds. You’ll also want pigments, a torch or heat gun, and a flat workspace so your pieces cure smooth. These simple supplies help you pour, mix, and design your projects with ease.
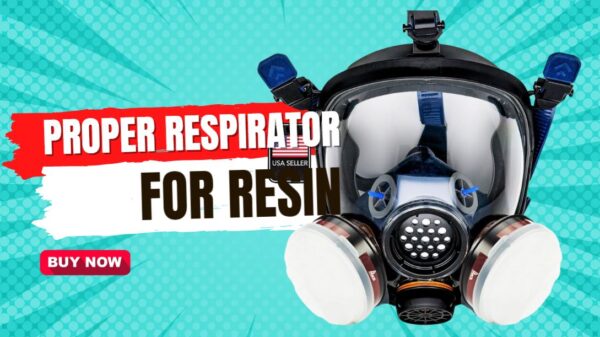
4. Safety Gear For Epoxy
Safety is very important when working with resin. Always wear gloves to protect your skin from direct contact, and a mask to avoid inhaling any fumes and glitter. Work in a well ventilated area. Because resin safety is so important, there is a full section all about resin safety on this blog. Read up on all of the things you need when using epoxy resin and UV resin.

Resin can release fumes that are not safe to breathe in. Always work in a well-ventilated area, such as near an open window or with a fan that directs fumes away from you. This helps reduce your exposure to potentially harmful chemicals and keeps the air fresh while you work. Whenever I get the chance, I work with resin outside. I have a tent that is set up on my patio and work from there sometimes in the summer.
5. how to get started with resin
Preparing Your Workspace
Before you begin, set up a clean and organized workspace. Cover your work surface with a disposable plastic sheet or parchment paper to protect it from spills. Make sure you have all your tools and supplies within reach. Keep any food or drinks away from the area to avoid contamination. See this guide on resin tips for even more helpful information.
Measuring Resin and Hardener
One of the most important thing that resin for beginners to learn is the measuring part. Follow the manufacturer’s instructions for the correct ratio of resin to hardener because they are not all the same. Use clear, marked measuring cups to pour the resin and hardener. Incorrect ratios can give you all kinds of problems especially not curing right. See all of the common problems why your resin is not curing.
Mixing The Epoxy
Pour the measured resin and hardener into a mixing cup. Use a sturdy mixing stick to stir the mixture slowly and thoroughly for the time specified by the manufacturer, usually around 3-5 minutes. Scrape the sides and bottom of the cup as you mix to make sure everything is well combined. Mixing too quickly can introduce bubbles, so take your time.

Pouring the Resin
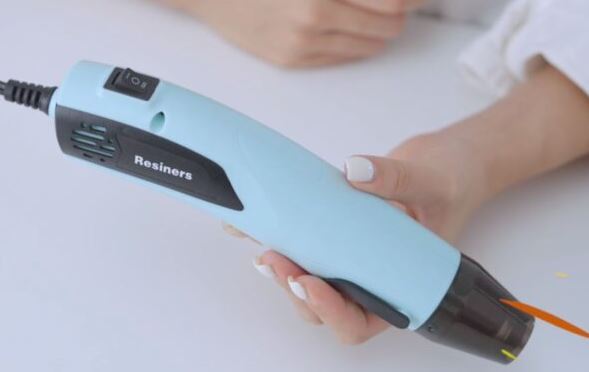
Once your resin is mixed, it’s time to pour it into your molds or onto your project surface. Pour slowly to avoid creating bubbles in the resin. Use a heat gun or torch lightly over the surface to pop any bubbles that do appear. Be patient and allow the resin to spread evenly. If you’re using molds, tap them gently to release trapped air.

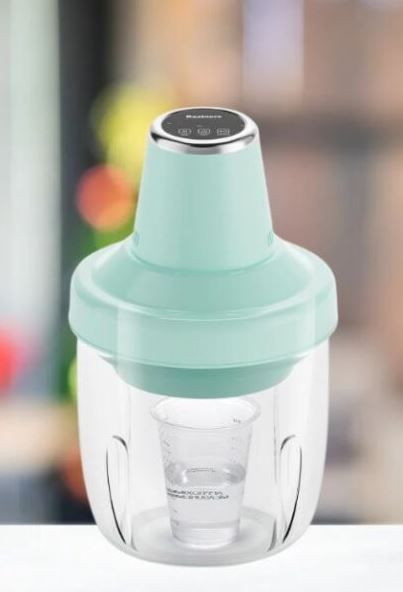
Some crafters also use a bubble remover machine. These are expensive and if you are just learning, I would wait until you know for sure you want to keep working with resin before ordering one.
6. Cleaning Up Resin Spills
Dealing with resin spills is something that happens to all of us, and it’s much easier to clean up when you catch it early. If the resin is still wet, you can wipe it up with resin wipes. For drips on silicone mats, it peels right off once it cures. If it gets on your table, tools, or skin, alcohol wipes help loosen it before it hardens. The key is to move slowly, stay calm, and clean as you go so the mess never gets out of hand.

7. Common mistakes to avoid
When you’re starting with resin, a few small things can make a big difference in how your projects turn out. One common mistake is not measuring the epoxy correctly. Also, not mixing the resin and hardener fully, can leave sticky spots. Pouring too quickly or overfilling molds can cause spills or bubbles, and working in a dusty space can leave particles trapped in your resin. Skipping gloves or not protecting your work surface can also make cleanup harder.
8. Easy projects for beginners
If you’re just starting with resin, it’s fun to try projects that are simple but still look amazing. Beginner projects help you practice pouring, mixing, and adding colors or small decorations without feeling overwhelming. You can make something small, see quick results, and build your skills along the way. Here’s a list of easy resin projects that are perfect for beginners to try and enjoy.
- How to resin a painting
- DIY charm with UV resin
- Easy resin domino pendant
- List of things to make with resin

9. Removing Bubbles
Bubbles are a common issue in resin projects but can be easily managed. To remove bubbles, mix the resin slowly and carefully to minimize air pockets. Once poured into your molds, use a heat gun or a small torch held a few inches above the surface to pop the bubbles. See this article about my recommendations for the best heat guns for resin.
Move the heat source around to evenly address all areas. For best results, do this within the first 15 minutes after pouring the resin, before it starts to set. If bubbles persist, gently tap the mold to help them rise to the surface.
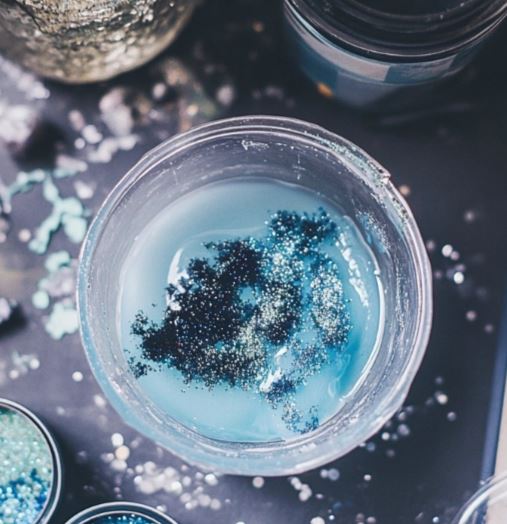
10. Adding Color to the resin
Adding color to resin can create stunning effects and customize your projects. You can use resin dyes, pigments, alcohol inks and mica for resin. For a uniform color, add a few drops of dye or pigment to the mixed resin and stir thoroughly until evenly distributed.
For effects like swirls or gradients, add color in layers and use a stir stick or a toothpick to blend. Start with small amounts of color and add more if needed, as it’s easier to deepen a color than to lighten it. Check out the best gold ideas to use in resin. And see how creamy pigment paste looks in resin in this Rolio pigment paste review.

11. Curing & demolding resin
Curing time for resin depends on the type you’re using. Epoxy resin usually needs at least 24 to 48 hours to fully harden, so it’s important to leave your pieces undisturbed during that time. UV resin is much faster and cures in just a few minutes under a UV light, which makes it great for small projects or layering designs quickly.
Removing resin from molds requires a bit of patience and care so I have a whole article on how to get resin out of mold without wreaking them. Once the resin has fully cured, gently flex or bend the silicone mold to loosen the edges of your piece. For molds that are not silicone, you may need to tap or lightly squeeze the mold to release the resin. Never put a resin mold in your freezer where your food is.

12. Troubleshooting Resin
Sticky Resin
If your resin ends up sticky or has uneven spots, there are a few easy ways to fix it. Sticky resin usually means it didn’t cure fully, so giving it extra time or applying a thin fresh layer of properly mixed resin can help. Uneven surfaces can happen if bubbles form or the resin shifts while curing. Using a small heat gun or torch can smooth out bubbles and level the surface. For minor imperfections, lightly sanding and adding a final thin coat of resin can give your piece a glossy, finished look. If nothing can be done, here are some helpful articles.
13. Storing Leftover Resin
Proper storage of leftover resin helps prevent waste and makes it remain usable for future projects. Store resin and hardener in their original, tightly sealed containers in a cool, dry place away from direct sunlight and heat sources. I like to keep the box that UV resin comes in. When I’m finished I just stick it back in there.
Make sure the containers are well-sealed to prevent moisture from contaminating the resin, which can affect its curing properties. For UV resin, clean the bottle and make sure you have the lid on nice and tight. If the tip of the bottle get’s exposed to the light, it’s going to clog up the tip.
Thanks for reading this guide on resin for beginners! I know it’s a lot to take in! Hopefully, you found these tips and steps helpful and that you’re excited to start your own resin projects. Remember, practice makes perfect, so don’t be afraid to experiment and have fun with your creations.
If you enjoyed this article, please share it with your friends and fellow crafters. Happy crafting, and be sure to check back for more resin tips and tutorials!