10 Top Resins For Wood Tables
If you’ve ever dabbled in the mesmerizing world of resin art, you know the importance of finding the right resin for your projects. This is your guide to the top resins for wood tables and how to choose.
Whether you’re dreaming up a sleek tabletop or diving into the enchanting realm of river tables, the key is in the resin and what type to use. Are you wondering about the best epoxy for tables? This guide is going to help you out with that.
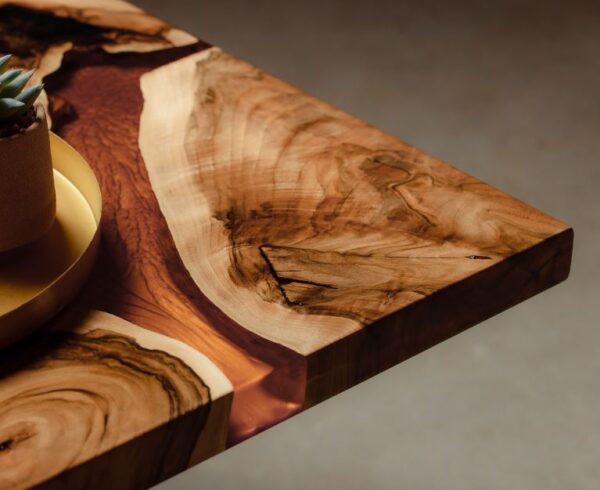
In this blog post, we’re exploring the best resins that’ll turn your creative visions into stunning, durable realities.
So, grab your tools, put on that DIY spirit, and let’s talk about the go-to resins for crafting tables that’ll steal the spotlight in your space!
Top Epoxy Resins For Wood Tables
For crafting tables that truly stand out, the best resin often depends on the specific needs of your project. You see, there are many applications for using resin on tables and we will discuss them below in more detail.
If you’re venturing into the world of river tables, deep-pour epoxy resins such as EcoPoxy or Superclear Liquid Glass offer the thickness needed to create stunning, flowing designs.
Epoxy resins, like ArtResin and Promise Epoxy, are popular choices for their clarity, durability, and self-leveling properties. These types are ideal for achieving a smooth, glass-like finish on top of the table.
Always consider factors like UV resistance, ease of use, and cure time to ensure the resin aligns seamlessly with your crafting style and project requirements. Choosing the proper resin will help prevent the resin from going cloudy and other common problems like dimples in resin.
1. EcoPoxy
EcoPoxy resin is ideal for wood projects because it’s eco-friendly, made from bio-based ingredients, and provides a durable, clear finish that enhances the wood’s natural beauty.
Its low odor and non-toxic formula make it safer to work with, especially for indoor projects.
2. Promise Epoxy
Promise Epoxy is a great choice for wood because it’s crystal clear, self-leveling, and provides a smooth, high-gloss finish that brings out the grain.
It’s also UV-resistant and durable, ensuring wood projects stay protected and look vibrant over time.
3. Superclear Liquid Glass
Superclear Liquid Glass is perfect for wood projects, offering an ultra-clear, high-gloss finish that enhances natural wood details beautifully.
Its deep-pour capability makes it ideal for thick applications, preserving the wood while adding a durable, glass-like coat.
4. Superclear Table Top Epoxy
Superclear Table Top Epoxy is ideal for wood surfaces, providing a high-gloss, clear finish that protects and enhances the wood’s appearance.
It’s scratch-resistant and self-leveling, making it perfect for a durable, smooth tabletop finish that lasts.
5. ArtResin
ArtResin is great for wood because it’s easy to use and safe. It creates a clear, glossy layer that keeps the wood looking fresh.
I love this brand because it’s easy to work with for many things. I’ve used it for wood and then also jewelry.
6. Let’s Resin Casting Resin
Let’s Resin Casting Resin is excellent for wood because it cures to a clear, durable finish that highlights the wood’s natural features.
Its low viscosity allows for easy mixing and pouring, making it great for detailed projects like wooden rings.
7. Beast Bond Casting Resin
This resin for wood has excellent bubble release and self-leveling properties, making it easy to use for a variety of projects from river tables to burl wood pieces.
8. Craft Resin
Craft Resin is perfect for wood because it creates a clear, glossy finish that enhances the wood’s natural beauty. It’s easy to mix and pour, making it ideal for both beginners and experienced crafters.
9. Magic Resin
Magic Resin is a great choice for wood projects because it provides a clear, high-gloss finish that showcases the wood’s details.
10. Total Boat Deep Pour Epoxy
Total Boat Deep Pour Epoxy is perfect for creating river tables, where it fills gaps between slabs of wood with a stunning, glass-like finish.
It can also be used for casting wooden ornaments or coasters, allowing for deep pours that capture intricate designs and details.
Choosing The Right Resin Type For Your Table
The top resins for wood tables is going to be a well formulated resin that is easy to use.
First and foremost, consider the type of resin. Epoxy resins are popular for their clarity, durability, and self-leveling properties. It’s the type that you see being used on epoxy resin countertops.
If you’re working on river tables or large surfaces, choose a deep-pour epoxy that can handle thicker applications. Learn all about the different types of resin and their applications.
UV resistance is also something to know to prevent yellowing and give you a long-lasting finish, especially if your table will be exposed to sunlight.
Double check the cure time and working time of the resin. Some resins cure very quickly so you’ll have to work fast.
Additionally, check for any special considerations such as odor, ventilation requirements, and whether the resin is food-safe if you plan to use the table for dining.
Lastly, read reviews from fellow crafters to get real-world insights into the performance and results of the resin you’re considering.
Ways To Use Epoxy Resin For Tables
1. Tabletop Coating:
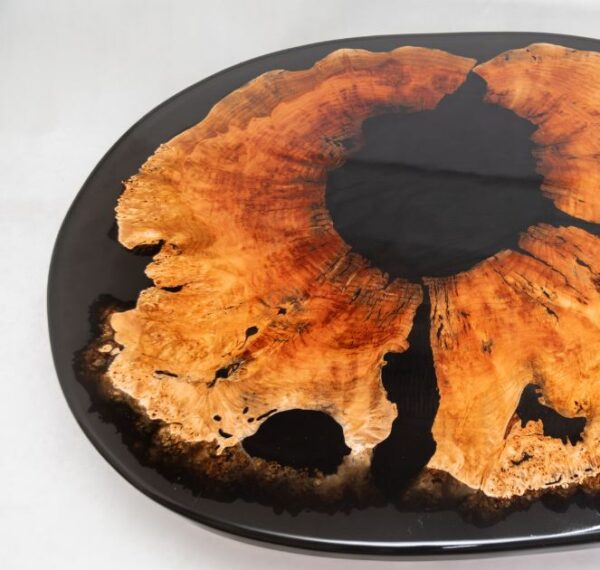
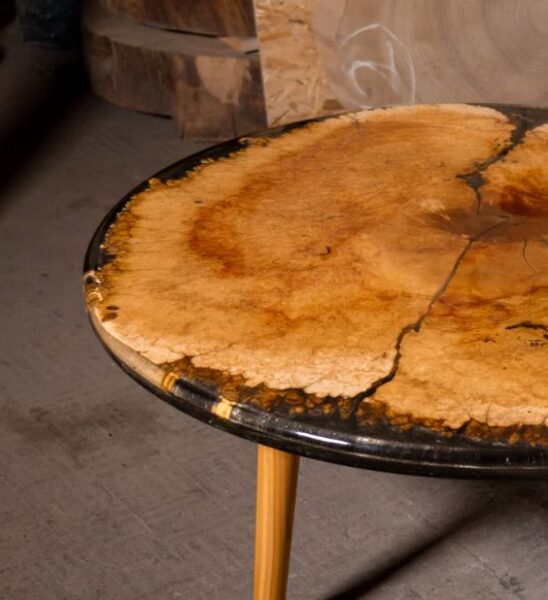
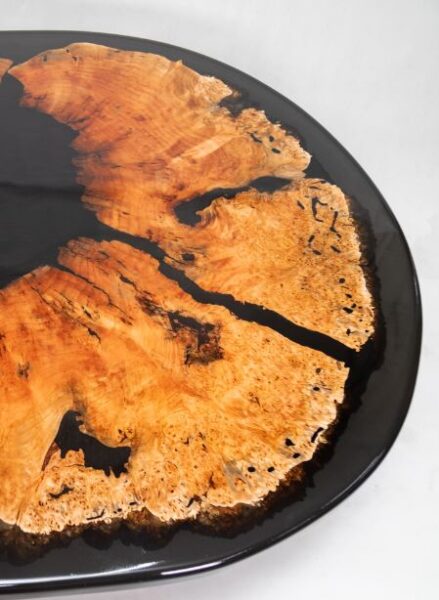
The most common use of resin for tables is as a protective and decorative coating for tabletops. Epoxy resin creates a glossy, durable surface that enhances the natural beauty of wood or other materials, providing a sleek and modern finish.
2. River Tables:
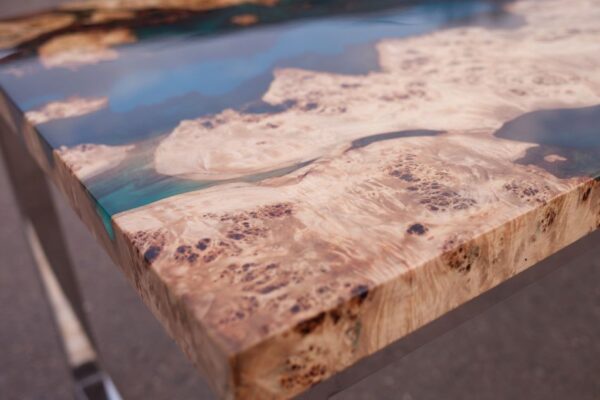
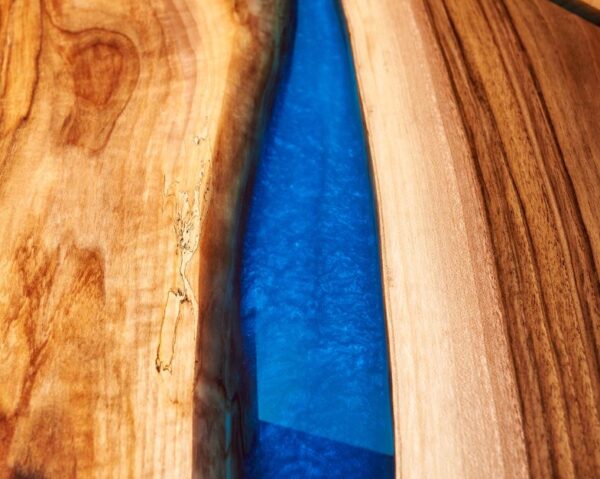
Create river tables by pouring tinted or clear epoxy resin into a recessed area between two pieces of wood. This technique produces a mesmerizing river-like effect, with the resin serving as a transparent, flowing centerpiece.
3. Inlay Designs:
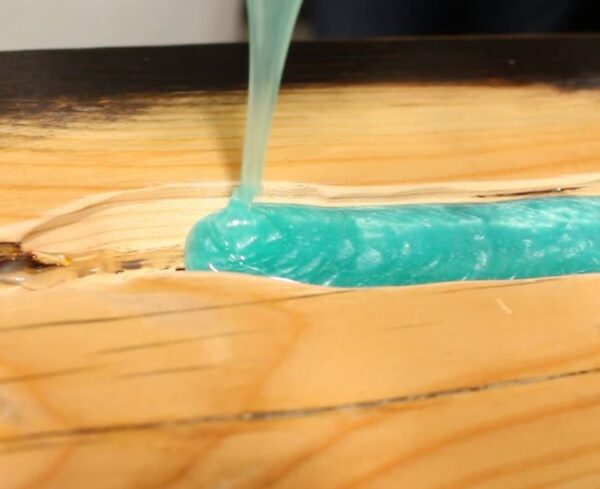
Use resin to incorporate intricate inlay designs into your table. Whether it’s embedding small objects, like stones or shells, or creating geometric patterns with colored resin, this adds a personalized and artistic touch to your furniture.
4. Customizing Surfaces:
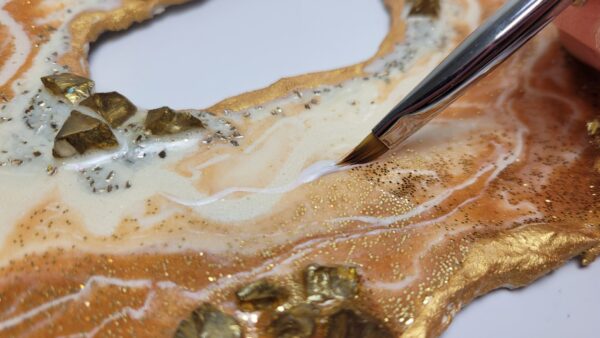
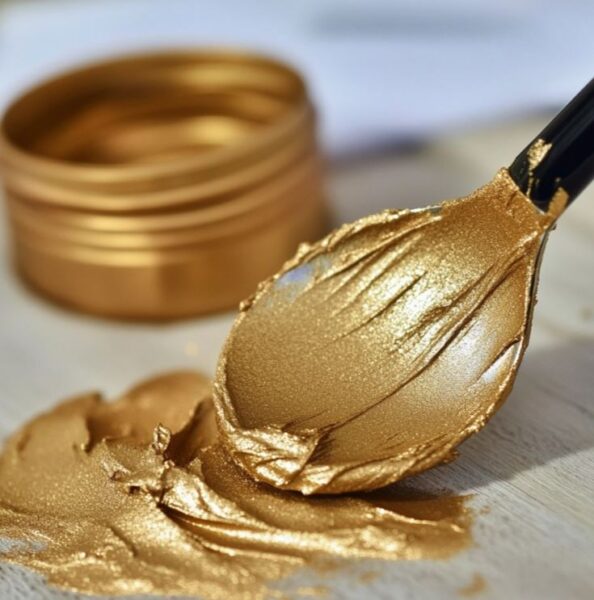
Resin allows for endless creativity in customizing table surfaces. Incorporate pigments, dyes, or even metallic powders into the resin to achieve unique color effects. You can also experiment with different textures, like adding a 3D effect or creating a glossy marble appearance. It’s also a very popular finish for a custom resin bar top.
5. Embedded Objects:
Explore the world of mixed media by embedding various objects, such as coins, flower tables, or photographs, into the resin. This not only adds a personal touch but also turns your table into a conversation piece with a story to tell.

Resin For Wooden Tables FAQ’s
To minimize bubbles, mix the resin thoroughly but avoid excessive stirring, as it can introduce air. Consider using a heat gun or torch to carefully remove surface bubbles. Pouring in thin layers also helps reduce bubble formation.
Read our pro guide on how to get rid of resin bubbles.
Cure times vary among resins. Generally, epoxy resins take about 24 to 72 hours to cure fully. Follow the manufacturer’s recommendations for the specific product you’re using and be patient, allowing ample time for each layer to cure.
Yes, you can use various types of wood. However, it’s essential to choose a stable and dry wood to prevent warping.
Softwoods like pine may require additional wood stabilization prep to avoid resin penetration. Hardwoods like oak and walnut are popular choices due to their stability and aesthetic appeal.
Ensure your table is level before pouring resin. Use a leveling tool during the curing process to maintain an even surface. If unevenness occurs, you can sand the cured resin and apply an additional coat to achieve a smooth and level finish.
You have a variety of options when it comes to coloring resin for tables. Liquid pigments, powder colorants designed for resin, alcohol inks, thermochromic mica powders, and even acrylic paints can be used to achieve different effects and hues.
It’s essential to be mindful of the quantity to maintain proper resin curing. Additionally, experimenting with natural pigments like powdered spices can add unique, earthy tones.
Always conduct a small test batch to ensure compatibility. If you’re looking for more detailed guidance on choosing and using colorants, check out our guide on colorants for resin tables.
Troubleshooting Resin Tables & Solutions
1. Bubbles in Resin:
- Issue: Bubbles can form during mixing or pouring.
- Solution: Mix resin slowly, use a heat gun or torch to remove surface bubbles, and pour in thin layers to minimize bubble formation.
2. Uneven Surface:
- Issue: The resin surface is not level or smooth.
- Solution: Ensure the table is level before pouring resin. Use a leveling tool during curing, and sand uneven areas for a smoother finish. Apply an additional coat if needed.
3. Yellowing of Resin:
- Issue: Over time, some resins may yellow, especially when exposed to UV light.
- Solution: Choose a UV-resistant resin or finish the table with a UV-protective topcoat. Avoid prolonged exposure to direct sunlight.
4. Incomplete Filling in Resin River Tables:
- Issue: Difficulty achieving a clear and defined river effect.
- Solution: Pour resin in stages, allowing each layer to partially cure before adding the next. Use a dam or barrier to contain the resin and shape the river.
5. Resin Not Curing Properly:
- Issue: The resin remains sticky or doesn’t cure fully.
- Solution: Ensure accurate measuring and mixing ratios. Check for temperature and humidity requirements, and allow sufficient curing time. Consider using a heat source if working in a cooler environment. Guide: Why Resin Is Not Curing
6. Cracks or Warping:
- Issue: The wood or resin surface develops cracks or warps.
- Solution: Use dry and stable wood. Seal the wood before applying resin to prevent moisture-related issues. Apply resin in multiple thin layers instead of a single thick layer to minimize stress on the wood.
7. Inadequate Color Mixing:
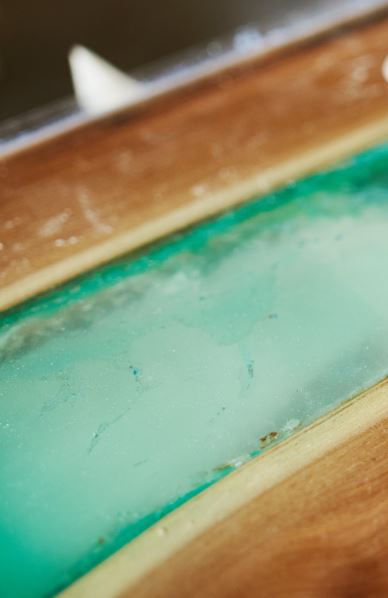
- Issue: Uneven or streaky color distribution in the resin.
- Solution: Thoroughly mix colorants, pigments, or dyes into the resin. Follow recommended ratios and test small batches before applying to the entire surface.
8. Unwanted Resin Seepage:
- Issue: Resin leaks or seeps through gaps in the mold.
- Solution: Seal the mold thoroughly, paying attention to edges and corners. Use a mold release agent if needed. Check for any imperfections or gaps in the mold before pouring.
Remember to refer to the specific guidelines provided by the resin manufacturer and conduct small test projects before tackling larger resin table creations.
Thanks for taking the time to explore the world of resin tables with us! We hope this guide has provided valuable insights and solutions to enhance your crafting journey.
If you have more questions or want to dive deeper into the resin crafting universe, feel free to check out our other resources.
Happy crafting, and may your resin tables be as extraordinary as your creativity! Thanks again for reading.
Learn More About Using Resin
